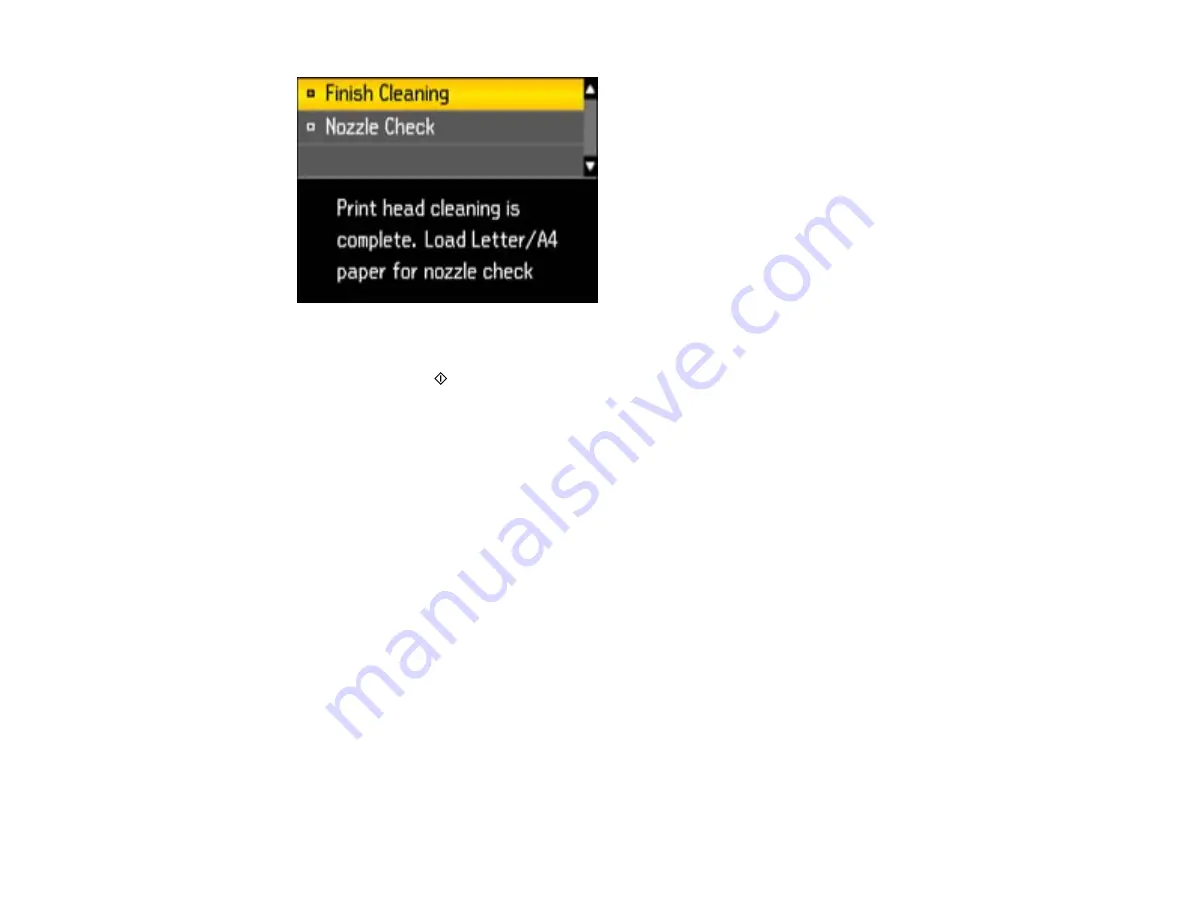
7.
Select
Nozzle Check
and press the
OK
button.
8.
Press either of the
Start
buttons to confirm that the print head is clean.
If you don’t see any improvement after cleaning the print head up to 4 times, wait at least 6 hours. Then
try cleaning the print head again. If quality still does not improve, one of the ink cartridges may be old or
damaged and needs to be replaced.
Parent topic:
Related topics
Replacing Ink Cartridges and Maintenance Boxes
Cleaning the Print Head Using a Computer Utility
You can clean the print head using a utility on your Windows computer or Mac.
1.
Load a few sheets of plain paper in the product.
2.
Do one of the following:
•
Windows:
Right-click the product icon in the Windows taskbar.
•
Mac OS X 10.6/10.7
: In the Apple menu or the Dock, select
System Preferences
. Select
Print &
Fax
or
Print & Scan
, select your product, and select
Options & Supplies
. Select
Utility
and
select
Open Printer Utility
.
•
Mac OS X 10.4/10.5
: In the Apple menu or the Dock, select
System Preferences
. Select
Print &
Fax
or
Print & Scan
, select your product, and select
Open Print Queue
or
Print Queue
. Select
Utility
.
3.
Select
Head Cleaning
.
213
Содержание WorkForce Pro WP-4520
Страница 1: ...WorkForce Pro WP 4520 WP 4533 User s Guide ...
Страница 2: ......
Страница 12: ......
Страница 13: ...WorkForce Pro WP 4520 WP 4533 User s Guide Welcome to the WorkForce Pro WP 4520 WP 4533 User s Guide 13 ...
Страница 20: ...Printer Parts Inside 1 Ink cartridge slots 2 Front cover 3 Print head Parent topic Product Parts Locations 20 ...
Страница 28: ...4 Load a stack of paper printable side down in the cassette as shown 28 ...
Страница 32: ...2 Pull up the rear MP tray 3 Flip the feeder guard forward then slide the edge guides outward 32 ...
Страница 35: ...2 Pull up the rear MP tray 3 Flip the feeder guard forward then slide the edge guides outward 35 ...
Страница 50: ...Parent topic Placing Originals on the Product 50 ...
Страница 51: ...Related references Automatic Document Feeder ADF Specifications Related topics Copying Scanning Faxing 51 ...
Страница 112: ... Normal preview Click the Auto Locate icon to create a marquee dotted line on the preview image 112 ...
Страница 123: ...123 ...
Страница 176: ...5 Select Fax Settings for Printer You see this window 176 ...
Страница 177: ...6 Select your product if necessary 7 Select Speed Dial Group Dial List You see this window 177 ...
Страница 201: ...3 Open the front cover 4 Push the ink cartridge in then pull it out of the slot 201 ...
Страница 214: ...You see one of these windows 214 ...
Страница 219: ...You see one of these windows 219 ...
Страница 240: ...5 Carefully follow all paper loading instructions when you load new paper 6 Replace the paper cassette 240 ...
Страница 242: ...3 Carefully remove the jammed paper 4 If paper is jammed in the duplexer remove the paper as shown 242 ...
Страница 246: ...6 Lower the document cover 7 Raise the ADF input tray 8 Carefully remove the jammed pages 246 ...


