5.
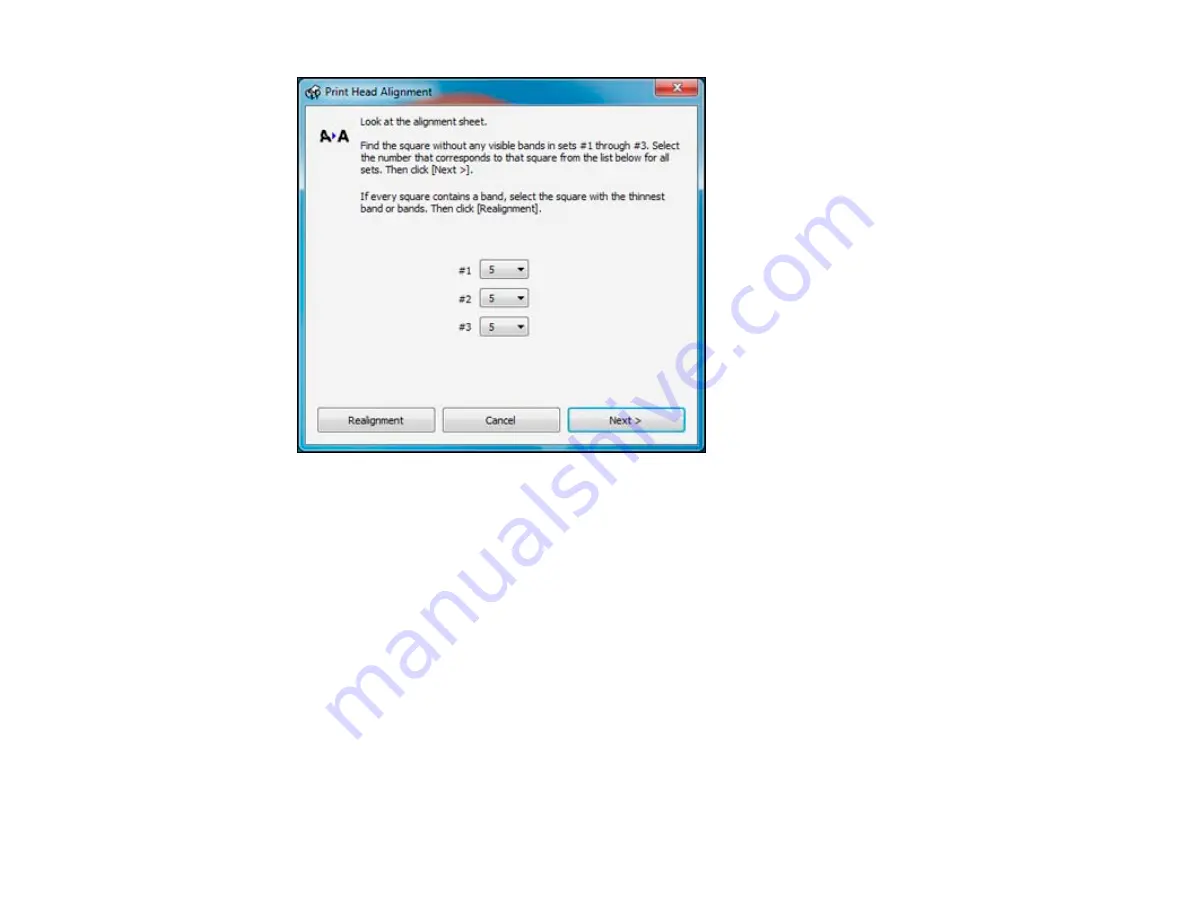
Check the printed pattern and follow the instructions on the screen to choose the number
representing the best printed pattern for each set.
• After choosing each pattern number, click
Next
.
• If no patterns are aligned in one or more of the sets, choose the closest one in each set and click
Realignment
. Then print another alignment sheet and check it.
Note:
Click
Skip
(where available) if you want to skip a particular alignment sheet.
6.
When you are done, click
Finish
.
Parent topic:
Cleaning the Paper Path
If you see ink on the back of a printout, you can clean the paper path to remove any excess ink.
1.
Load a few sheets of plain paper in the rear MP tray.
132
Содержание WorkForce Pro WP-4090
Страница 1: ...WorkForce Pro WP 4090 User s Guide ...
Страница 2: ......
Страница 9: ...WorkForce Pro WP 4090 User s Guide Welcome to the WorkForce Pro WP 4090 User s Guide 9 ...
Страница 19: ...4 Click Add a network wireless or Bluetooth printer You see a window like this 19 ...
Страница 24: ...8 Click Next You see this window 24 ...
Страница 30: ...4 Load a stack of paper printable side down in the cassette as shown 30 ...
Страница 34: ...2 Pull up the rear MP tray 3 Flip the feeder guard forward then slide the edge guides outward 34 ...
Страница 37: ...2 Pull up the rear MP tray 3 Flip the feeder guard forward then slide the edge guides outward 37 ...
Страница 54: ...54 ...
Страница 88: ...88 ...
Страница 109: ...Parent topic Printing From a Computer 109 ...
Страница 123: ...Related concepts Purchase Epson Ink Cartridges and Maintenance Box 123 ...
Страница 145: ...3 Remove any paper inside including torn pieces 4 Close the front cover 145 ...
Страница 147: ...3 Remove any jammed paper inside the cassette 4 Remove any paper jammed inside the paper cassette slot 147 ...
Страница 149: ...3 Carefully remove the jammed paper 4 If paper is jammed in the duplexer remove the paper as shown 149 ...


