138
Parent topic:
Locking Printer Settings - Windows
Entering a User ID and Password for Printing
If you enabled Access Control on the product, you must enter a user ID and password in the printer
driver to be able to print.
Note:
If you do not know the user ID or password, contact your administrator for assistance.
1.
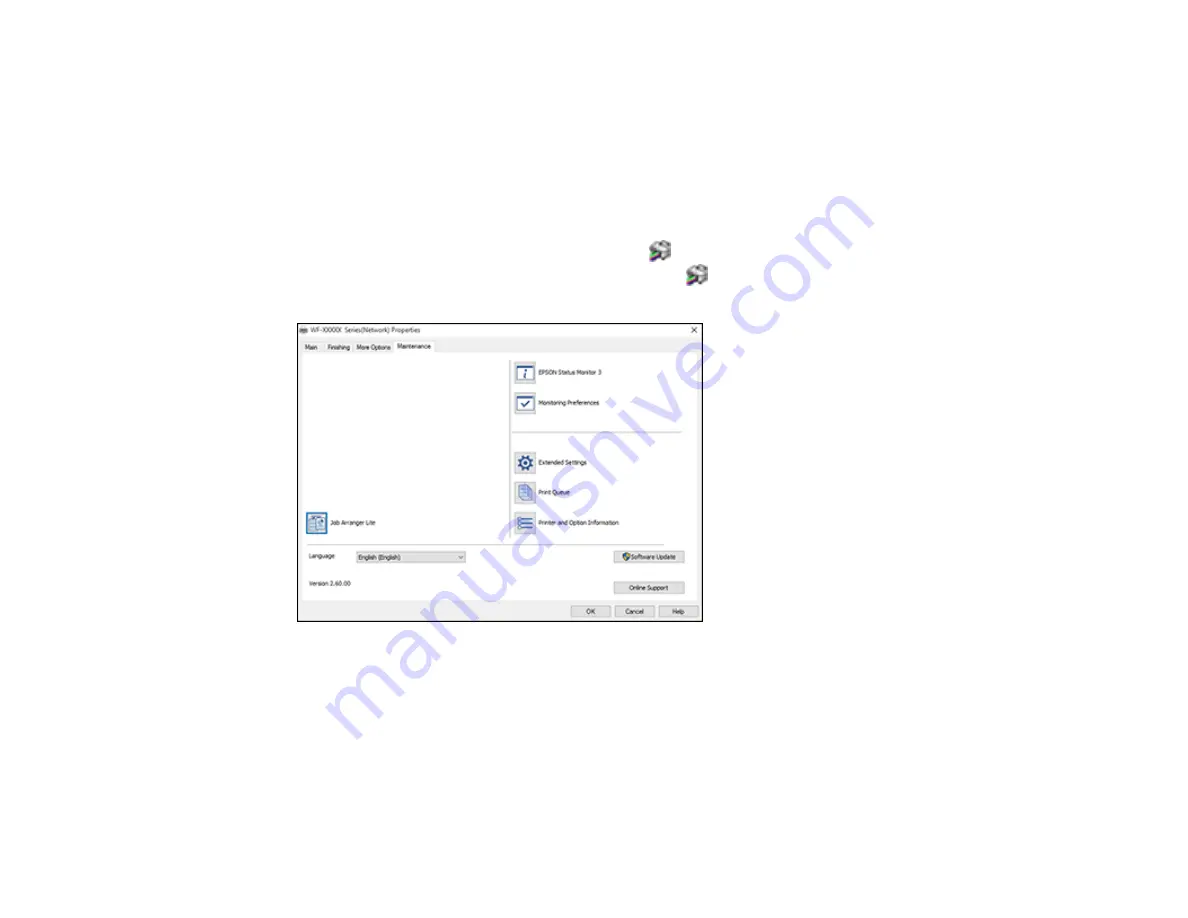
Access the Windows Desktop and right-click the
icon for your product in the right side of the
Windows taskbar, or click the up arrow and right-click
. Select
Printer Settings
and click the
Maintenance
tab.
2.
Click the
Printer and Option Information
button.
3.
Select the
Save Access Control Settings
checkbox.
4.
Click the
Settings
button.
5.
Enter your user name and password.
6.
Click
OK
.
Parent topic:
Содержание WF-C20590 Series
Страница 1: ...WF C20590 User s Guide ...
Страница 2: ......
Страница 14: ......
Страница 28: ...28 You see the Basic Settings screen 4 Select Date Time Settings ...
Страница 80: ...80 You see a screen like this 5 Select PDL Print Configuration ...
Страница 89: ...89 You see this screen 2 Select Load Paper under the How To options ...
Страница 90: ...90 You see this screen 3 Select one of the options ...
Страница 91: ...91 You see this screen 4 Select How To ...
Страница 99: ...99 You see a screen like this 2 Select the paper source you want to select settings for ...
Страница 110: ...110 Parent topic Placing Originals on the Product Related topics Copying Scanning Faxing ...
Страница 123: ...123 You see this window 3 Select the double sided printing options you want to use 4 Click OK to return to the Main tab ...
Страница 170: ...170 You see this window 3 Click Network printer search 4 When you see the search results select Add found printers ...
Страница 191: ...191 You see a screen like this 4 Select Email ...
Страница 200: ...200 You see an Epson Scan 2 window like this ...
Страница 202: ...202 You see an Epson Scan 2 window like this ...
Страница 207: ...207 You see this window ...
Страница 223: ...223 DSL connection 1 Telephone wall jack 2 DSL filter 3 DSL modem ...
Страница 224: ...224 ISDN connection 1 ISDN wall jack 2 Terminal adapter or ISDN router ...
Страница 246: ...246 You see a screen like this 3 Select the Recipient tab ...
Страница 251: ...251 You see a screen like this 3 Select the Recipient tab 4 Select Add New 5 Select Add Group ...
Страница 311: ...311 You see a screen like this 6 Select Print Head Nozzle Check ...
Страница 312: ...312 You see a screen like this 7 Select the paper cassette you want and select OK The nozzle pattern prints ...
Страница 318: ...318 5 Open the interior of the document cover ...


