16
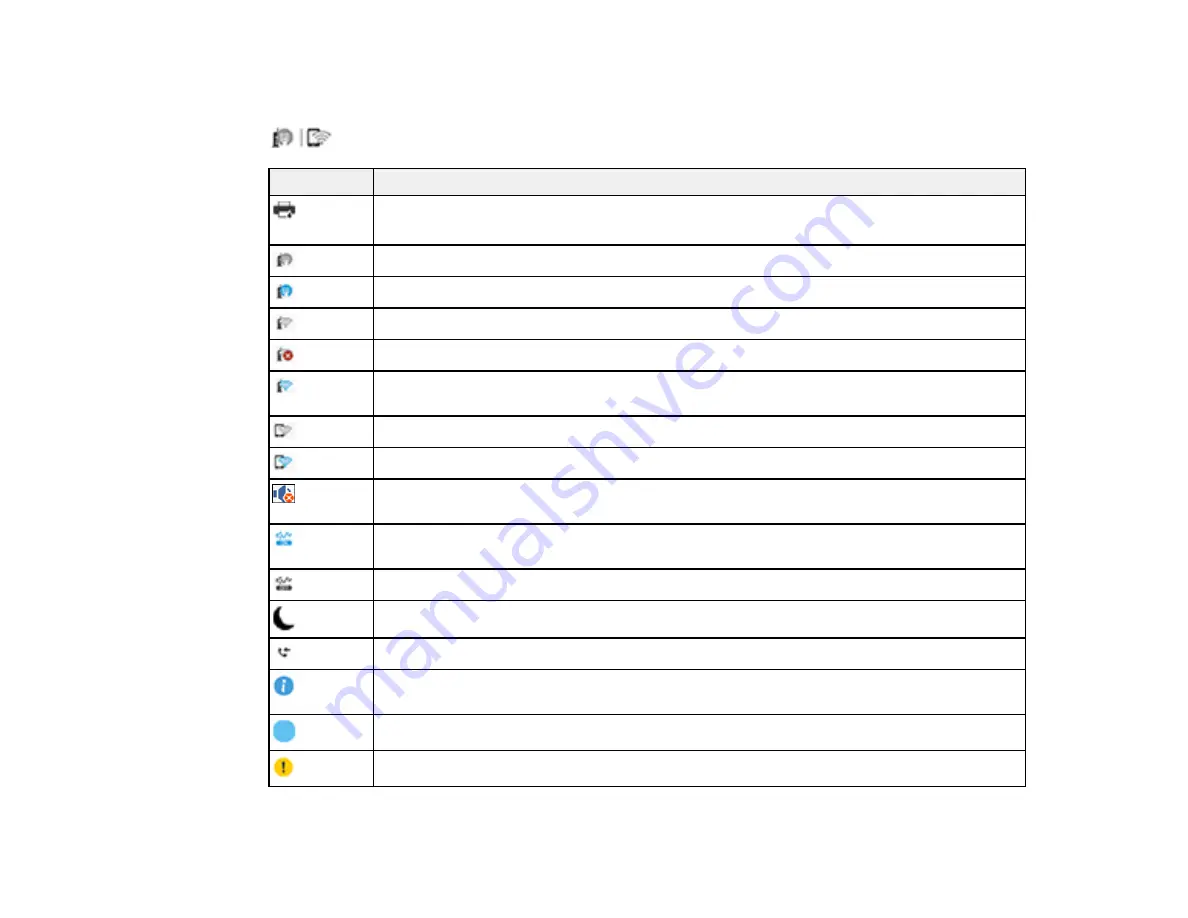
Status Icon Information
Your product displays status icons on the LCD screen for certain product status conditions. Press the
icon to view or change the current network settings.
Icons
Description
or
Job/Status
Displays the
Job Status
and
Printer Status
screens
No Ethernet connection
An Ethernet connection is established
No Wi-Fi connection
A Wi-Fi network error has occurred or the product is searching for a connection
A Wi-Fi connection is established; the number of bars indicates the connection's signal
strength
No Wi-Fi Direct connection
A Wi-Fi Direct connection is established
The Mute setting is enabled. The product does not make any sound when you press
buttons or select icons on the control panel. Select this icon to change the setting.
Quiet Mode is enabled. Noise is reduced during printing, but the print speed may be
reduced. Select this icon to change the setting.
Quiet Mode is disabled. Select this icon to change the setting.
Enables sleep mode and turns off the LCD screen
Displays the
Fax Data Information
screen
Displays additional information or instructions, such as loading paper or placing a
document
The indicated setting has changed
There is a problem with the indicated setting; select the icon to resolve the problem
Содержание WF-7710 series
Страница 1: ...WF 7710 WF 7720 User s Guide ...
Страница 2: ......
Страница 61: ...61 2 Pull out the paper cassette and remove the paper cassette cover 3 Slide the edge guides outward ...
Страница 67: ...67 3 Slide the edge guides outward 4 Slide the edge guide to your paper size ...
Страница 76: ...76 3 Open the rear paper feed slot and push it back 4 Slide out the edge guides ...
Страница 94: ...94 4 Slide the ADF edge guide against the originals but not too tightly ...
Страница 125: ...125 10 Select the Layout tab 11 Select the orientation of your document as the Orientation setting ...
Страница 152: ...152 You see an Epson Scan 2 window like this ...
Страница 154: ...154 You see an Epson Scan 2 window like this ...
Страница 156: ...156 1 Start Epson Scan 2 You see this window ...
Страница 167: ...167 DSL connection 1 Telephone wall jack 2 DSL filter 3 DSL modem ...
Страница 168: ...168 ISDN connection 1 ISDN wall jack 2 Terminal adapter or ISDN router ...
Страница 248: ...248 You see a window like this 5 Click Print ...
Страница 260: ...260 2 Lift up the scanner unit 3 Make sure the print head is in the home position on the right ...
Страница 286: ...286 Front 6 Open the duplexer ...
Страница 287: ...287 7 Carefully remove any jammed paper stuck inside 8 Reinstall the duplexer ...


