124
8.
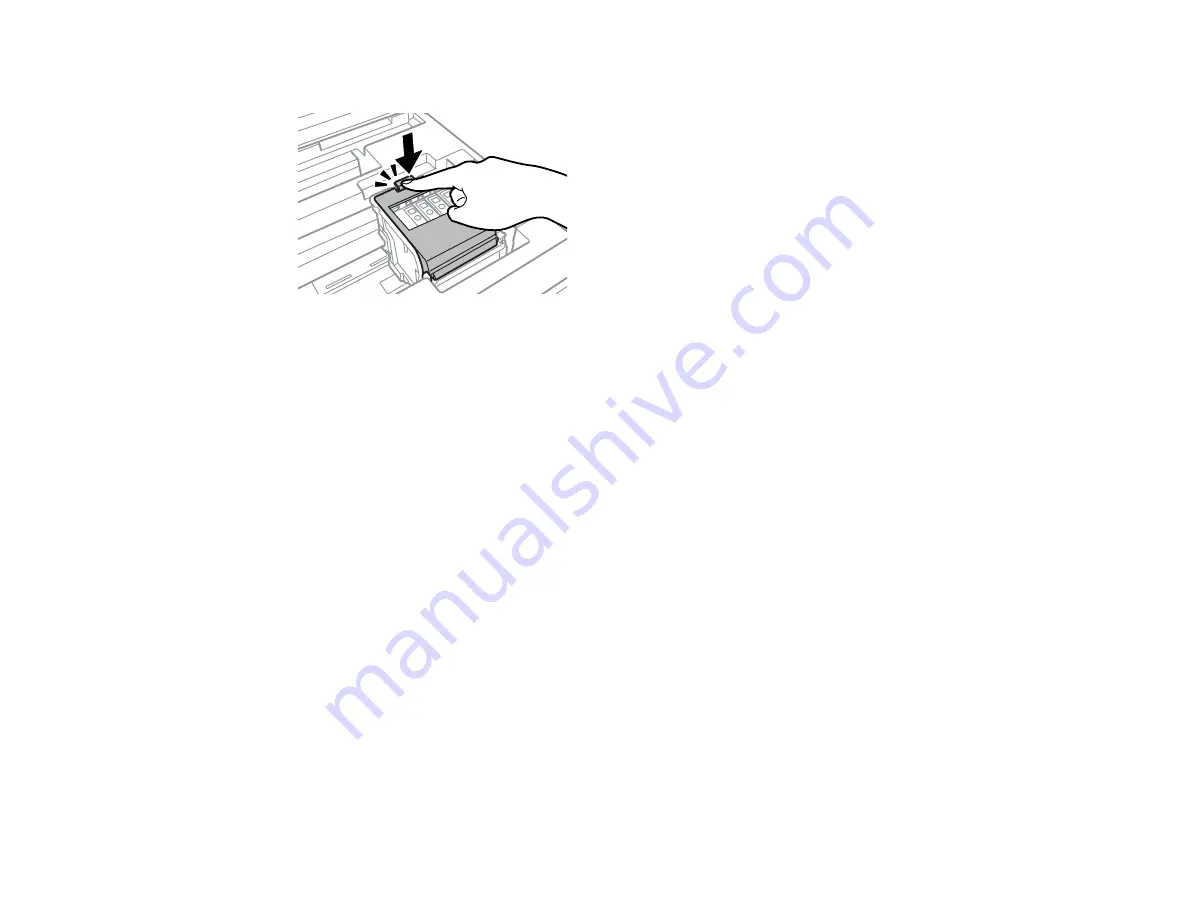
Close the cartridge cover and push it down until it clicks into place.
9.
Close the printer cover and press the
OK
button to begin ink charging.
Note:
Do not turn off the printer during ink charging.
Caution:
If you remove an ink cartridge for later use, protect the ink supply area from dirt and dust and
store it in the same environment as the printer. The valve in the ink supply port is designed to contain
any excess ink, but do not touch the ink supply port or surrounding area. Always store ink cartridges with
the label facing up; do not store cartridges upside-down.
Parent topic:
Replacing Ink Cartridges and Maintenance Boxes
Related concepts
Purchase Epson Ink Cartridges and Maintenance Box
Related topics
Replacing Ink Cartridges and Maintenance Boxes
Printing with Black Ink and Expended Color Cartridges
When a color ink cartridge is expended, you can temporarily continue printing from your computer using
black ink. Replace the expended color cartridge as soon as possible for future printing.
Printing with Expended Color Cartridges - Windows
Printing with Expended Color Cartridges - Mac
Parent topic:
Содержание WF-7210 series
Страница 1: ...WF 7210 User s Guide ...
Страница 2: ......
Страница 43: ...43 2 Pull out the paper cassette and remove the paper cassette cover 3 Slide the edge guides outward ...
Страница 49: ...49 3 Slide the edge guides outward 4 Slide the edge guide to your paper size ...
Страница 53: ...53 2 Pull out the paper cassette and remove the paper cassette cover 3 Slide the edge guides outward ...
Страница 57: ...57 3 Open the rear paper feed slot and push it back 4 Slide out the edge guides ...
Страница 70: ...70 Parent topic Selecting Universal Print Settings ...
Страница 97: ...97 10 Select the Layout tab 11 Select the orientation of your document as the Orientation setting ...
Страница 145: ...145 Related concepts Print Head Nozzle Check Print Head Alignment Print Head Cleaning ...
Страница 162: ...162 3 Carefully remove any jammed paper Note Do not touch the paper rollers 4 Remove the duplexer ...
Страница 163: ...163 5 Remove any jammed paper 6 Remove any jammed paper from the duplexer 7 Press the tabs to open the duplexer ...
Страница 164: ...164 8 Carefully remove any jammed paper stuck inside then close the duplexer 9 Reinstall the duplexer ...


