19
Chapter 2 Set up
2
Set up using EpsonNet Config (Web version)
Specify the printer's IP address in the web browser and open EpsonNet Config (Web version) to check
and change settings.
If performing set up using EpsonNet Config (Web version), you need to set the network settings of the
setting computer to the same network segment as the printer to be connected to.
1
Connect the setting computer and the printer to the same network.
2
Perform network settings on the computer so that it is in the same segment as the
printer's IP address.
Subnet mask: Same subnet mask as the printer
IP address: Same segment (same network address) as the printer, different host address
Check the values set in the printer on the status sheet.
3
Start up your Web browser and input the printer's IP address into the address field.
E.g.) http://192.168.192.168
4
Input your user name and password on the authentication window.
Input "epson" for both the user name and password. You can change the password in the [Optional]
setting menu, under [Password].
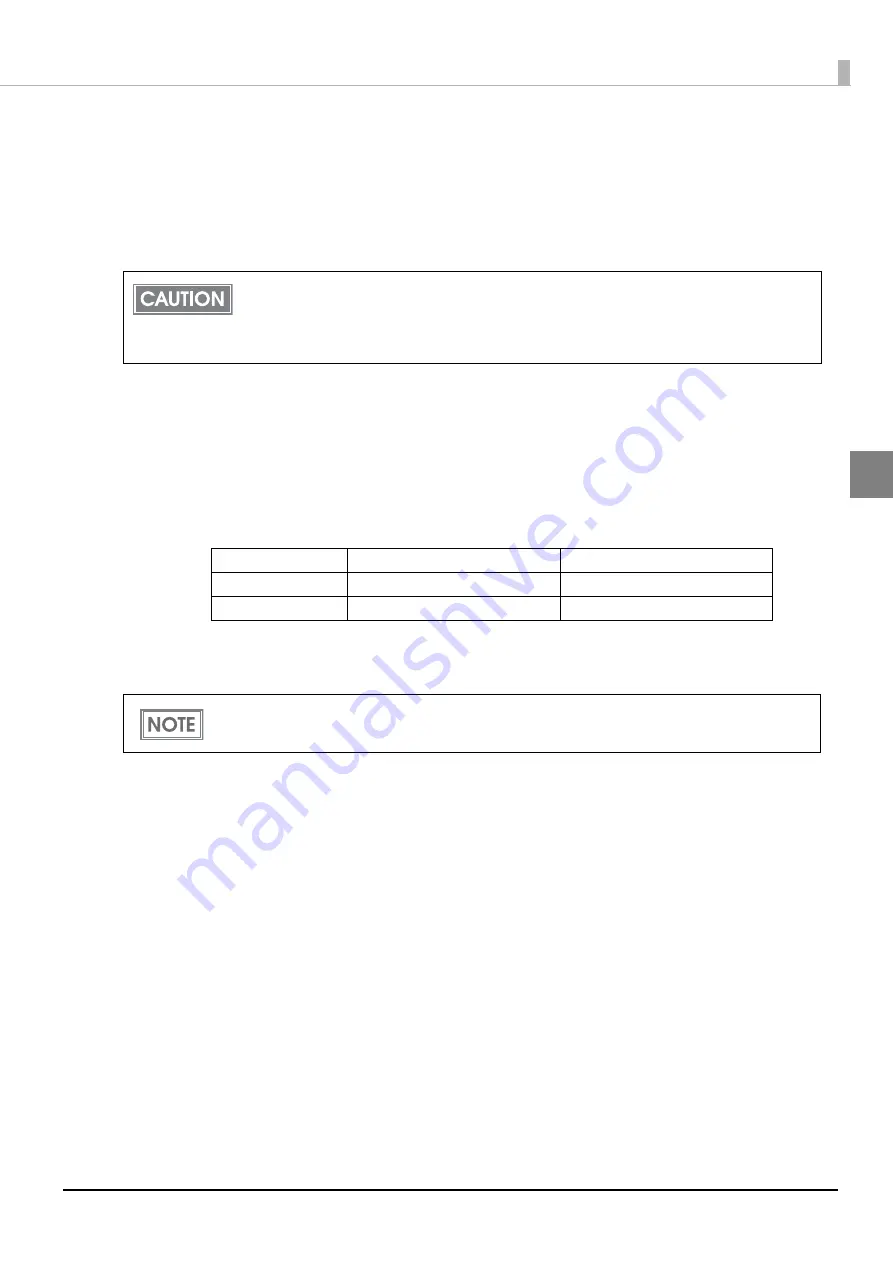
By factory default, all UB-E04 devices are set to the same IP address (192.168.192.168).
If setting multiple printers for which the IP address has not been changed, turn on one
printer at a time and perform settings. If the power is on for multiple printers on a single
network, they will compete for the IP address and you cannot perform set up.
E.g.)
Printer
Setting computer
Subnet mask
255.255.255.0
255.255.255.0
IP address
192.168.192.168
192.168.192.2
Under initial settings, when you access EpsonNet Config (Web version) from your browser, an
authentication warning message may be displayed.


