92
Chapter 5 Advanced Usage
Setup using EpsonNet Config (Web version)
Follow the steps below to start up EpsonNet Config (Web version), and check or change the settings.
1
Connect the setting computer and the printer to the same network.
2
Perform network settings on the computer so that it is in the same segment as the
printer's IP address.
Subnet mask: Same subnet mask as the printer
IP address: Same segment (same network address) as the printer, different host address
Check the values set in the printer on the status sheet.
3
Start up your Web browser and input the printer's IP address into the address field.
E.g.) http://192.168.192.168
•
When setting up using the EpsonNet Config (Web version), you need to set the network settings
for the device to the same network segment as the printer you want to connect to.
•
The initial setting uses an IP address for the printer provided by a DHCP server. Since you cannot
complete setup if there are conflicting IP addresses on the network, make sure that there are no
other devices on the network that conflict with the IP address provided by the DHCP server. If a
DHCP server is not available, a fixed IP address (192.168.192.168) is set approximately one minute
after turning on the printer. Also, if the Ethernet cable is not connected, connect the Ethernet cable
and then run this process.
•
When DHCP is enabled, the provided IP address is printed automatically. However, if the Ethernet
cable is not connected, and the Wireless LAN unit is not installed, printing is not performed.
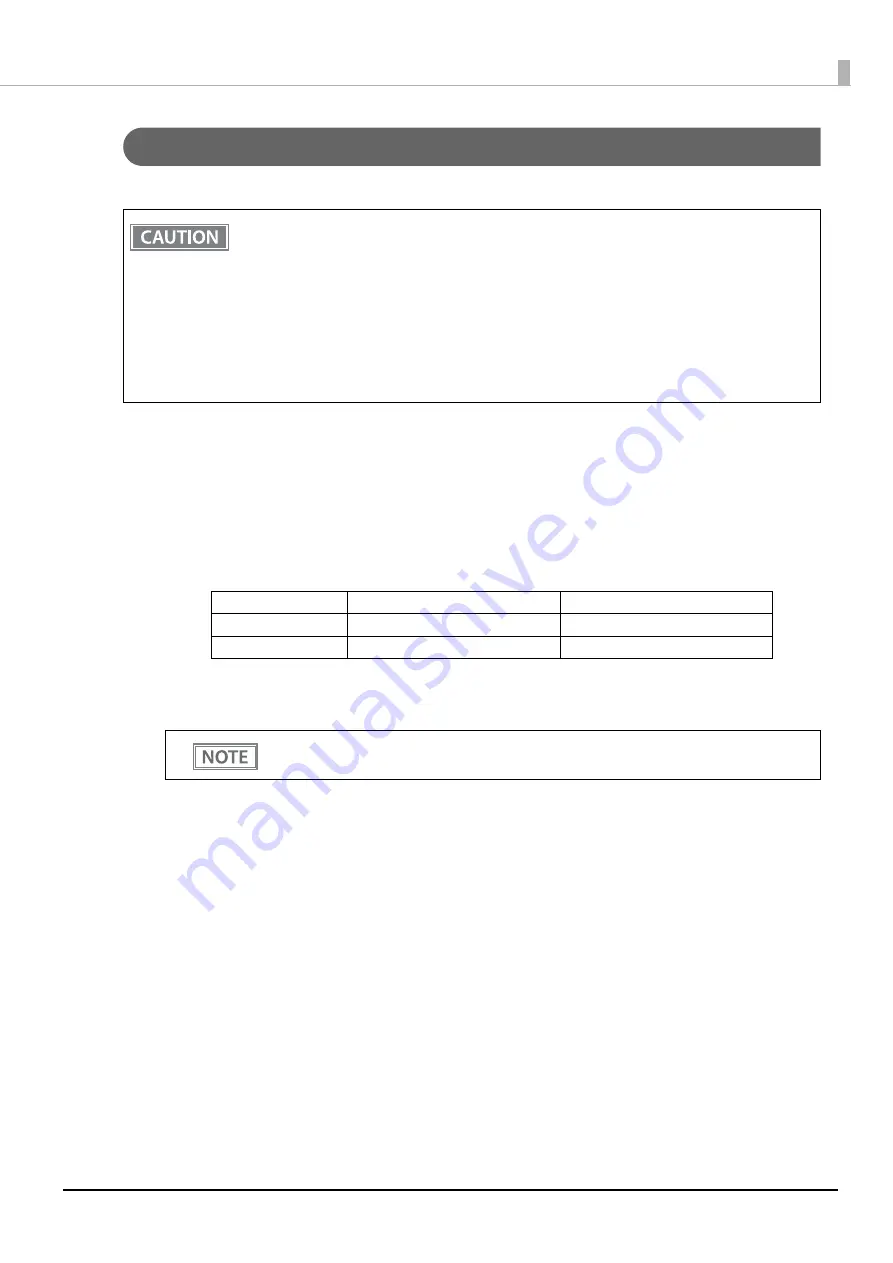
E.g.)
Printer
Setting computer
Subnet mask
255.255.255.0
255.255.255.0
IP address
192.168.192.168
192.168.192.2
Under initial settings, when you access EpsonNet Config (Web version) from your browser, an
authentication warning message may be displayed.
Содержание TM m30II-SL
Страница 38: ...38 Chapter 2 Setup of the Tablet 6 Turn over the printer 7 Remove the bottom cover ...
Страница 47: ...47 Chapter 2 Setup of the Tablet 3 Replace the tablet table and then secure the table with the screws ...
Страница 54: ...54 Chapter 3 Setup of the Printer 5 Remove the bottom cover 6 Remove the side covers 7 Remove the rear cover ...
Страница 56: ...56 Chapter 3 Setup of the Printer 10 Attach the rear cover 11 Attach the side covers ...


