31
4.
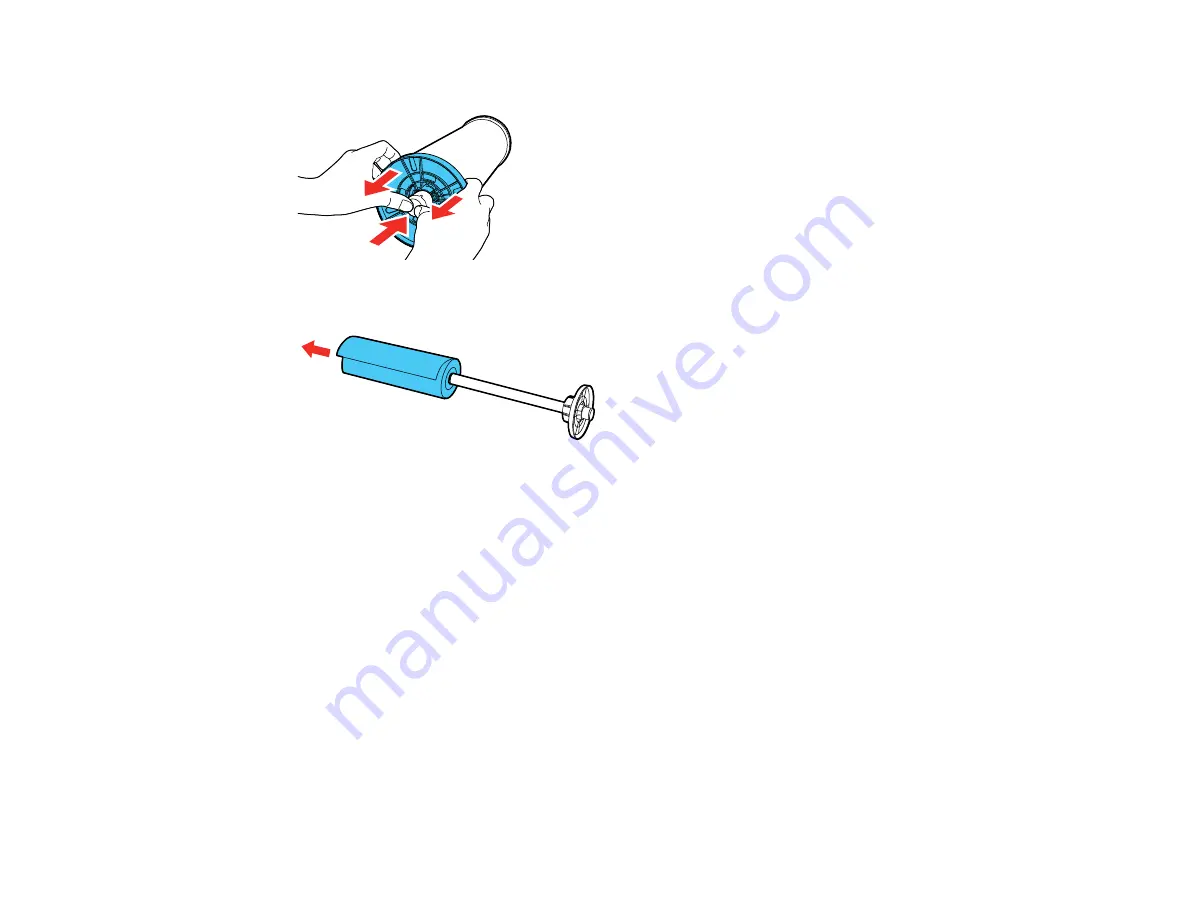
Remove the black paper stop from the spindle as shown.
5.
Remove the roll paper from the spindle.
6.
Place the roll paper in its original package.
Note:
Store roll paper on its end or horizontally (if the packaging end-caps are installed). Never store
roll paper on its edge, as a flat spot can develop and lead to imaging artifacts on the prints.
Note:
Do not store roll paper in dusty areas. Print head maintenance and cleanings increase if dust
accumulates on the paper.
7.
Close the roll paper cover.
Note:
To prevent dust from accumulating inside the printer, always keep the roll paper cover closed
unless you are loading or unloading media.
Parent topic:
Cut Sheet Handling
You can load a variety of types and sizes of cut sheet paper in your product.
Содержание surecolor p5000
Страница 1: ...Epson SureColor P5000 User s Guide ...
Страница 2: ......
Страница 8: ......
Страница 18: ...18 9 Platen gap setting Narrow Standard Wide Wider Widest Parent topic Printer Part Locations ...
Страница 35: ...35 9 Slide the edge guides against the paper but not too tightly ...
Страница 37: ...37 11 Replace the output tray ...
Страница 40: ...40 4 Open and extend the paper support 5 Adjust the edge guide to fit the paper width ...
Страница 69: ...69 You can also place the same print data multiple times as shown here ...
Страница 70: ...70 You can place print data in different sizes and orientations to maximize media usage as shown here ...
Страница 137: ...137 Epson Metallic Photo Paper Luster Parent topic Switch Black Ink Type Related references Available Epson Papers ...
Страница 157: ...157 2 Open the left and right ink cartridge covers 3 Open the printer cover ...
Страница 158: ...158 4 Use a Phillips head screwdriver to remove the four screws securing the front cover then remove the front cover ...


