


134
Check Ink and Maintenance Box Levels
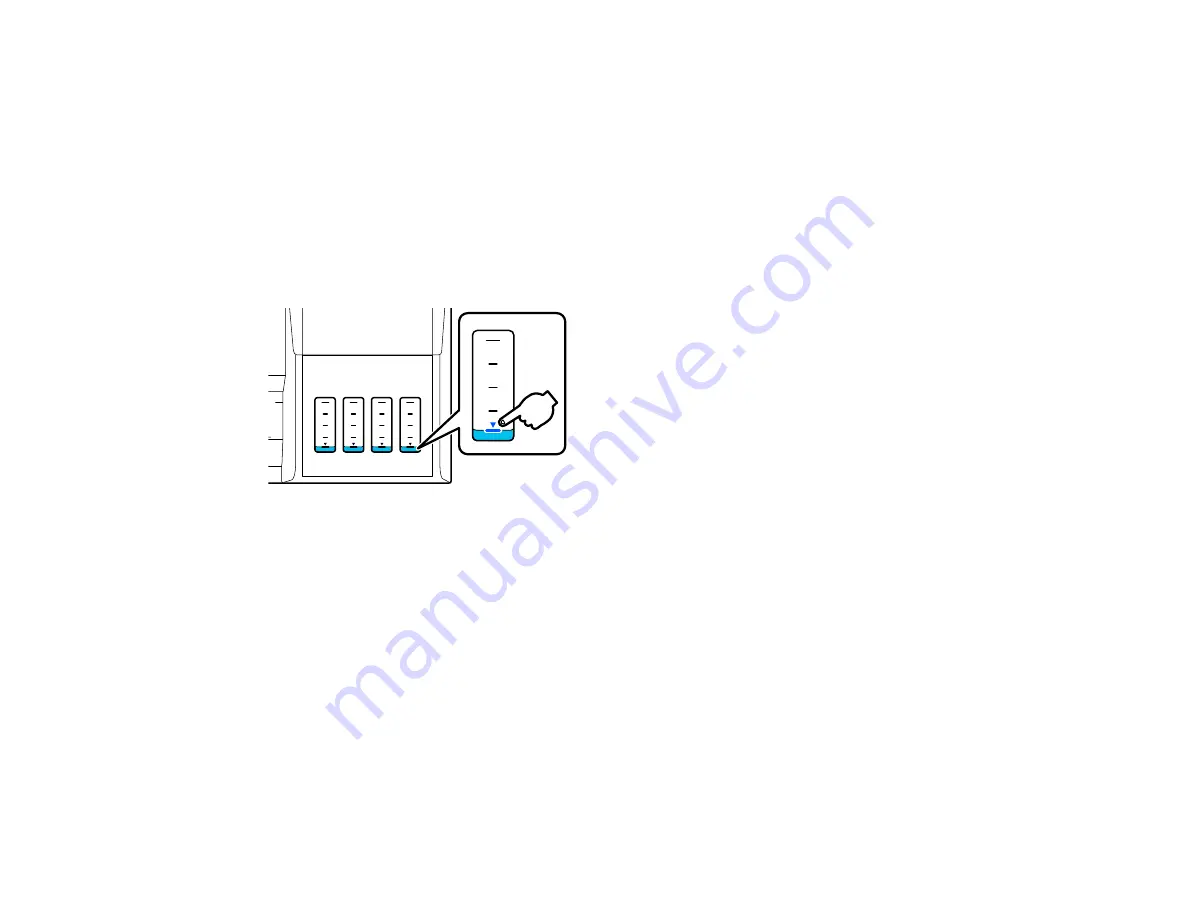
To confirm the actual ink remaining, visually check the ink levels in the product’s ink tanks. Make sure
the ink levels are above the lower lines on the ink tanks.
Your product software displays a message when an ink tank is low or needs to be refilled. Your product
software displays a message and your product also displays a message on the LCD screen when the
maintenance box is almost full or needs to be replaced.
Caution:
If the ink level is below the lower line on the ink tank, fill it to the upper line on the ink tank.
Continued use of the product when the ink level is below the lower line on a tank could damage the
product.
Note:
The product has a low ink alert system. The accuracy of this system depends on the user refilling
the ink tanks correctly. The product cannot directly measure the ink levels in the tanks; instead it
estimates the amount of ink remaining by internally monitoring ink usage. The low ink alert system may
generate inaccurate messages if the ink tanks are not refilled according to these instructions.
As a precaution, perform regular visual inspections of the ink tanks to ensure ink levels do not fall below
the lower line. Continued use of the product when the ink level is below the lower line on the tank could
damage the product.
Checking Maintenance Box Status on the LCD Screen
Checking Ink and Maintenance Box Levels - Windows
Checking Ink and Maintenance Box Levels - Mac
Disabling Special Offers with Windows
Parent topic:
Содержание SureColor F571
Страница 1: ...Epson SureColor F571 User s Guide ...
Страница 2: ......
Страница 22: ...22 Make sure you have all of these items for assembly ...
Страница 33: ...33 Parent topic Introduction to Your Printer ...
Страница 64: ...64 4 Tilt back the auto sheet feeder then pull up and tilt back the paper support extensions all the way ...
Страница 67: ...67 1 Slide out the edge guides and remove the paper from the auto sheet feeder ...
Страница 82: ...82 You can also place the same print data multiple times as shown here ...
Страница 83: ...83 You can place print data in different sizes and orientations to maximize media usage as shown here ...
Страница 165: ...165 2 Open the ink tank cover 3 Open all of the ink tank caps 4 Remove the transportation cap ...
Страница 166: ...166 5 Flip the transportation cap so the round ends face down ...
Страница 167: ...167 6 Insert the round ends of the transportation cap as shown ...
Страница 171: ...171 4 Remove the transportation cap 5 Flip the transportation cap so the square ends face down ...
Страница 172: ...172 6 Insert the square ends of the transportation cap as shown ...


