


128
Setting
Options
Description
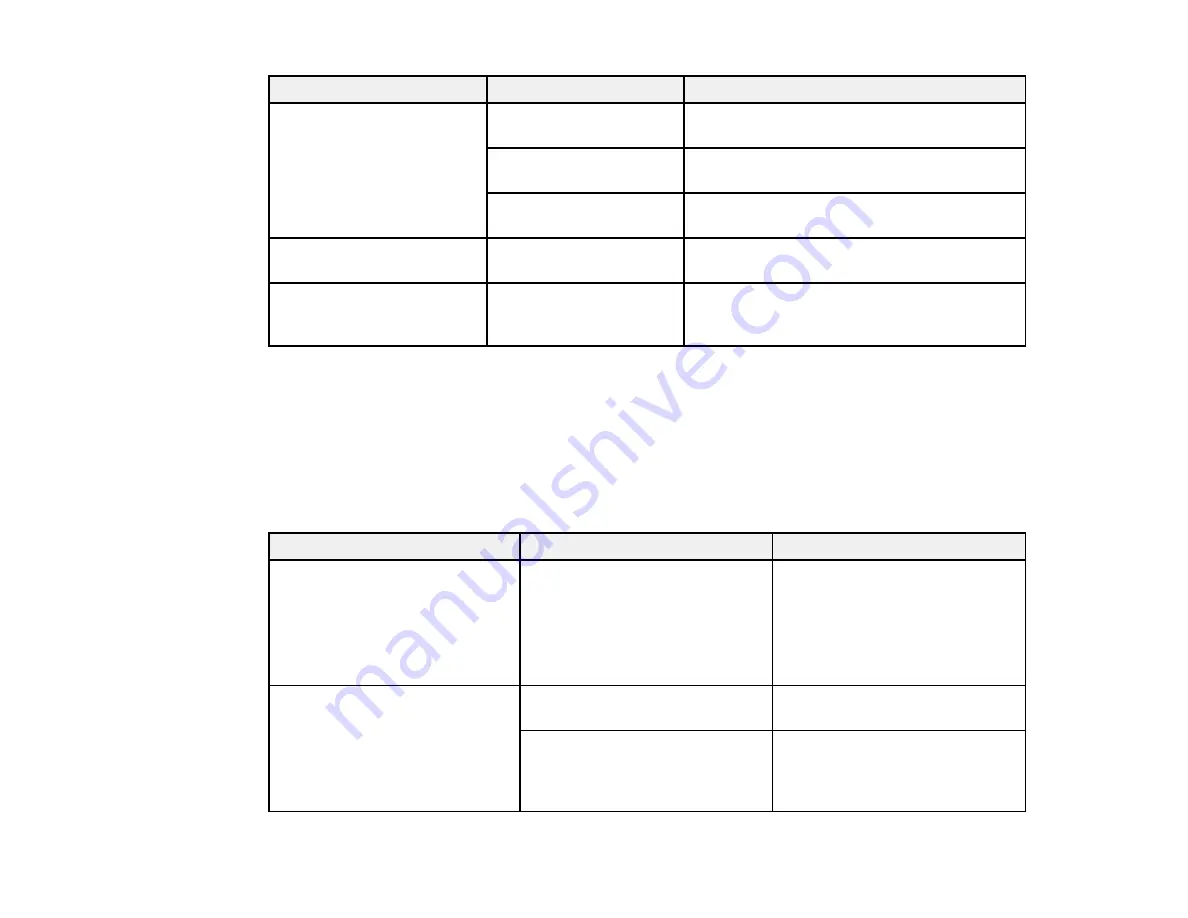
Network Status
Wired LAN/Wi-Fi Status
Displays current communication status and
connection settings
Wi-Fi Direct Status
Displays the number of connected devices
and connection settings
Print Status Sheet
Prints the current network connection
information
Connection Check
—
Confirms the network status. You can also
print a connection check report.
Advanced
—
Displays advanced information, such as
TCP/IP settings. You can enable or disable
other network settings.
Parent topic:
Related topics
System Administration Settings Menu
Select
Settings
>
General Settings
>
System Administration
to configure security settings and
update firmware.
Setting
Options
Description
Security Settings
Admin Settings
Lets you add or change the
administrator password
If you choose to add a password,
set the
Lock Setting
to
On
to
enable password entry for certain
features and settings.
Restore Default Settings
Network Settings
Select
Yes
to restore all network
settings to their defaults
Clear All Data and Settings
Select
Yes
to restore all settings
to their defaults (except
date/time, length unit, and
language settings)
Содержание SureColor F571
Страница 1: ...Epson SureColor F571 User s Guide ...
Страница 2: ......
Страница 22: ...22 Make sure you have all of these items for assembly ...
Страница 33: ...33 Parent topic Introduction to Your Printer ...
Страница 64: ...64 4 Tilt back the auto sheet feeder then pull up and tilt back the paper support extensions all the way ...
Страница 67: ...67 1 Slide out the edge guides and remove the paper from the auto sheet feeder ...
Страница 82: ...82 You can also place the same print data multiple times as shown here ...
Страница 83: ...83 You can place print data in different sizes and orientations to maximize media usage as shown here ...
Страница 165: ...165 2 Open the ink tank cover 3 Open all of the ink tank caps 4 Remove the transportation cap ...
Страница 166: ...166 5 Flip the transportation cap so the round ends face down ...
Страница 167: ...167 6 Insert the round ends of the transportation cap as shown ...
Страница 171: ...171 4 Remove the transportation cap 5 Flip the transportation cap so the square ends face down ...
Страница 172: ...172 6 Insert the square ends of the transportation cap as shown ...


