


49
Setting Up the Printer
|
49
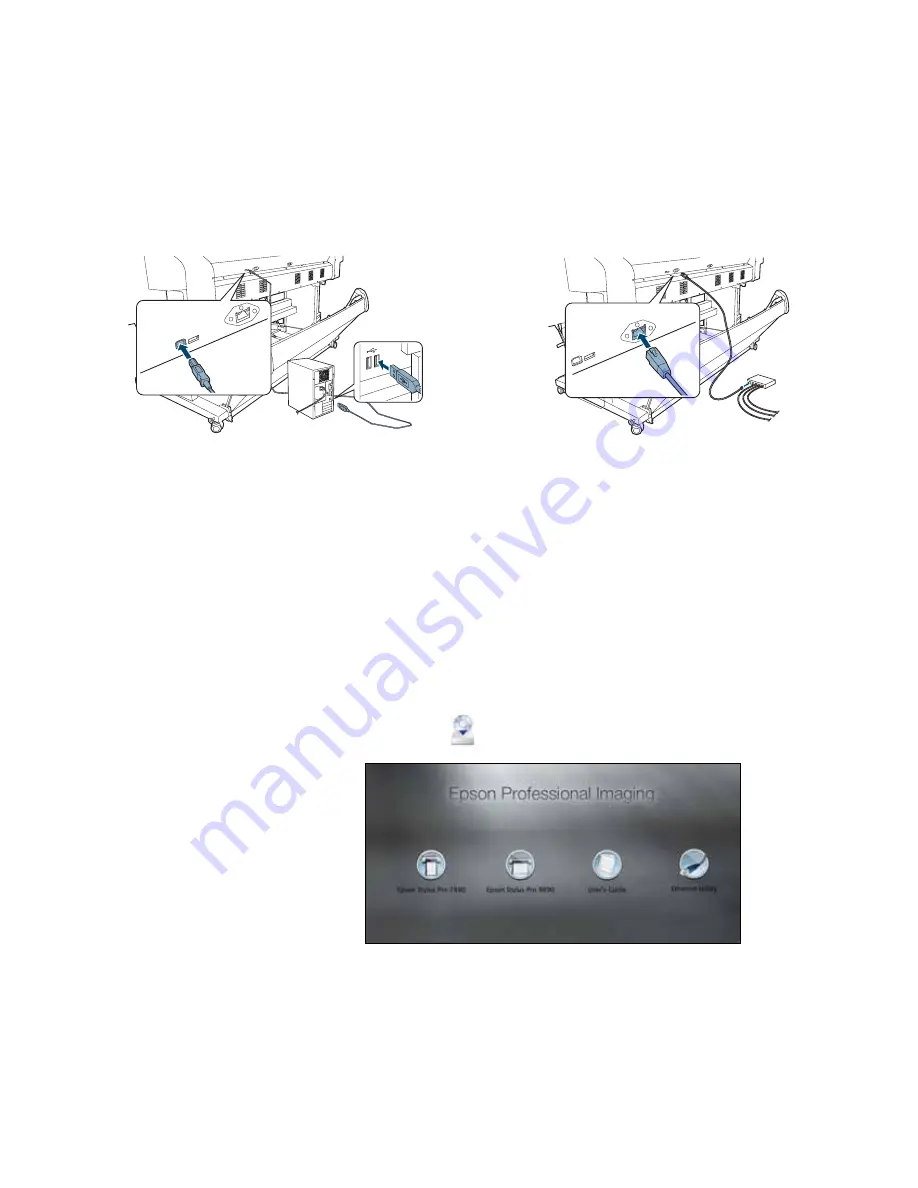
2. Plug the interface cable into the appropriate port on the printer.
3. Plug the other end of the cable into the appropriate connector on your
computer, or network switch or hub.
Installing the Software for Macintosh
Follow the steps below to install the software on a Macintosh. For Windows,
see page 50.
1. Make sure that your computer and printer are turned on and that the
Epson Stylus Pro 7890 or Pro 9890 is connected to the computer.
2. Insert the printer software CD-ROM in your CD or DVD drive.
3. Double-click the
Epson
icon.
4. Click the
Epson Stylus Pro 7890
(or
9890
) icon.
Network connection
USB connection
Note:
You can check for a
newer version of your
printer driver on the Epson
support site at
www.epson.com/support.
Note:
If you see the
message that the installer
has detected an older
version of EpsonNet
Config on your system,
you must uninstall the old
version before you can
install the new one. To
uninstall, drag the
EpsonNet
folder to the
trash. Then reinstall your
printer software.
Содержание Stylus Pro 7890 Series
Страница 1: ...Epson Stylus Pro 7890 9890 USER S GUIDE ...
Страница 4: ......
Страница 10: ...10 10 ...
Страница 20: ...20 20 Introduction ...
Страница 51: ...51 Setting Up the Printer 51 5 Click your printer model 6 Click the Install button ...
Страница 84: ...84 84 Handling Paper and Other Media ...
Страница 106: ...106 106 Printing With Epson Drivers for Mac OS X ...
Страница 136: ...136 136 Printing With Epson Drivers for Windows ...
Страница 144: ...144 144 Managing Color With Profiles ...
Страница 208: ...208 208 Using the Optional Auto Take Up Reel 4 Turn the lever to the front to lock the movable unit ...
Страница 224: ...224 224 Index ...


