Custom Printing Your Photos
31
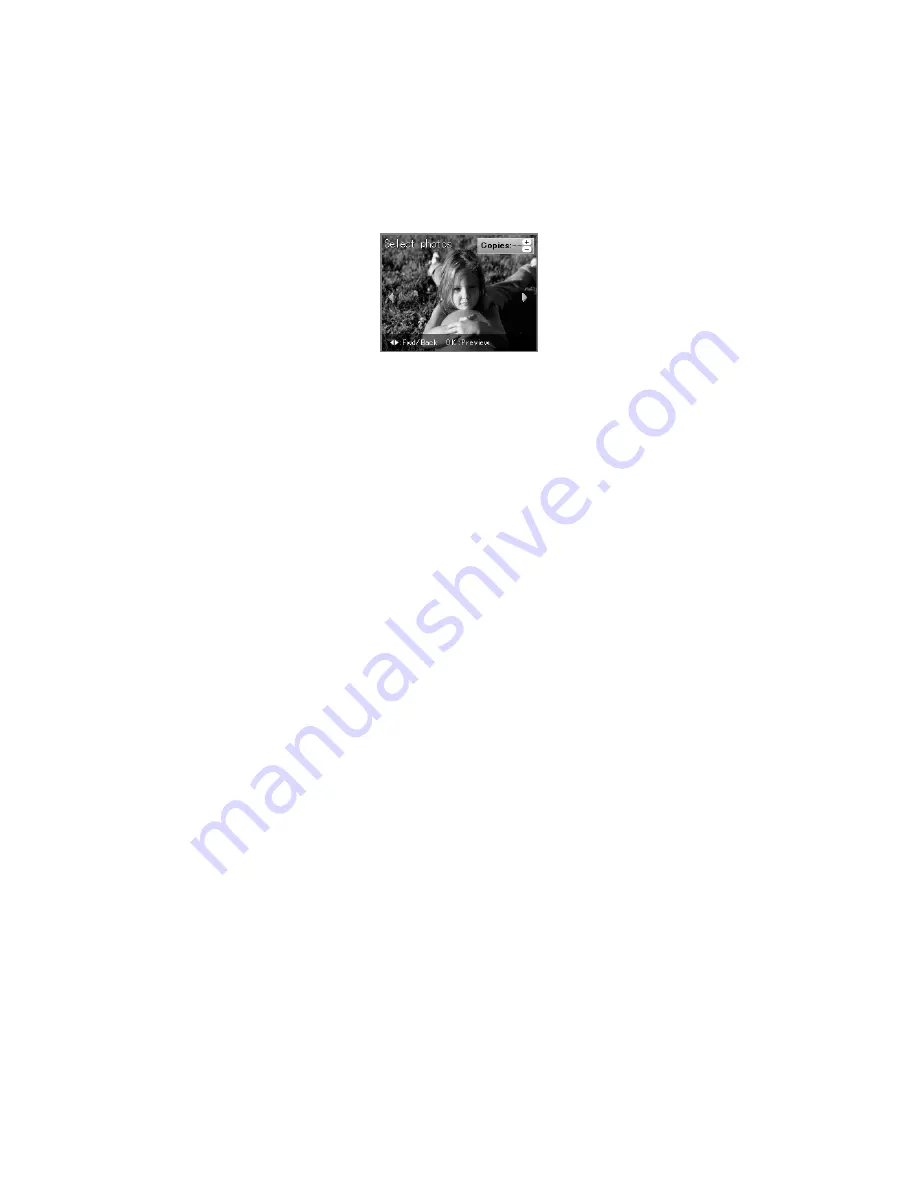
You see your memory card’s first photo displayed on the screen:
7. Use the
l
and
r
arrow buttons to preview each of your photos.
8. While a photo is displayed, use the
+
and
–
buttons to select how many copies
of it you’d like.
Note:
See page 34 for more ways of viewing and selecting photos.
9. When done selecting all your photos for printing, press
OK
.
10. At the preview screen, press the
x
Color
button to print your photos.
To cancel printing, press the
y
Stop
button.
Tip:
For best results, press the
x
Color
button even if you’re printing black-and-white
photos. Color inks can be combined for improved results over black ink alone.
If part of your photo is cut off when you print, select
with Border
as the Layout
setting and turn off
Fit to Frame
(see page 37).
Selecting Your Paper and Making the Correct
Paper Type Setting
Whether you’re printing snapshots or enlargements, Epson Premium Glossy Photo
Paper is ideal for displaying your most cherished photos. It’s available in 4 × 6-,
5 × 7-, 8 × 10-, and 8½ × 11-inch sizes—so you can use it for framing your
favorite photos under glass or including them in your photo album.
To create a different look, try Premium Semigloss Photo Paper or Matte Paper
Heavyweight. These papers let you print vivid, long-lasting photographs with a
reduced- or non-glare finish.
See the inside back cover for all the papers that work with your RX700. To learn
more about a particular paper, check online at www.epson.com.
Содержание Stylus Photo RX700 Series
Страница 1: ...RX700 ALL IN ONE PHOTO CENTER ALL IN ONE PHOTO CENTER Basics ...
Страница 6: ...6 Contents ...
Страница 60: ...60 Printing on CDs and DVDs ...
Страница 92: ...92 Notices ...


