


22
Making Prints From Your Memory Card
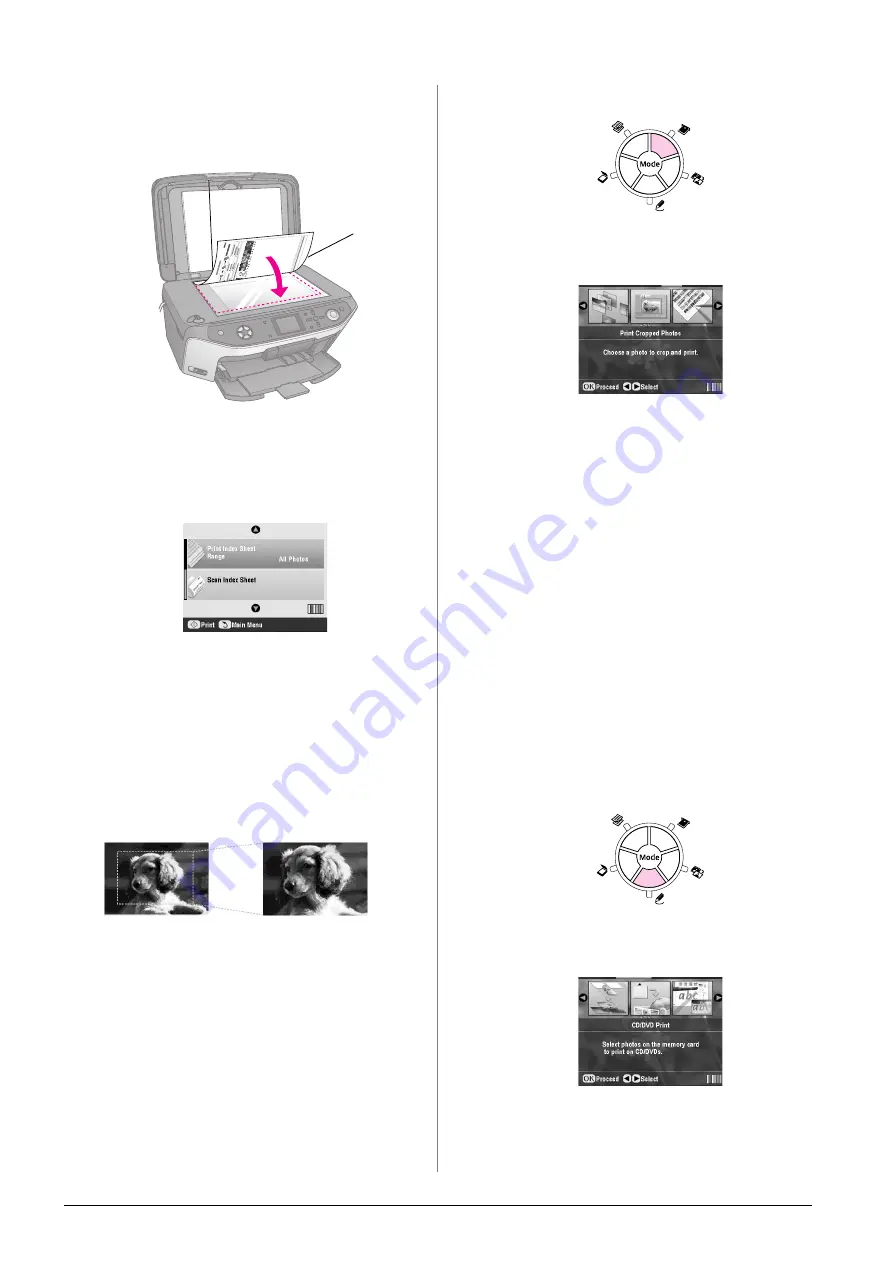
2.
Place the index sheet face-down on the document
table, so that the top edge of the sheet is aligned
with the left edge of the document table.
3.
Close the document cover.
4.
On the LCD screen, make sure
Scan Index Sheet
is selected, then press the
x
Start
button. The sheet
is scanned and your photos are printed.
If you need to cancel printing, press the
y
Stop/Clear Settings
button.
Note:
If you have more than one index sheet, wait for the EPSON
STYLUS PHOTO RX to finish printing. Then repeat the steps
above to scan and print from each additional sheet.
Cropping a Photo
If you have a photo with a subject in it you want to
emphasize, you can crop out the rest of the photo.
Then you can print just the main subject by itself.
1.
Load the type of paper you want to print with (
&
2.
Insert a memory card (
&
3.
Press the
s
Memory Card
mode button.
4.
Use the
l
or
r
button to select
Print Cropped
Photos
, then press
OK
.
5.
Use the
l
or
r
button to select the photo you want
to crop, then press
OK
.
6.
Adjust the cropping area and start printing as
described on page 10.
Printing a CD/DVD
You can use your EPSON STYLUS PHOTO RX to print
photos from your memory card directly onto a
CD/DVD without using your computer.
You can further enhance your CD/DVD collection by
making your own jewel case insert (
&
page 24).
1.
Place your CD/DVD on the CD/DVD tray and
insert it into the EPSON STYLUS PHOTO RX (
&
2.
Insert a memory card (
&
3.
Press the
v
Specialty Print
mode button.
4.
Use the
l
or
r
button to select
CD/DVD Print
, then
press
OK
.
Top
Bottom
Содержание Stylus Photo RX640 series
Страница 51: ...51 English Memo ...
Страница 56: ...Printed in XXXXXX XX XX XX XXX ...


