


Placing your materials on the document table
You can scan reflective documents (like photos or paper). See
Placing Photos and Documents on the
Starting the software and scanning an image
You can start EPSON Scan in the following ways.
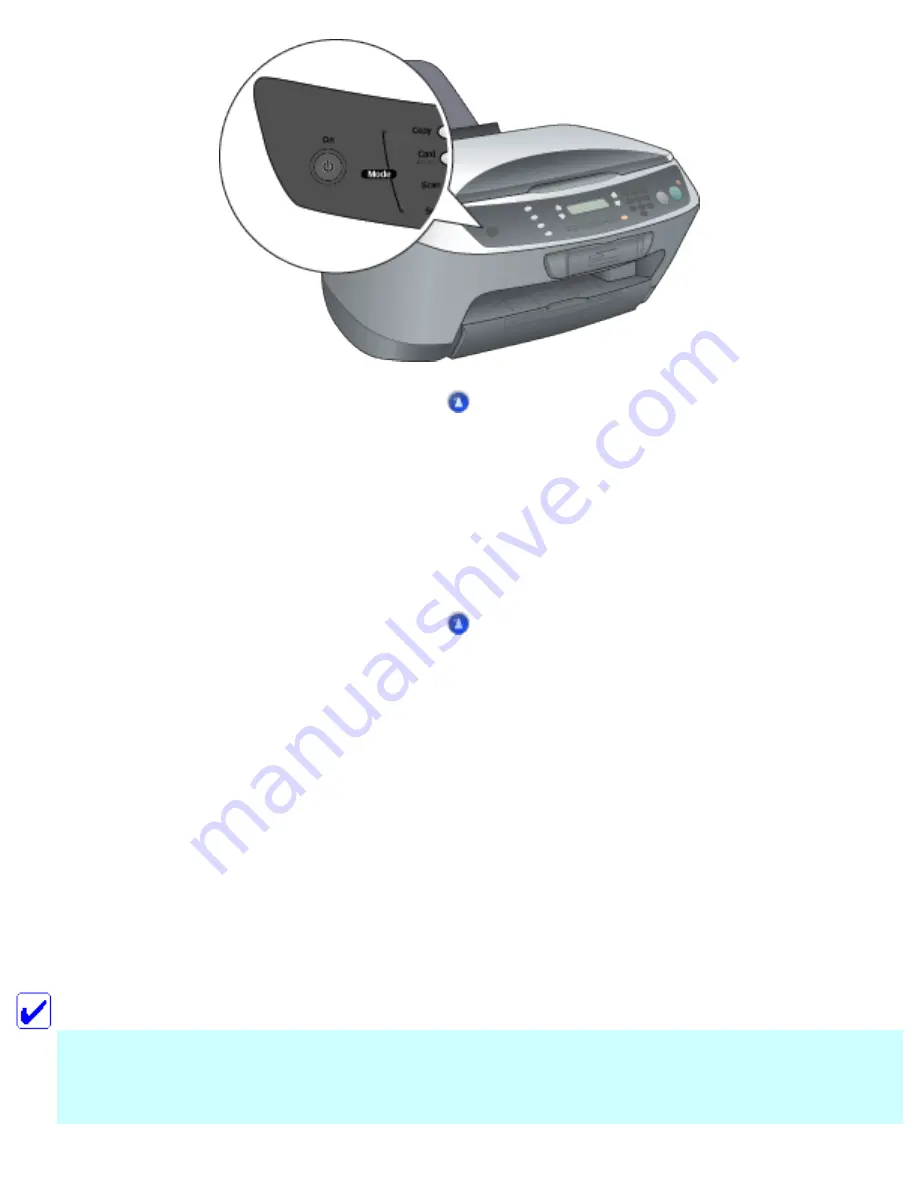
●
Start EPSON Scan directly as a stand alone application
●
Start EPSON Scan from a TWAIN-compliant application
This section provides information on how to start EPSON Scan from ArcSoft PhotoImpression. For
details on starting EPSON Scan as a stand-alone application, see
.
Note for Windows 98 users:
ArcSoft PhotoImpression 5 supports Windows 98 Second Edition or later. For version earlier than
Windows 98 Second Edition, use EPSON Scan or other TWAIN compliant applications. See
Содержание Stylus CX6500
Страница 42: ...For more information on EPSON Smart Panel see Overview of EPSON Smart Panel Top ...
Страница 92: ......
Страница 99: ...Printing on Envelopes Explains how to print on envelopes Top ...
Страница 108: ... Top ...
Страница 117: ... Top ...
Страница 125: ...Click Print to start printing Top ...
Страница 129: ... Top ...
Страница 161: ...Click the Page Layout tab then select the Double Sided Printing checkbox Click Margins to open the Margins dialog box ...
Страница 171: ...Portrait Landscape Folding edge Margin Click OK to return to the Page Layout menu Then click OK to save your settings ...
Страница 184: ...Click Print to start printing Top ...
Страница 187: ...Click the Page Layout tab and select the Multi Page checkbox Then select Pages Per Sheet ...
Страница 195: ...Media Type Settings Click Print to start printing Top ...
Страница 199: ...Click Settings to adjust the way your poster will print The Poster Settings dialog box opens ...
Страница 206: ...Cut off the remaining margins Warning Be careful when using sharp tools Top ...
Страница 209: ...Click the Page Layout tab choose the desired watermark from the Watermark list then click Settings ...
Страница 259: ...See your operating system s documentation for details Top ...
Страница 301: ...The scanned images are sent to the application or saved in the specified folder Top ...
Страница 310: ...Click Scan and Save to start scanning or Scan with Options to change scanning settings Top ...
Страница 329: ...To remove or delete a marquee click the marquee and click the Delete marquee button Top ...
Страница 335: ... For details about the settings refer to the EPSON Smart Panel documentation Top ...
Страница 352: ... Top ...
Страница 361: ... Top ...
Страница 400: ... Top ...
Страница 419: ...Browser Web browser Microsoft Internet Explorer 4 0 or later recommended Top ...


