Replacing the Head Cleaning Set
Preparing and Replacement Timing
When The Head Cleaning Set is nearing the end of its
service life. is displayed
Prepare a new head cleaning set as soon as possible.
When you want to replace it at this stage, press in the
order of
(menu) -
Maintenance
-
Replace
Maintenance Parts
-
Head Cleaning Set
on the control
panel screen, and then do the replacement work. If you
do not do the replacement work from the settings menu,
the head cleaning set counter cannot operate correctly.
c
Important:
About the Head Cleaning Set Counter
The printer tracks amounts consumed using the
head cleaning set counter and displays a message
when the counter reaches the warning level.
If you replace the head cleaning set according to the
message
Head Cleaning Set is at the end of its
service life.
, the counter is cleared automatically.
If you replace it before this message is displayed, be
sure to do the replacement work from the settings
menu.
When Head Cleaning Set is at the end of its service
life. is displayed
See the following page, and replace all the parts included
in the head cleaning set. Printing cannot be performed if
the parts are not replaced.
The head cleaning sets contains the following parts.
❏
Wiper unit (x1)
❏
Flushing pad (x2)
Replacement procedure
Always choose a replacement head cleaning set that is
specified for this printer.
U
“Options and Consumable Products” on
Before starting this procedure, be sure to read the
following:
U
“Cautions when operating” on page 79
Caution:
If you opened the printer cover in operation, do not
touch the area as indicated by the warning labels.
High temperatures may cause burns.
A
In the
Head Cleaning Set is at the end of its
service life.
screen, press
OK
.
When the message is not displayed, press in the
order of
(menu) -
Maintenance
-
Replace
Maintenance Parts
-
Head Cleaning Set
.
B
Check the message, and then press
Start
.
The platen and print head move to the
maintenance position.
Note:
The buzzer sounds 10 minutes after the print head
is moved (default setting).
Check the message on the screen, press
OK
, and
then continue working. After 10 more minutes
have passed, the buzzer sounds again.
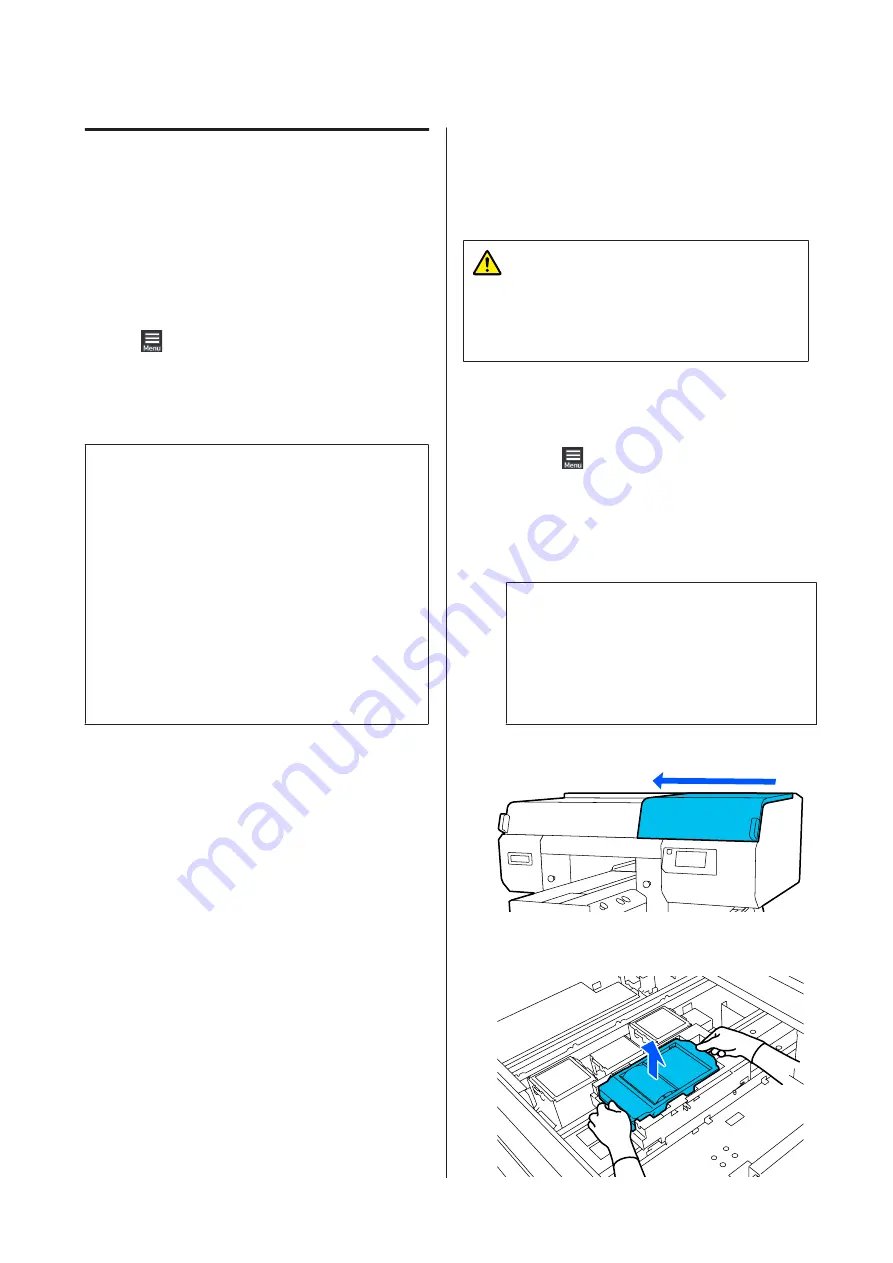
C
Open the right side of the printer cover.
D
Hold the tabs on both sides, and lift the wiper unit
straight up to remove it.
SC-F3000 Series User's Guide
Maintenance
94


