Fine-Tuning the Projector
67
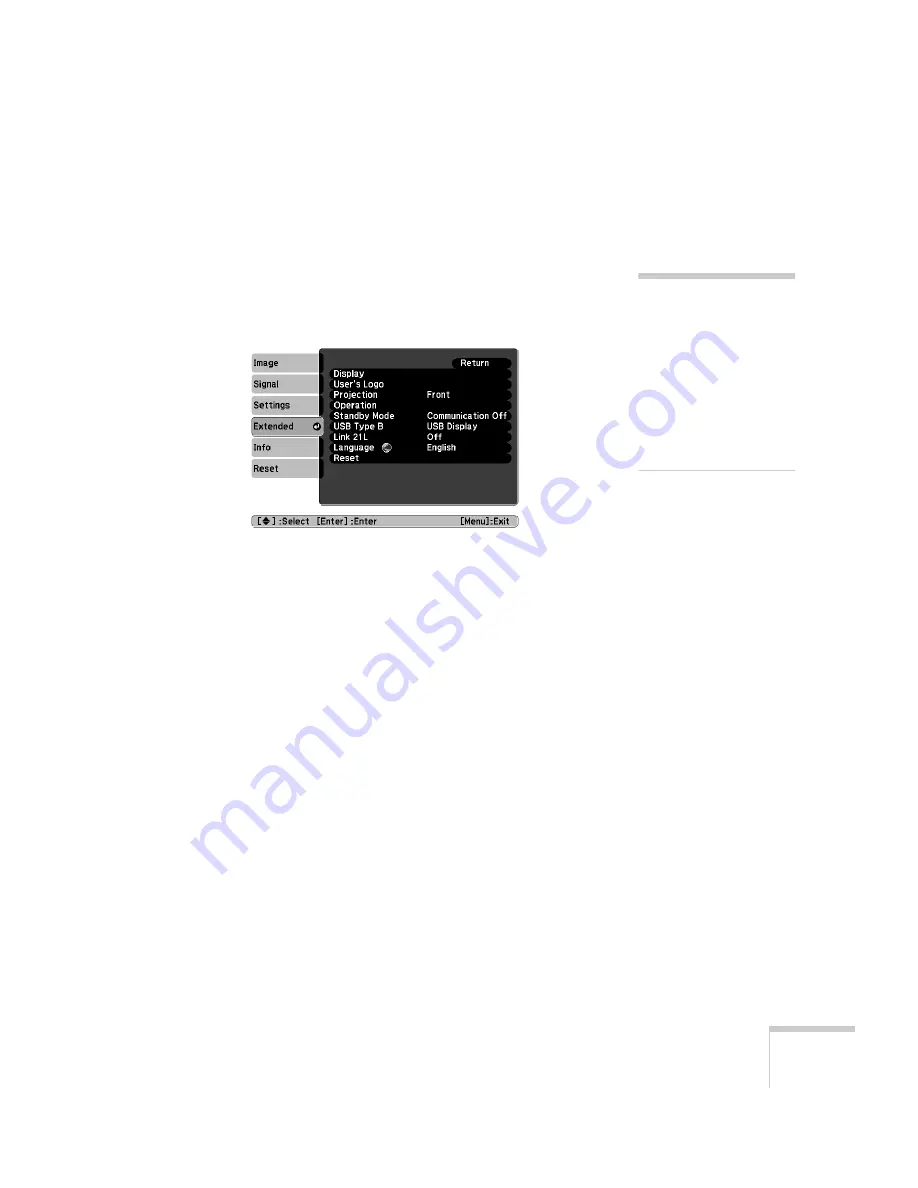
Capturing the Image
Start by displaying the image you want to use from either a computer
or video source, such as a DVD player or digital camera. Then follow
these steps to capture the image and transfer it to the projector:
1. Press the
Menu
button on the remote control, highlight the
Extended
menu, and press
Enter
.
2. Highlight
User’s Logo
and press
Enter
.
3. When you see a message asking
Choose this image as the
User’s Logo?
, select
Yes
and press
Enter
. A selection box
displays over the image.
4. Use the arrow buttons to select the area of the image you want to
use. Then press
Enter
.
5. When you see the message
Select this image?
, highlight
Yes
and press
Enter
.
6. Use the arrow buttons to select a zoom factor (display size) and
press
Enter
.
7. When the message
Save this image as the User’s Logo?
appears, select
Yes
and press
Enter
. Saving the logo may take a
few moments. Do not use your projector, remote control, or
video source while the logo is being saved.
8. When you see the message
Completed
, press
Menu
to exit.
note
When you choose an image
for the user’s logo, it erases
any previously used image.
You can save an image up to
300 × 400 pixels in size.
Once you have saved a new
user’s logo, you cannot
return to the factory default
logo.
Содержание PowerLite X9
Страница 1: ...PowerLite X9 Multimedia Projector User sGuide ...
Страница 4: ...4 ...
Страница 8: ...8 Contents ...
Страница 18: ...18 Welcome ...
Страница 40: ...40 Setting Up the Projector ...
Страница 48: ...48 Displaying and Adjusting the Image ...
Страница 70: ...70 Fine Tuning the Projector ...
Страница 80: ...80 Maintaining the Projector ...
Страница 100: ...100 Technical Specifications ...
Страница 110: ......


