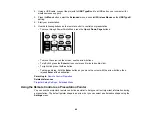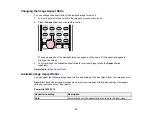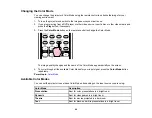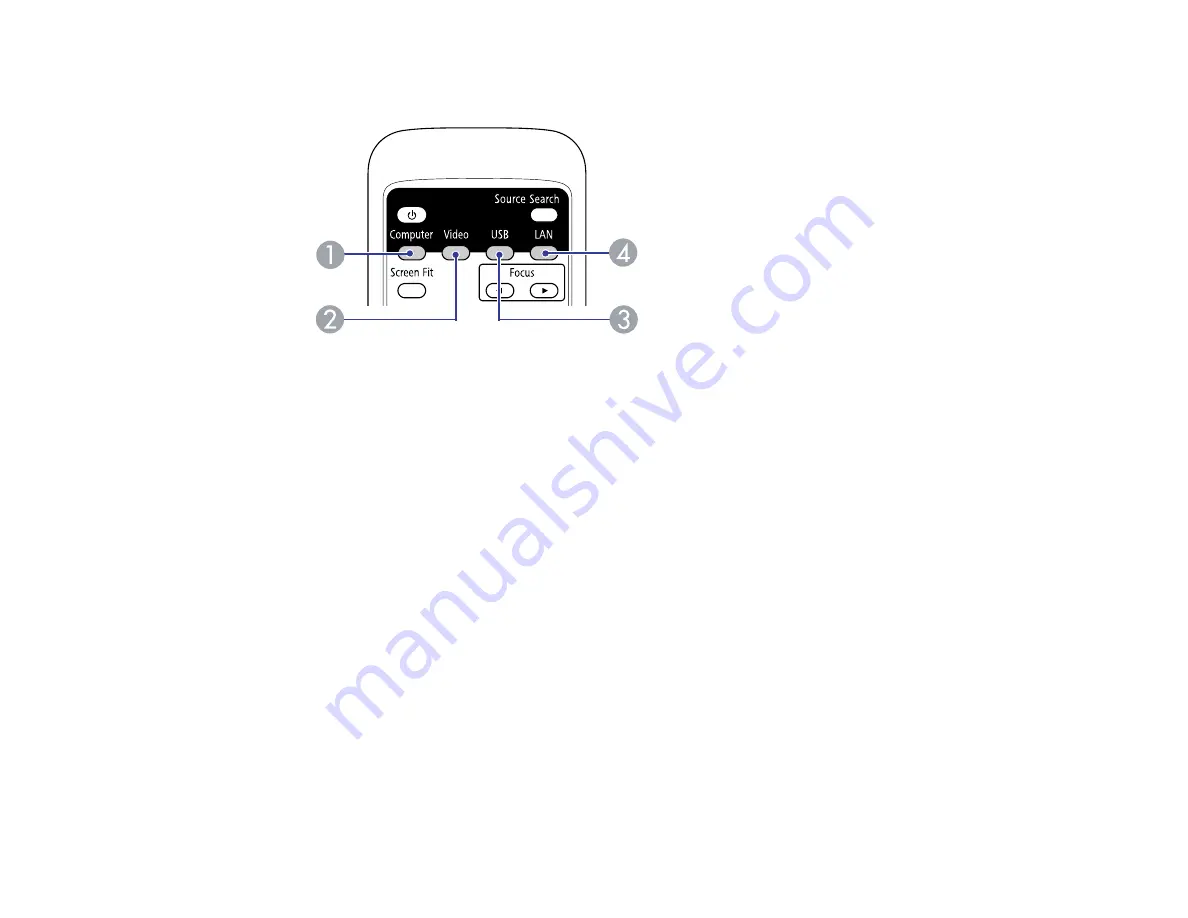
• Press the button for the source you want on the remote control. If there is more than one port for
that source, press the button again to select the other source.
1
Computer port sources
2
Video, S-Video, and HDMI sources
3
USB port sources (computer display and external devices)
4
Network sources
4.
If you see a blank screen or a "No Signal" message, try the following:
• Check that the device cables are securely connected to the projector and the device.
• Make sure the projector is turned on and its lens cover is open.
• For laptop computers, make sure you have set up your laptop to output its display properly.
Parent topic:
Using Basic Projector Features
Projection Modes
Depending on how you positioned the projector, you may need to change the projection mode so your
images project correctly.
•
Front
(default setting) lets you project from a table in front of the screen.
•
Front/Ceiling
flips the image over top-to-bottom to project upside-down from a ceiling or wall mount.
•
Rear
flips the image horizontally to project from behind a translucent screen.
89
Содержание PowerLite 1830
Страница 1: ...PowerLite 1830 1915 1925W Projector User s Guide ...
Страница 2: ......
Страница 8: ......
Страница 21: ...Projector Parts Remote Control 1 Power button 2 Computer button cycles through connected computer sources 21 ...
Страница 24: ...Front Rear Ceiling 24 ...
Страница 47: ...1 Open the battery cover as shown 2 Insert the batteries with the and ends facing as shown 47 ...
Страница 52: ...5 Select the Basic menu and press Enter PowerLite 1830 PowerLite 1915 1925W 52 ...
Страница 56: ...2 Insert the wireless LAN module into the port 3 Replace the cover 56 ...
Страница 80: ...2 Press a keystone button on the projector s control panel PowerLite 1830 PowerLite 1915 1925W 80 ...
Страница 117: ...Component video input source Composite video input source 117 ...
Страница 134: ...2 Open the air filter cover 134 ...

