79
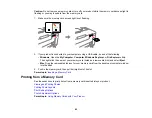
Note:
If you do not see a notification, check to see if a number appears in the status area at the
lower-right corner of the screen. Click this number to open the notifications menu, then click
Add
to Cloud Print
.
• Open a web browser and enter
chrome://devices
in the address bar. Skip to step 4.
• If you see a registration confirmation screen instead, click
Register
.
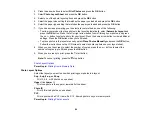
4.
Click
Add Device
.
5.
Click the
Register
button that appears next to your product.
6.
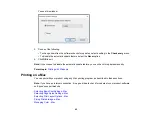
Click
Register
on the confirmation screen. Your product's LCD screen displays a confirmation
message.
7.
Select
OK
or press the
OK
button on your product to confirm the Google Cloud Print connection and
print a test page.
8.
To print to the connected product, select the print command in your Chrome app.
Your product is now linked to your Google Account and can be accessed from any Chromebook where
you are logged in, as long as you have Internet access. For more information on using Google Cloud
Print and for a list of supported apps, visit the
site.
Parent topic:
Related tasks
Related topics
Cancelling Printing Using a Product Button
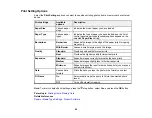
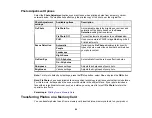
If you need to cancel printing, press the
stop button on your product.
Parent topic:
Содержание PM-525
Страница 1: ...PM 525 User s Guide ...
Страница 2: ......
Страница 10: ......
Страница 11: ...11 PM 525 User s Guide Welcome to the PM 525 User s Guide For a printable PDF copy of this guide click here ...
Страница 16: ...16 Printer Parts 1 Edge guide 2 Rear paper feed 3 Feeder guard 4 Rear paper feed cover 5 Control panel ...
Страница 40: ...40 2 Raise the control panel then open the feeder guard 3 Slide the edge guide to the right ...
Страница 47: ...47 Parent topic Selecting the Paper Settings Control Panel ...
Страница 132: ...132 3 If necessary carefully pull out any jammed paper from the front 4 Open the printer cover ...

