4109192 Rev.0
4109192 Rev.0
4109192 Rev.0
4109192
Rev.0
1-B C
1-B M
1-B Y
1-B
K
19
Adding a Date Stamp
You can add the date your photos were originally
taken to the bottom right corner of each photo.
Note:
The date comes from your camera, not from the printer.
If this information is incorrect, adjust the date setting on your
camera.
1
Press
Menu
.
2
Press
u
or
d
to highlight
Setup
, then press
OK
.
3
Press
u
or
d
to highlight
Date Stamp
, then
press
OK
.
4
Highlight
On
, then press
OK
.
Note:
If a card is already inserted, you need to remove it and
reinsert it before the setting takes effect. (Or press
Cancel
and
select
Yes
to cancel all settings.) Your photos are automatically
date-stamped until you turn off the setting.
Printing Photos in Black-and-White or
Sepia
You can print pictures in black-and-white or in a sepia
tone (like an old-fashioned photo) even when the
originals are in color. Your original images are not
changed.
Note:
The color effect you choose is kept until you remove the
memory card or cancel all settings. To use the same color effect
whenever you print, see page 58.
1
Select a photo to print black-and-white or sepia.
2
Press
Menu
.
3
Press
u
or
d
to highlight
Edit
, then press
OK
.
4
Press
u
or
d
to highlight
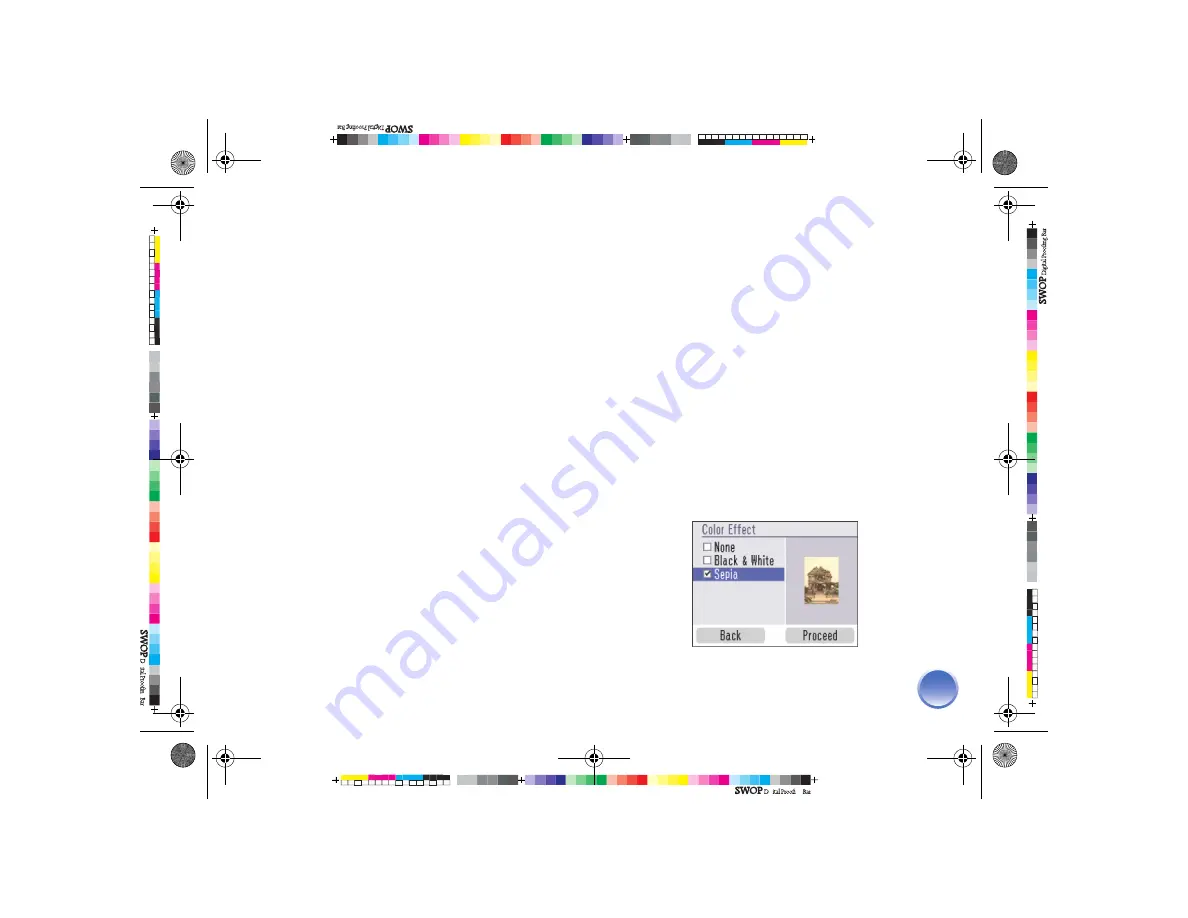
Color Effect
, then press
OK
. You see this screen:
PictureMate.book Page 19 Thur sday, January 18, 2007 4:43 PM


