


13-2
Using Your Camera for Presentations
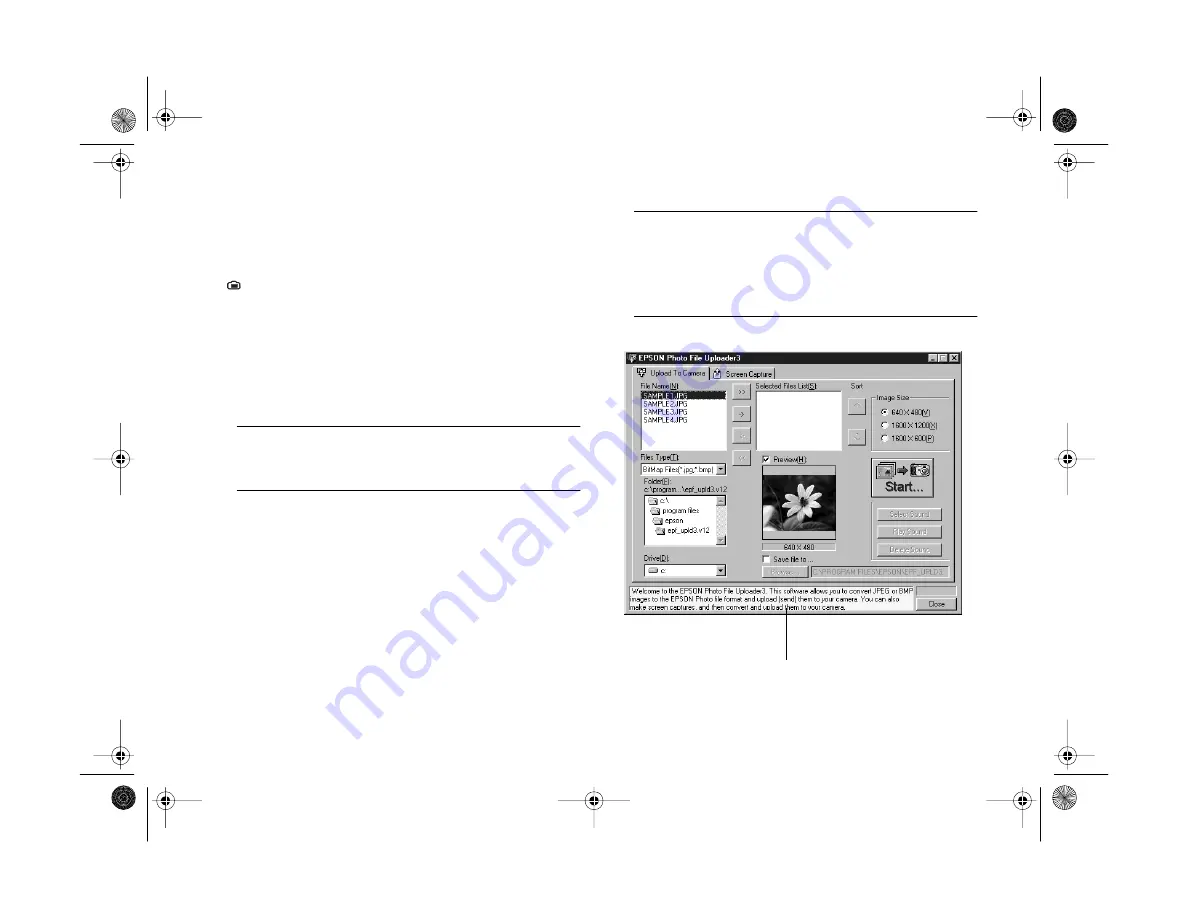
Uploading Images From Your Windows PC
Before you start, make sure the camera is connected to your
computer, the computer is on, and the camera dial is turned
to
. Then follow these steps:
1
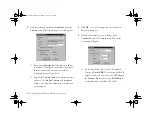
Start the EPSON Photo File Uploader3 program. Click
Start
, point to
Programs
,
EPSON PhotoFile
Uploader3
, then click
EPSON Photo File
Uploader3
. You see a screen like the one on the right.
NOTE
Only one application at a time can access the camera. Make
sure neither EPSON Photo!3 nor Image Expert are running.
2
Use the
Drive
and
Folder
lists to locate the folder
containing the images you want to upload. Double-click
the folder to select it.
The images in the folder are listed in the
File Name
box.
NOTE
If you want to upload images from a network drive, you may
need to map the drive before opening the EPSON Photo File
Uploader3 software. See your Windows documentation for
more information.
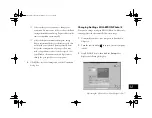
check this box for helpful information
Vega.book Page 2 Monday, September 13, 1999 11:36 AM
Содержание PhotoPC 850Z
Страница 1: ......
Страница 2: ...A B User s Guide Vega book Page i Monday September 13 1999 11 36 AM ...
Страница 31: ...1 18 Setting Up Your Camera and Software Vega book Page 18 Monday September 13 1999 11 36 AM ...
Страница 51: ...2 20 Taking Pictures Vega book Page 20 Monday September 13 1999 11 36 AM ...
Страница 59: ...3 8 Setting Up Special Shots Vega book Page 8 Monday September 13 1999 11 36 AM ...
Страница 121: ...8 16 Getting Photos Into Your Computer Vega book Page 16 Monday September 13 1999 11 36 AM ...
Страница 155: ...11 10 Editing Images Vega book Page 10 Monday September 13 1999 11 36 AM ...
Страница 215: ...16 14 Maintenance and Troubleshooting Vega book Page 14 Monday September 13 1999 11 36 AM ...
Страница 231: ...B 8 Specifications Vega book Page 8 Monday September 13 1999 11 36 AM ...