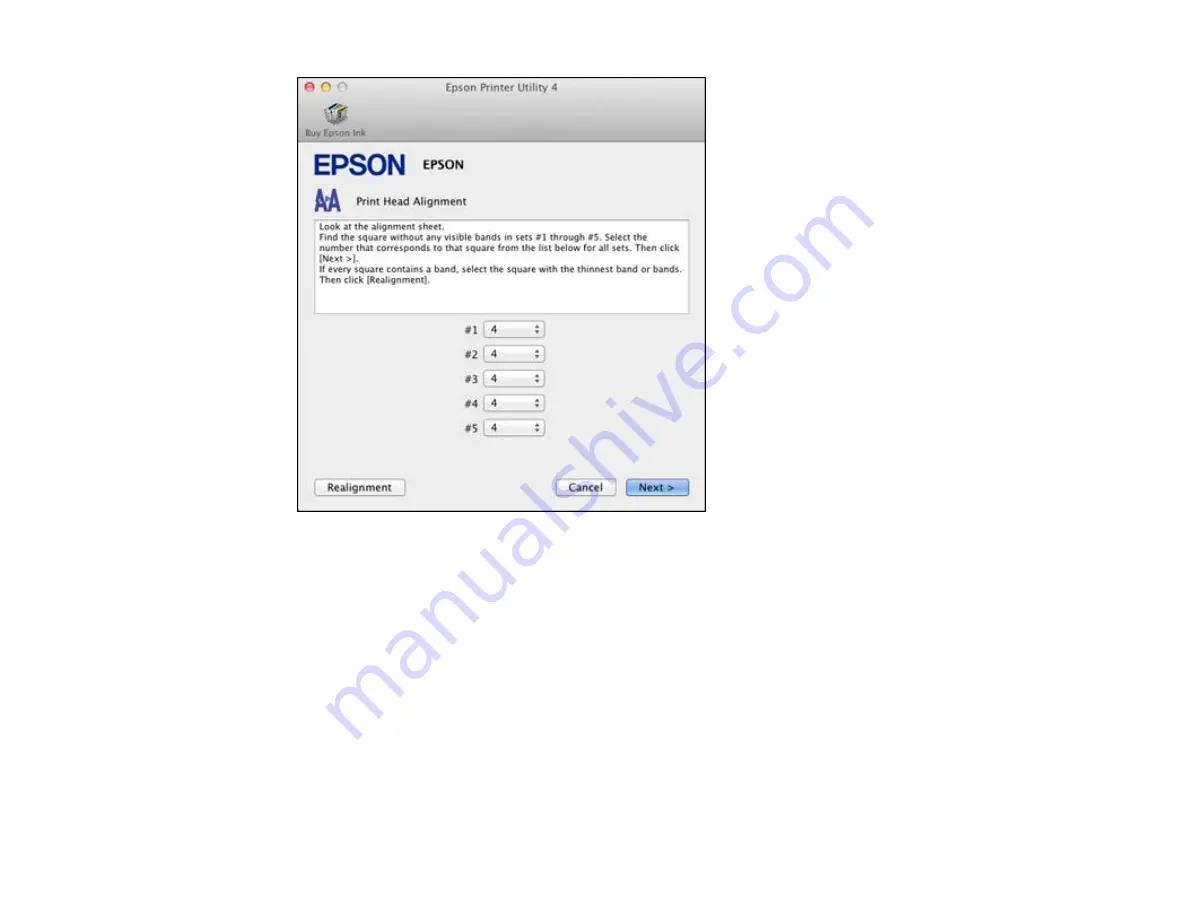
5.
Check the printed pattern and follow the instructions on the screen to choose the number
representing the best printed pattern for each set.
• After choosing each pattern number, click
Next
.
• If no patterns are aligned in one or more of the sets, choose the closest one in each set and click
Realignment
. Then print another alignment sheet and check it.
Note:
Click
Skip
(where available) if you want to skip a particular alignment sheet.
6.
When you are done, click
Finish
.
Parent topic:
Cleaning the Paper Path
If you see ink on the back of a printout, you can clean the paper path to remove any excess ink.
130
Содержание L210
Страница 1: ...L210 L350 User s Guide ...
Страница 2: ......
Страница 9: ...L210 L350 User s Guide Welcome to the L210 L350 User s Guide 9 ...
Страница 13: ...Product Parts Inside 1 Scanner unit 2 Print head in home position Parent topic Product Parts Locations 13 ...
Страница 64: ...64 ...
Страница 70: ... Normal preview Click the Auto Locate icon to create a marquee dotted line on the preview image 70 ...
Страница 81: ...81 ...
Страница 112: ...7 Refill the ink tank with the correct color ink up to the upper line on the ink tank 112 ...
Страница 118: ...118 ...
Страница 119: ...4 Click Print 5 Check the printed pattern to see if there are gaps in the lines Print head is clean 119 ...
Страница 126: ...126 ...
Страница 129: ...129 ...


