118
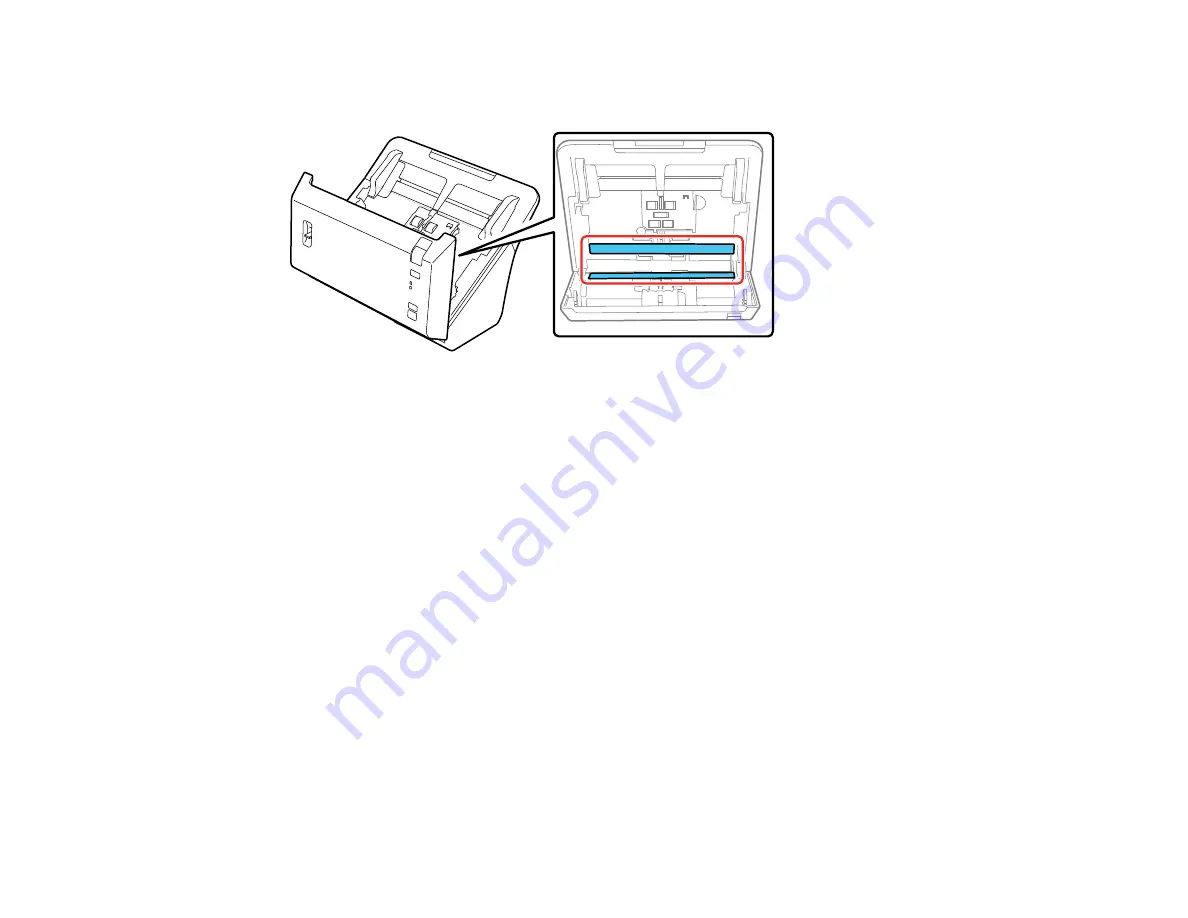
4. Wipe off any dust or dirt on the glass scanning surfaces using the included microfiber cloth or a soft,
dry cloth.
Note:
If the glass surfaces are stained with grease or some other hard-to-remove material, use a
small amount of glass cleaner on a soft cloth to remove it. Wipe off all remaining liquid.
Caution:
Do not spray glass cleaner directly on the scanning surfaces. Be careful not to place too
much force on the glass.
5. Close the scanner cover.
6. Plug in the AC adapter and turn on the scanner.
Parent topic:
Solving Scanned Image Quality Problems
Related references
Related tasks
Scanned Image Edges are Cropped
If the edges of a scanned image are cropped, try the following solutions:
• Select
Auto Detect
as the Size setting (Epson Scan) or the Document Size setting (Document
Capture Pro or Document Capture).
Содержание FF-640
Страница 1: ...FF 640 User s Guide ...
Страница 2: ......
Страница 6: ...6 A Note Concerning Responsible Use of Copyrighted Materials 136 Copyright Attribution 136 ...
Страница 19: ...19 2 Slide the input tray edge guides all the way out ...
Страница 24: ...24 2 Slide the input tray edge guides all the way out ...
Страница 29: ...29 6 Slide the edge guides against the edges of the carrier sheet ...
Страница 33: ...33 2 Slide the input tray edge guides all the way out ...
Страница 38: ...38 2 Slide the input tray edge guides all the way out ...
Страница 43: ...43 2 Slide the input tray edge guides all the way out ...
Страница 45: ...45 4 Slide the edge guides against the edges of the plastic card ...
Страница 46: ...46 5 Set the page separation lever to the position shown here When scanning a single embossed plastic card ...
Страница 49: ...49 2 Slide the input tray edge guides all the way out ...
Страница 52: ...52 5 Slide the edge guides against the edges of the sheet ...
Страница 56: ...56 You see a window like this Open the FastFoto software and select Scan Documents You see a window like this ...
Страница 60: ...60 Windows OS X ...
Страница 93: ...93 5 Slide the pickup rollers to the right and remove them 6 Remove the lower pickup roller from the spindle ...
Страница 95: ...95 9 Remove the middle pickup roller from the spindle ...
Страница 111: ...111 4 Gently pull out any jammed originals from inside the scanner ...


