A
Displays the
Select Photo Menu
that allows you to select photos easily.
B
Move the cursor to a photo, and then press the + button to select it. The selected photos have the number of prints
on them.
Guide to the Select Photo Screen (Single View)
Here you can view enlarged photos one by one. Press the
l
or
r
button to see the previous or next photo. If you
want to display a photo without icons, press the
button. Press this button again to restore the icons.
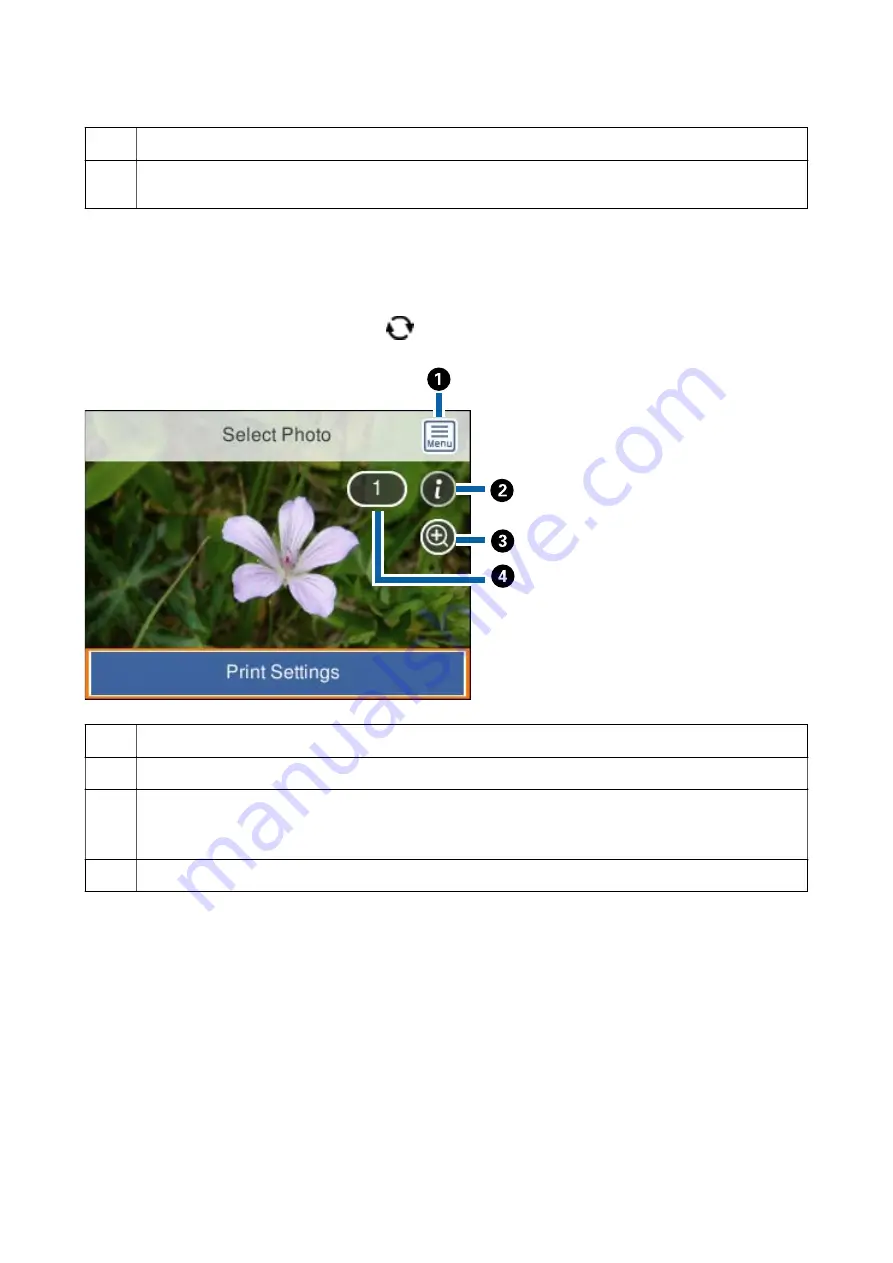
A
Displays the
Select Photo Menu
that allows you to select photos easily.
B
Displays Exif information such as the shooting date or shutter speed.
C
Enlarges a photo. Press the + button to enlarge the photo and press the
u
d
l
r
buttons to display the part you
want to check. Press the OK button to return to the original view. Enlargement on this screen does not change the
print result.
D
Sets the number of prints by pressing the - or + button.
Related Information
&
“Menu Options for Selecting Photos” on page 87
User's Guide
Printing
82
Содержание Expression Premium XP-6105
Страница 1: ...User s Guide NPD5955 01 EN ...
Страница 75: ...Note Enable the Thumbnail check box at the top of the preview window User s Guide Placing Originals 75 ...
Страница 79: ... Copying on a CD DVD Label on page 130 User s Guide Loading a CD DVD for Printing 79 ...
Страница 139: ...3 Click Make Job Settings User s Guide Scanning 139 ...
Страница 206: ...1 Open the scanner unit with the document cover closed 2 Remove the jammed paper User s Guide Solving Problems 206 ...


