213
Note:
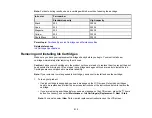
For best printing results, use up a cartridge within 6 months of opening the package.
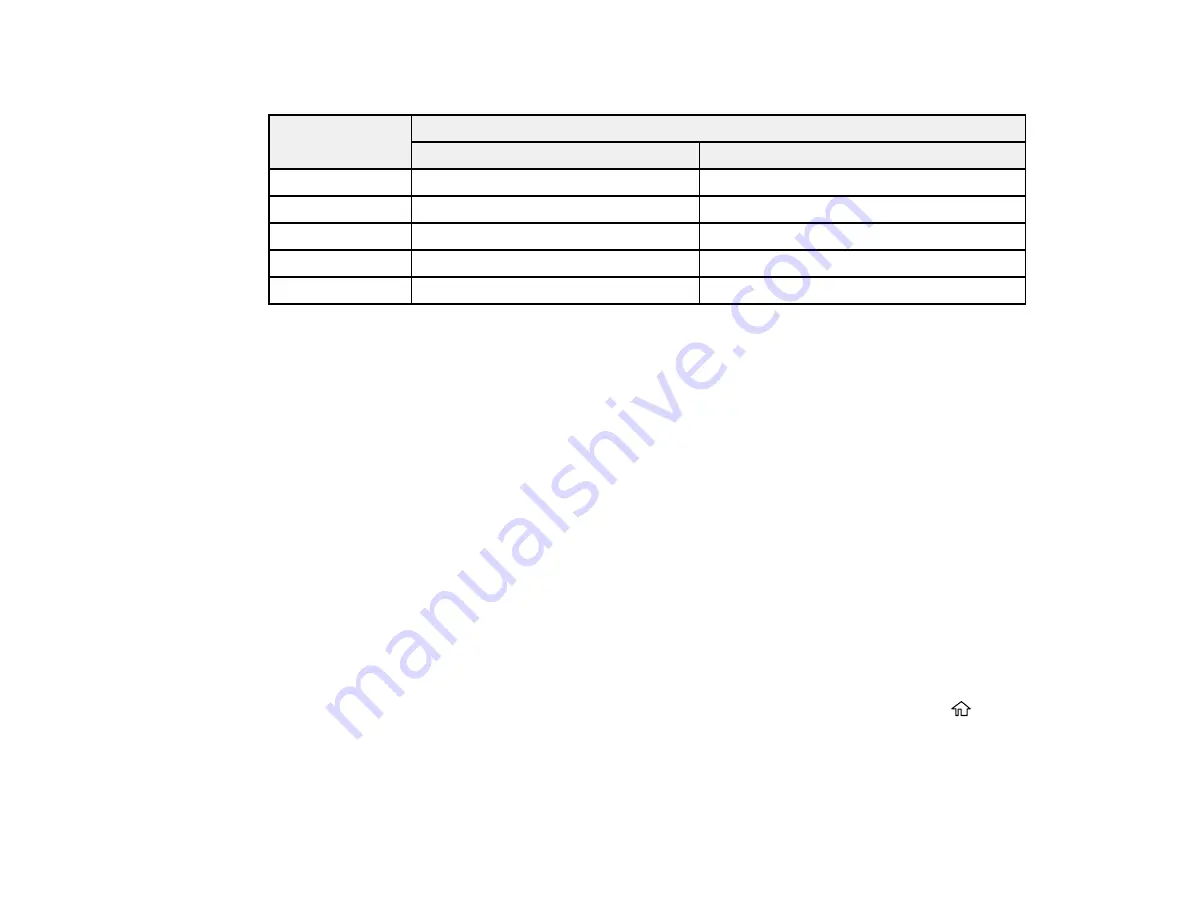
Ink color
Part number
Standard-capacity
High-capacity
Black
302
302XL
Cyan
302
302XL
Magenta
302
302XL
Yellow
302
302XL
Photo Black
302
302XL
Parent topic:
Purchase Epson Ink Cartridges and Maintenance Box
Related references
Removing and Installing Ink Cartridges
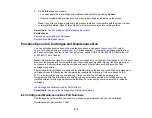
Make sure you have your replacement cartridges handy before you begin. You must install new
cartridges immediately after removing the old ones.
Caution:
Leave your old cartridges in the product until you are ready to replace them to prevent the print
head nozzles from drying out. Do not open ink cartridge packages until you are ready to install the ink.
Cartridges are vacuum packed to maintain reliability.
Note:
If you remove a low or expended ink cartridge, you cannot re-install and use the cartridge.
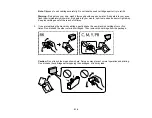
1.
Turn on your product.
• If an ink cartridge is expended, you see a message on the LCD screen. Note which cartridges
need to be replaced and follow the on-screen instructions or the instructions below to replace the
cartridge.
• If you are replacing a cartridge before you see a message on the LCD screen, press the
home
button if necessary, and select
Maintenance
>
Ink Cartridge(s) Replacement
>
Next
>
Start
.
Note:
You can also select
How To
to view ink replacement instructions on the LCD screen.
Содержание Expression Premium XP-6005
Страница 1: ...XP 6000 User s Guide ...
Страница 2: ......
Страница 13: ...13 XP 6000 User s Guide Welcome to the XP 6000 User s Guide For a printable PDF copy of this guide click here ...
Страница 24: ...24 Product Parts Inside 1 Document cover 2 Scanner glass 3 Memory card slot ...
Страница 57: ...57 1 Slide in the output tray 2 Open the front cover until it clicks ...
Страница 58: ...58 3 Pull on the front cover to slide out the lower paper cassette 4 Slide the edge guides outward ...
Страница 131: ...131 You see an Epson Scan 2 window like this ...
Страница 133: ...133 You see an Epson Scan 2 window like this ...
Страница 135: ...135 You see this window ...
Страница 178: ...178 2 Select Settings and press the OK button 3 Select Camera Print Settings and press the OK button ...
Страница 183: ...183 1 Open the front cover 2 Raise the control panel ...
Страница 264: ...264 Caution Do not touch the flat white cable or the metal bar inside your product 3 Close the scanner unit ...

