117
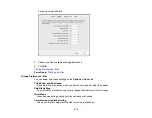
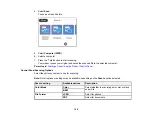
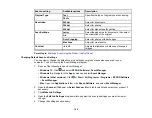
Color Options Settings
Manual Settings
Lets you select manual color adjustments. Click the arrow next to
Advanced Settings
and select
settings for
Brightness
,
Contrast
,
Saturation
, and individual color tones. You can also select a color
Mode
setting for printing photos and graphics and the
Fix Red-Eye
setting to reduce or remove red-
eye in photos. Depending on the selected color mode, you can also adjust the midtone density using
the
Gamma
setting.
Fix Photo
Improves the color, contrast, and sharpness of flawed photos. Click the arrow next to
Advanced
Settings
and select the
Fix Red-Eye
setting to reduce or remove red-eye in photos.
Note:
Fix Photo uses a sophisticated face recognition technology to optimize photos that include
faces. For this to work, both eyes and the nose must be visible in the subject's face. If your photo
includes a face with an intentional color cast, such as a statue, you may want to turn off
Fix Photo
to
retain the special color effects.
Off (No Color Adjustment)
Turns off color management in your printer software so you can manage color using only your
application software.
Note:
An ICC profile is required if color management is turned off.
Parent topic:
Selecting Printing Preferences - Mac
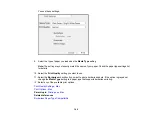
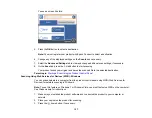
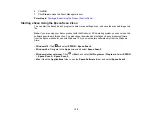
You can select printing preferences that apply to all the print jobs you send to your product.
1.
In the Apple menu or the Dock, select
System Preferences
.
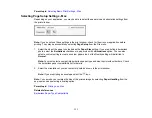
2.
Select
Print & Fax
,
Print & Scan
, or
Printers & Scanners
, select your product, and select
Options
& Supplies
.
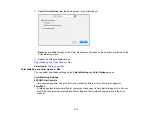
3.
Select
Driver
or
Options
.
Содержание Expression Premium XP-6005
Страница 1: ...XP 6000 User s Guide ...
Страница 2: ......
Страница 13: ...13 XP 6000 User s Guide Welcome to the XP 6000 User s Guide For a printable PDF copy of this guide click here ...
Страница 24: ...24 Product Parts Inside 1 Document cover 2 Scanner glass 3 Memory card slot ...
Страница 57: ...57 1 Slide in the output tray 2 Open the front cover until it clicks ...
Страница 58: ...58 3 Pull on the front cover to slide out the lower paper cassette 4 Slide the edge guides outward ...
Страница 131: ...131 You see an Epson Scan 2 window like this ...
Страница 133: ...133 You see an Epson Scan 2 window like this ...
Страница 135: ...135 You see this window ...
Страница 178: ...178 2 Select Settings and press the OK button 3 Select Camera Print Settings and press the OK button ...
Страница 183: ...183 1 Open the front cover 2 Raise the control panel ...
Страница 264: ...264 Caution Do not touch the flat white cable or the metal bar inside your product 3 Close the scanner unit ...


