6.
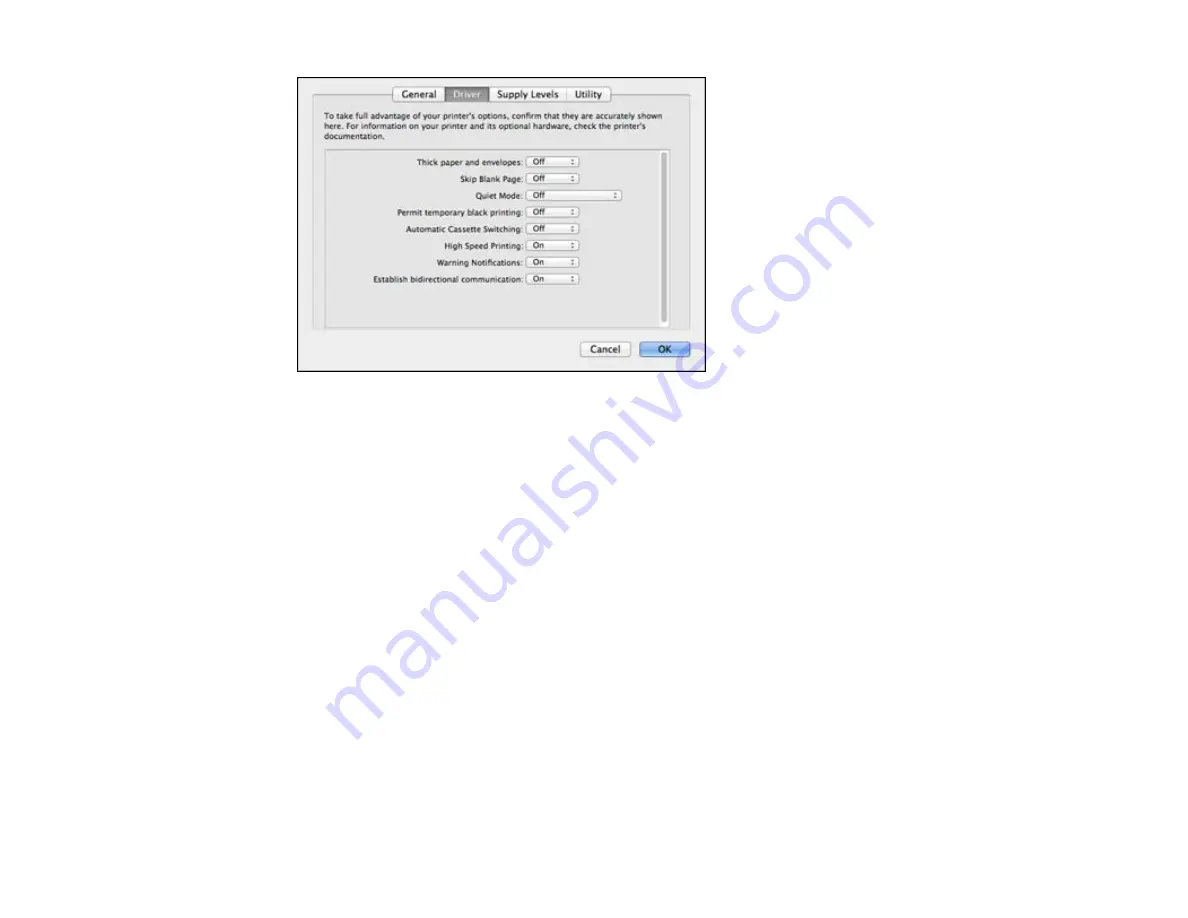
Select
On
as the
Permit temporary black printing
setting.
7.
Click
OK
.
8.
Close the utility window.
9.
Load plain paper or an envelope in your product.
10. Access the print settings in your print application.
11. Select
Print Settings
from the pop-up menu.
12. Select
Plain Paper/Bright White Paper
or
Envelope
as the paper type setting.
13. Select the
Grayscale
option.
14. Click
to print your document.
Parent topic:
Printing With Black Ink and Expended Color Cartridges
Related topics
Conserving Low Black Ink with Windows
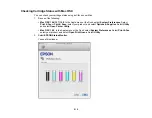
The following window appears when black ink runs low and there is more color ink.
223
Содержание Expression Photo XP-950
Страница 1: ...XP 950 User s Guide ...
Страница 2: ......
Страница 13: ...XP 950 User s Guide Welcome to the XP 950 User s Guide For a printable PDF copy of this guide click here 13 ...
Страница 120: ...120 ...
Страница 126: ... Normal preview Click the Auto Locate icon to create a marquee dotted line on the preview image 126 ...
Страница 137: ...137 ...
Страница 156: ...Placing Originals on the Scanner Glass Related topics Selecting Epson Scan Settings 156 ...
Страница 174: ...2 Press the left or right arrow button and then select Setup 3 Scroll down and select External Device Setup 174 ...
Страница 256: ...3 Remove any jammed paper from the duplexer 4 Open the duplexer and remove any jammed paper from inside it 256 ...


