40
Selecting Wireless Network Settings from the Control Panel
You can select or change wireless network settings using your product control panel.
To install your product on a wireless network, follow the instructions on the
Start Here
sheet and install
the necessary software. The installer program guides you through network setup.
Note:
Breakdown or repair of this product may cause loss of network data and settings. Epson is not
responsible for backing up or recovering data and settings during or after the warranty period. We
recommend that you make your own backup or print out your network data and settings.
1.
Press the
home button, if necessary.
2.
Press the arrow buttons to select
Wi-Fi Setup
and press the
OK
button.
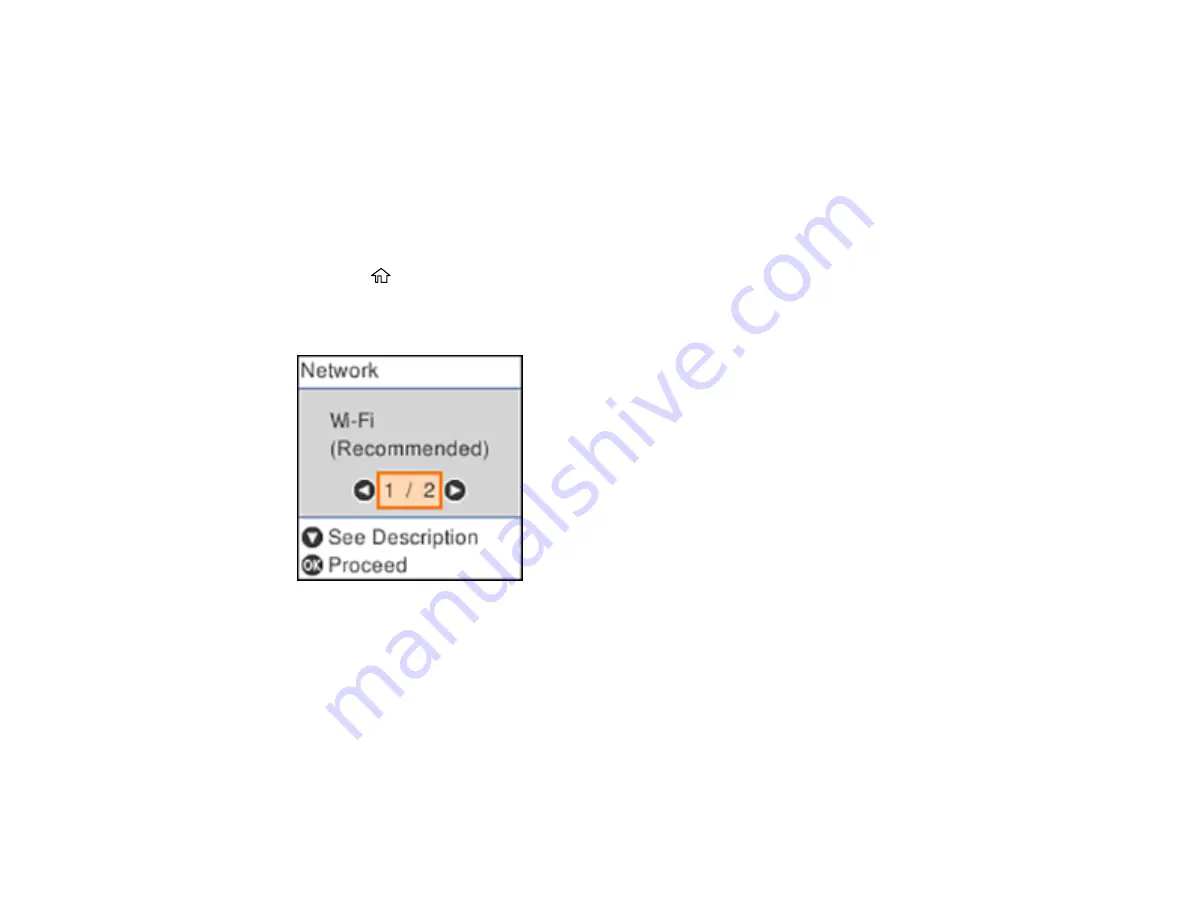
You see this screen:
3.
Press the arrow buttons to select
Wi-Fi (Recommended)
and press the
OK
button twice.
4.
Press the arrow buttons to select
Wi-Fi Setup Wizard
and press the
OK
button.
5.
Press the arrow buttons to select the name of your wireless network and press the
OK
button. If you
do not see your wireless network's name, you can enter it manually.
Note:
To enter the wireless network name manually, select
Other SSIDs
and press the
OK
button.
Enter your network name as described in the next step.
Содержание ET-4800
Страница 1: ...ET 4800 User s Guide ...
Страница 2: ......
Страница 13: ...13 ET 4800 User s Guide Welcome to the ET 4800 User s Guide For a printable PDF copy of this guide click here ...
Страница 128: ...128 You see an Epson Scan 2 window like this ...
Страница 140: ...140 1 Click the Settings button You see a screen like this 2 Click the File Name Settings tab ...
Страница 142: ...142 You see a screen like this 2 Click the Save Settings tab ...
Страница 145: ...145 You see a screen like this 2 Click the Customize Actions tab ...
Страница 147: ...147 You see this window ...
Страница 212: ...212 You see a window like this 5 Click Print ...
Страница 237: ...237 Related concepts Print Head Cleaning Print Head Alignment ...


