


40
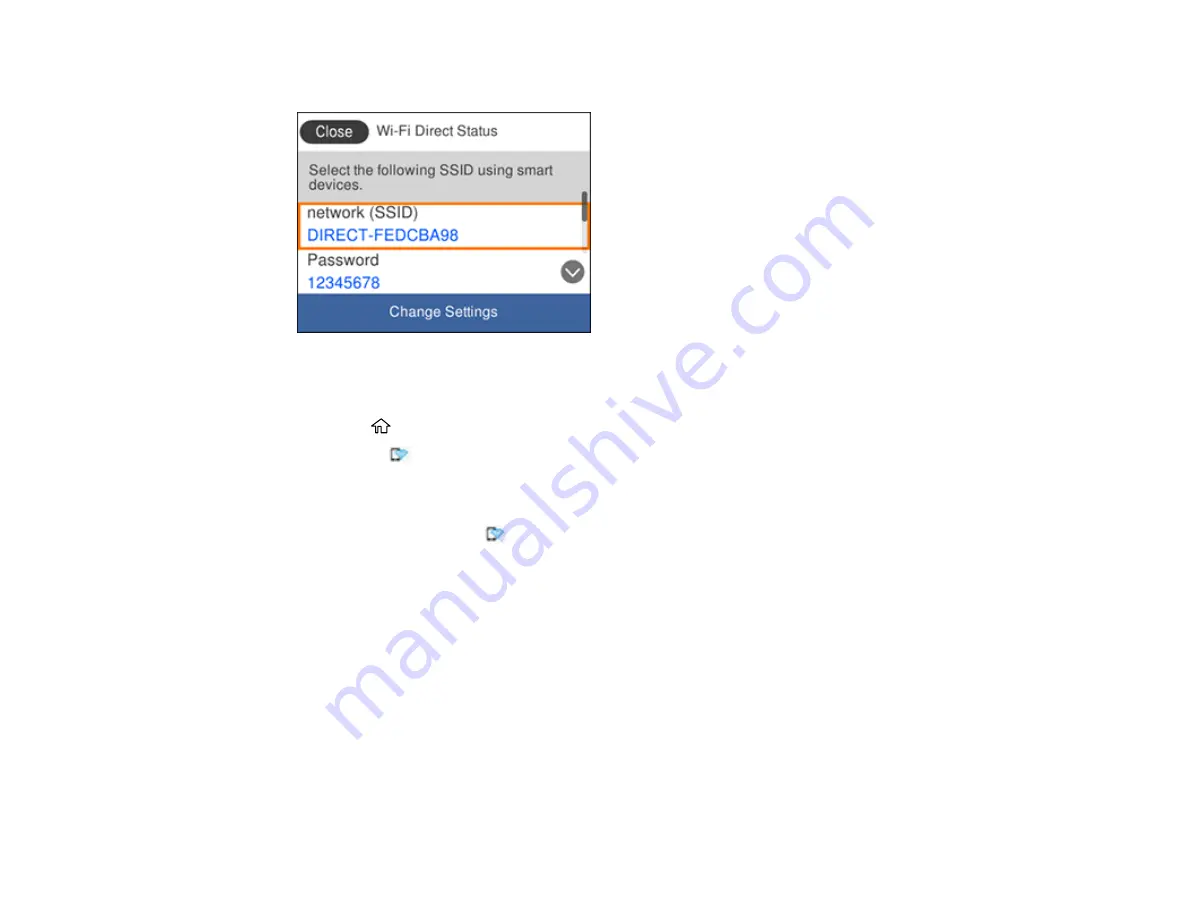
You see a screen like this:
6.
Use your computer or wireless device to select the Wi-Fi network name (SSID) displayed on the
LCD screen, then enter the password shown.
7.
Press the
home button to exit.
You see the
icon on the LCD screen and should be able to connect to your product directly from
your computer or device, and then print. If you are printing from a computer, make sure you installed
the network software as described on the
Start Here
sheet.
Note:
If you don't see the
icon on the LCD screen, you may have selected the wrong network
name or entered the password incorrectly. Repeat these steps to try again.
Parent topic:
Wi-Fi Protected Setup (WPS)
If your network uses a WPS-enabled wireless router or access point, you can quickly connect your
product to the network using Wi-Fi Protected Setup (WPS).
Note:
To check if your router is WPS-enabled, look for a button labeled
WPS
on your router or access
point. If there is no hardware button, there may be a virtual WPS button in the software for the device.
Check your network product documentation for details.
Содержание ET-3750U
Страница 1: ...ET 3750U User s Guide ...
Страница 2: ......
Страница 21: ...21 Product Parts Inside 1 Document cover 2 Scanner glass 3 Control panel ...
Страница 53: ...53 2 Pull out the paper cassette until it stops 3 Slide the edge guides outward ...
Страница 101: ...101 10 Select the Layout tab 11 Select the orientation of your document as the Orientation setting ...
Страница 144: ...144 3 Open the ink tank cover then open the cap for the ink tank you are going to fill ...
Страница 172: ...172 4 Slide out the paper cassette and remove the paper 5 Make sure the ink tank caps are securely closed ...
Страница 176: ...176 7 Make sure the ink tank caps are securely closed and close the ink tank cover 8 Lower the scanner unit ...


