


47
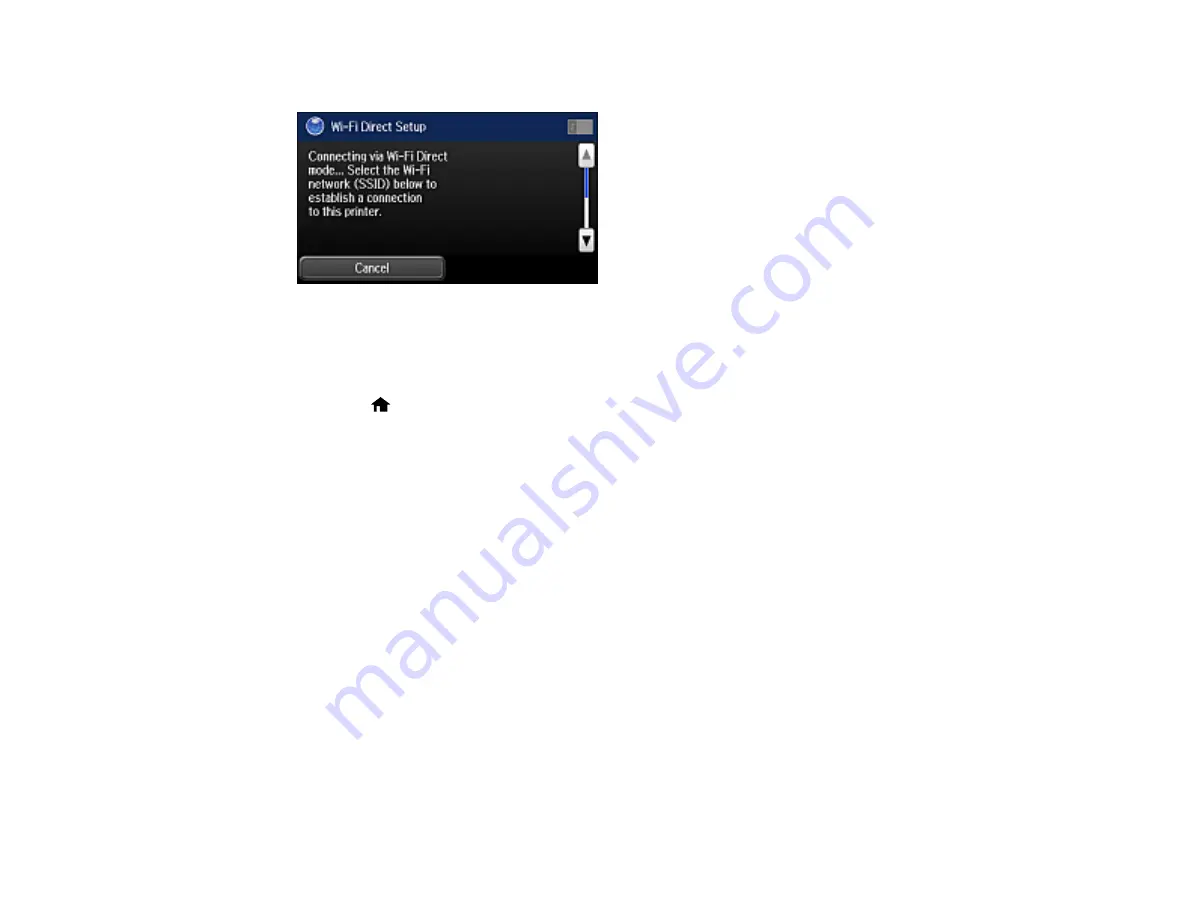
You see this screen:
9.
Scroll down to view the SSID (Wi-Fi network name) and password.
10. Use your computer or wireless device to select the Wi-Fi network name (SSID) displayed on the
LCD screen, then enter the password shown.
11. Press the
home button to return to the Home screen.
You see either an
AP
,
D
, or
Direct
connection symbol on the LCD screen and should be able to print
directly to your product from your computer or device.
Note:
If the
AP
,
D
, or
Direct
connection symbol is not displayed on the LCD screen, Wi-Fi Direct
mode is not enabled. Repeat these steps to try again.
Parent topic:
Related references
Control Panel Buttons and Lights
Related tasks
Entering Characters on the LCD Screen
Wi-Fi Protected Setup (WPS)
If your network uses a WPS-enabled wireless router or access point, you can quickly connect your
product to the network using Wi-Fi Protected Setup (WPS).
Note:
To check if your router is WPS-enabled, look for a button labeled
WPS
on your router or access
point. If there is no hardware button, there may be a virtual WPS button in the software for the device.
Check your network product documentation for details.
Содержание ET-16500
Страница 1: ...ET 16500 User s Guide ...
Страница 2: ......
Страница 55: ...55 2 Pull out the paper cassette and remove the paper cassette cover 3 Slide the edge guides outward ...
Страница 61: ...61 2 Pull out the paper cassette and remove the paper cassette cover 3 Slide the edge guides outward ...
Страница 66: ...66 2 Pull out the paper cassette and remove the paper cassette cover 3 Slide the edge guides outward ...
Страница 70: ...70 3 Open the rear paper feed slot and push it back 4 Slide out the edge guides ...
Страница 88: ...88 Related topics Copying ...
Страница 132: ...132 You see an Epson Scan 2 window like this ...
Страница 134: ...134 You see an Epson Scan 2 window like this ...
Страница 136: ...136 You see this window ...
Страница 143: ...143 DSL connection 1 Telephone wall jack 2 DSL filter 3 DSL modem ...
Страница 144: ...144 ISDN connection 1 ISDN wall jack 2 Terminal adapter or ISDN router ...
Страница 155: ...155 You see this screen 6 Select Fax Output You see this screen 7 Select Settings ...
Страница 176: ...176 Windows OS X 5 To add an entry do one of the following Windows Select an empty entry and click the icon ...
Страница 223: ...223 6 Close the rear cover Parent topic Refilling Ink Related references Ink Bottle and Maintenance Box Part Numbers ...
Страница 264: ...264 2 Press the tabs and open the rear cover 3 Remove the duplexer ...
Страница 265: ...265 4 Carefully remove any jammed paper Note Do not touch the paper rollers 5 Remove any jammed paper from the duplexer ...
Страница 266: ...266 6 Open the duplexer 7 Carefully remove any jammed paper stuck inside 8 Reinstall the duplexer ...


