195
5.
Select the fax you want to view.
You see the fax displayed on the screen.
6.
Select
Menu
.
7.
Select
,
Print then Delete
, or
Delete
and follow the on-screen instructions.
Note:
Delete faxes after you print or view them to prevent the product's memory from filling up. When the
memory is full, you cannot receive or send faxes.
Parent topic:
Checking Fax Status
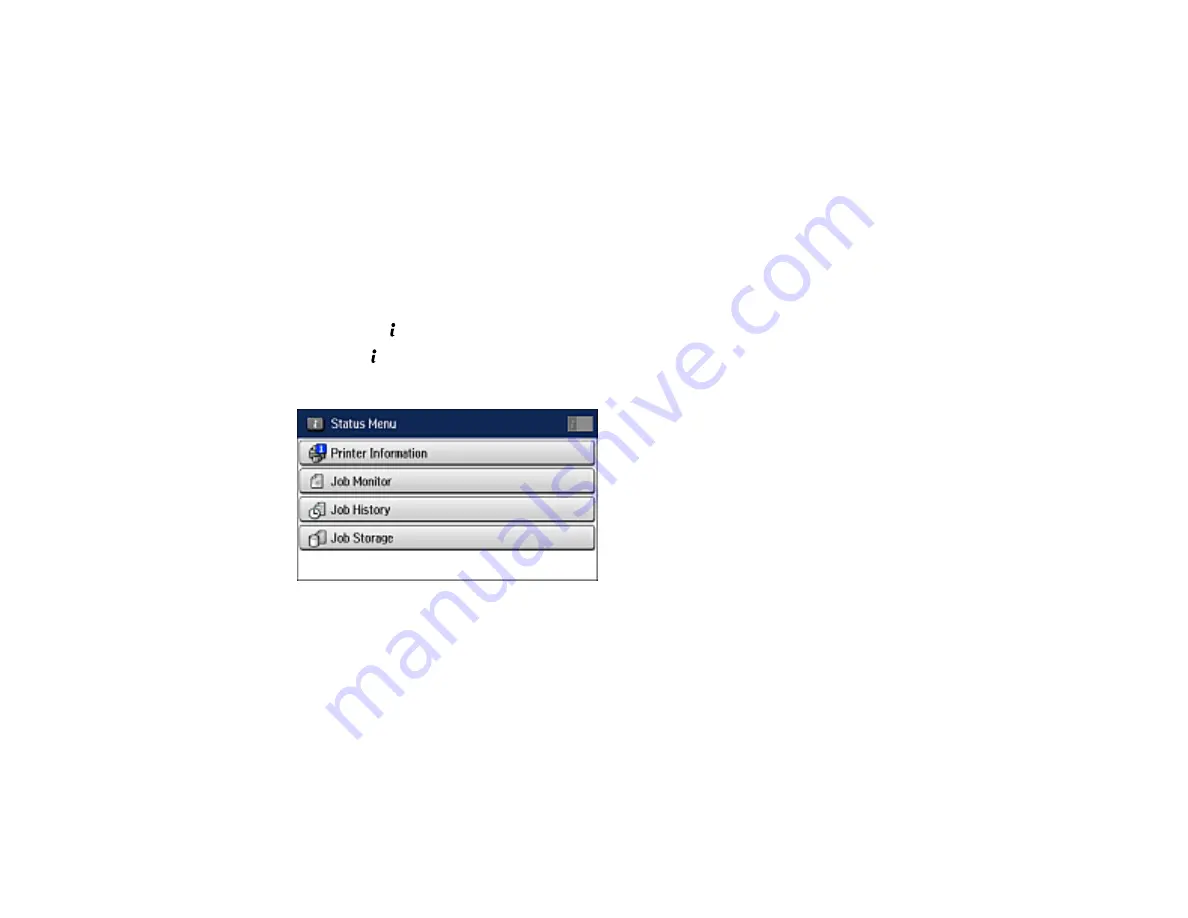
You can use the
Status
button to check ongoing fax jobs or faxes that have been received or sent.
1.
Press the
Status
button.
You see a screen like this:
2.
Do one of the following:
• To check the status of jobs that are ongoing or waiting to be sent, select
Job Monitor
, select
Communication Job
, and select the fax job you want to check.
• To check the history of faxes that have been sent or received, select
Job History
, select
Receive
Job
or
Send Job
, and select the job you want to check.
• To check received faxes that have been saved in the product's memory, select
Job Storage
and
select
Inbox
.
Parent topic:
Содержание ET-16500
Страница 1: ...ET 16500 User s Guide ...
Страница 2: ......
Страница 55: ...55 2 Pull out the paper cassette and remove the paper cassette cover 3 Slide the edge guides outward ...
Страница 61: ...61 2 Pull out the paper cassette and remove the paper cassette cover 3 Slide the edge guides outward ...
Страница 66: ...66 2 Pull out the paper cassette and remove the paper cassette cover 3 Slide the edge guides outward ...
Страница 70: ...70 3 Open the rear paper feed slot and push it back 4 Slide out the edge guides ...
Страница 88: ...88 Related topics Copying ...
Страница 132: ...132 You see an Epson Scan 2 window like this ...
Страница 134: ...134 You see an Epson Scan 2 window like this ...
Страница 136: ...136 You see this window ...
Страница 143: ...143 DSL connection 1 Telephone wall jack 2 DSL filter 3 DSL modem ...
Страница 144: ...144 ISDN connection 1 ISDN wall jack 2 Terminal adapter or ISDN router ...
Страница 155: ...155 You see this screen 6 Select Fax Output You see this screen 7 Select Settings ...
Страница 176: ...176 Windows OS X 5 To add an entry do one of the following Windows Select an empty entry and click the icon ...
Страница 223: ...223 6 Close the rear cover Parent topic Refilling Ink Related references Ink Bottle and Maintenance Box Part Numbers ...
Страница 264: ...264 2 Press the tabs and open the rear cover 3 Remove the duplexer ...
Страница 265: ...265 4 Carefully remove any jammed paper Note Do not touch the paper rollers 5 Remove any jammed paper from the duplexer ...
Страница 266: ...266 6 Open the duplexer 7 Carefully remove any jammed paper stuck inside 8 Reinstall the duplexer ...


