


36
• Originals containing staples or paper clips
• Originals with holes on the bottom of them
• Originals that are bound
• Originals with carbon paper backing
• Transparencies
• Glossy originals
• Carbon-less paper
• Perforated originals
• Originals with labels, stickers, or glue
• Fabric or other non-paper originals
Parent topic:
Loading Originals in the Input Tray
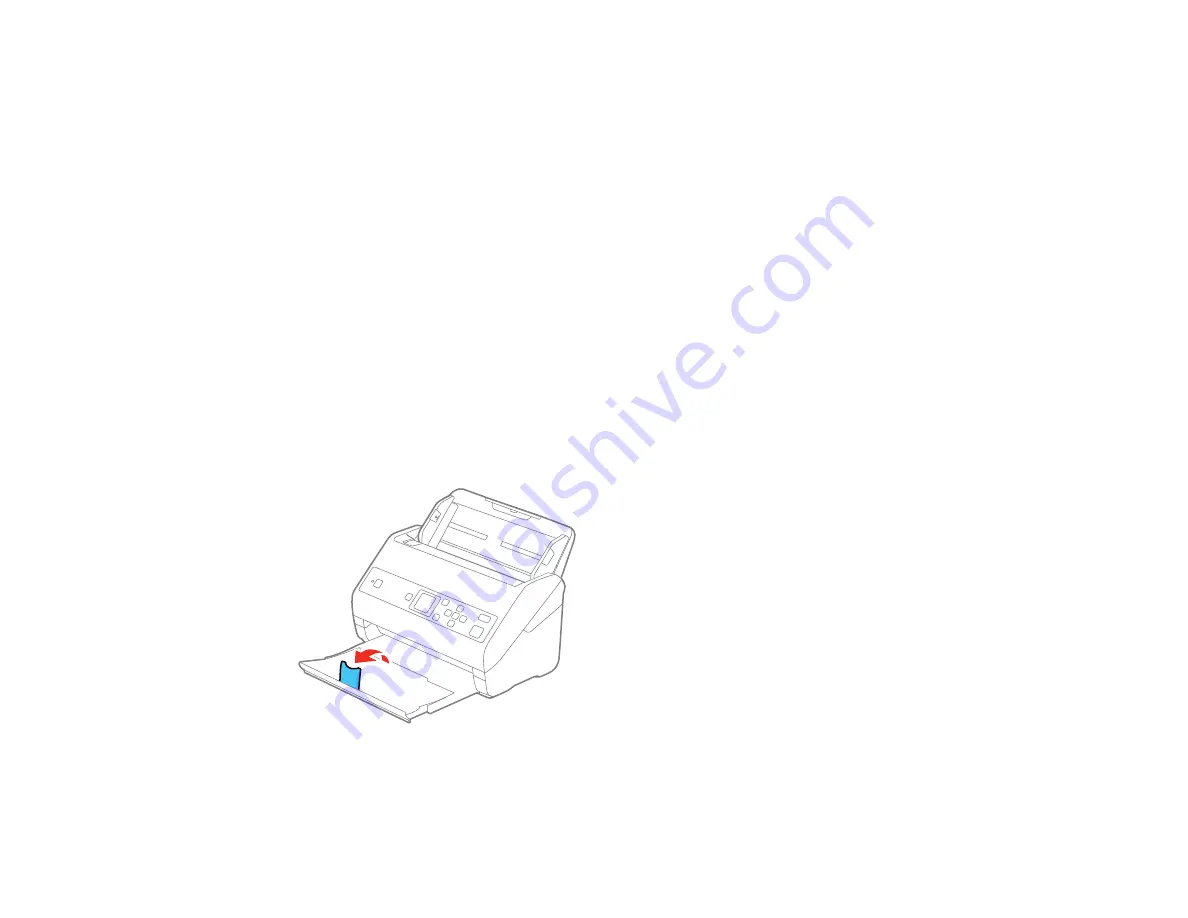
Loading Plastic and Laminated Cards in the Input Tray
You can load plastic and laminated cards that meet the card specifications in the input tray.
1.
Pull out the output tray and open the stopper. Do not pull out the extensions.
Содержание ES-865
Страница 1: ...ES 865 User s Guide ...
Страница 2: ......
Страница 18: ...18 8 Stopper 1 Kensington security slot 2 USB port 3 Power inlet 1 Cover open lever 2 Scanner cover ...
Страница 27: ...27 ...
Страница 38: ...38 Note Do not load plastic cards vertically 4 Slide the edge guides against the edges of the card ...
Страница 41: ...41 3 Slide the input tray edge guides all the way out ...
Страница 45: ...45 6 Load the carrier sheet in the input tray as shown until it meets resistance Folded original ...
Страница 58: ...58 1 On the main Epson ScanSmart screen click Change You see a screen like this ...
Страница 63: ...63 You see a screen like this 2 Click the Save Settings tab ...
Страница 67: ...67 You see a screen like this 2 Click the Customize Actions tab ...
Страница 70: ...70 Click the Manage Invoices Receipts trial icon on the Select Action screen ...
Страница 75: ...75 You see a screen like this 2 Click the License Management tab ...
Страница 79: ...79 You see a screen like this 5 Click Manage Invoices Receipts You see a screen like this ...
Страница 89: ...89 You see a screen like this 2 Click the Currency and Language tab ...
Страница 91: ...91 You see a screen like this 2 Click the Manage Item List tab ...
Страница 97: ...97 2 Open the flatbed scanner cover ...
Страница 113: ...113 13 Press down on the pickup roller cover latch and pull up the cover to remove it ...
Страница 117: ...117 22 Pull down on the cover open lever and open the scanner cover The scanner enters roller cleaning mode ...
Страница 121: ...121 5 Press down on the pickup roller cover latch and pull up the cover to remove it ...
Страница 127: ...127 3 Close the input tray extension and the output tray Note Make sure the output tray is securely closed ...


