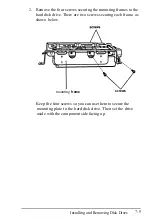
5.
Align the four holes on the mounting plate with the four
holes on the bottom of the hard disk drive.
6.
Locate the four screws that you removed from the 5
mounting frames and use them to secure the mounting plate
to the hard disk drive.
Installing the Drive
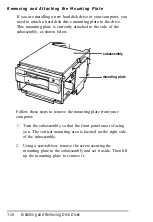
If you are going to install or remove a drive in one of the
horizontal drive bays, first follow the instructions under
“Installing or Removing a Disk Drive in the Horizontal
Position,, on page 7-23. Do not install the vertically mounted
hard disk drive until you are finished accessing the horizontal
drives.
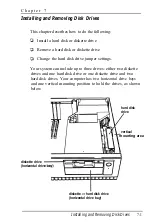
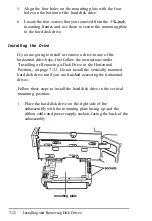
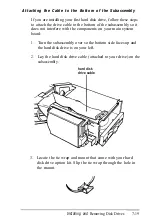
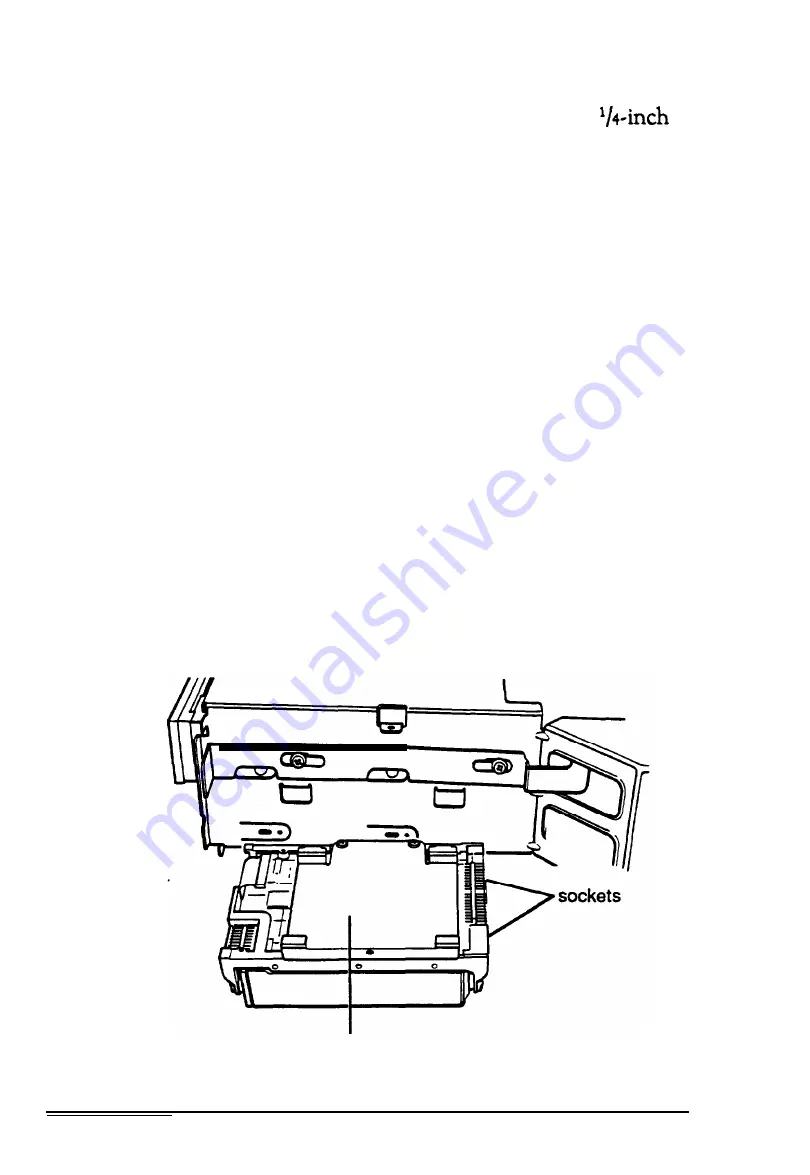
Follow these steps to install the hard disk drive in the vertical
mounting position:
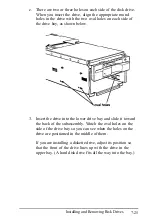
1.
Place the hard disk drive on the right side of the
subassembly with the mounting plate facing up and the
ribbon cable and power supply sockets facing the back of the
subassembly.
mounting plate
7-12
Installing and Removing Disk Drives
Содержание EQUITY 3865X/20 PLUS
Страница 1: ...EPSON E Q U I T Y 3 8 6 5 X 2 0 P L U S U s e r s G u i d e ...
Страница 2: ...EPSON E Q U I T Y 3 8 6 S X 2 0 P L U S USER S GUIDE X EQ386 20PLUS ...
Страница 136: ......
Страница 266: ...E Q U I T Y 3 8 6 S X 2 0 P L U S U s e r s G u i d e ...
Страница 269: ...Epson America Inc 20770 Madrona Avenue Torrance CA 90503 ...

