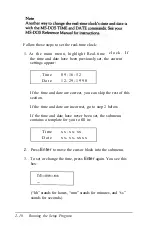
Follow these steps to set the real-time clock:
1. At the main menu, highlight Real-time
c l o c k . I f
the time and date have been previously set, the current
settings appear:
T i m e
0 9 : 1 6 : 5 2
D a t e
1 2 - 2 9 - 1 9 9 0
If the time and date are correct, you can skip the rest of this
section.
If the time and date are incorrect, go to step 2 below.
If the time and date have never been set, the submenu
contains a template for you to fill in:
T i m e
x x : x x : x x
D a t e
x x - x x - x x x x
2.
Press
Enter
to move the cursor block into the submenu.
3.
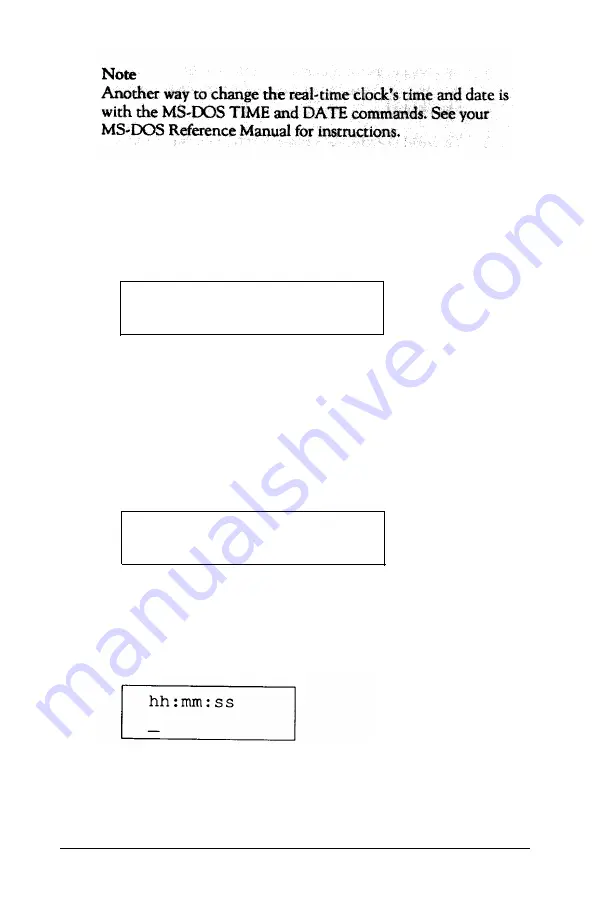
To set or change the time, press
Enter
again. You see this
box:
(“hh” stands for hours, “mm” stands for minutes, and “ss”
stands for seconds.)
2-18
Running the Setup Program
Содержание Equity 386/25
Страница 1: ......
Страница 3: ......
Страница 14: ...xii ...
Страница 20: ...6 lntroduction ...
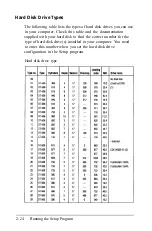
Страница 63: ...Hard disk drive types continued Running the Setup Program 2 25 ...
Страница 142: ...5 34 lnstalling and Removing Options ...
Страница 216: ...3 Raise the front of the subassembly to a slight angle as shown below Installing and Removing Disk Drives B 19 ...
Страница 248: ...C 14 Physically Formatting a Hard Disk ...
Страница 298: ...F 6 Specifications ...
Страница 326: ......

