221
5.
Once the projector enters standby mode, remove the flash drive.
Note:
If the projector does not enter standby mode and the lights continue flashing, see the link
below for a solution.
Parent topic:
Copying Menu Settings Between Projectors
Related references
Related tasks
Transferring Settings from a USB Flash Drive
After saving projector settings to a USB flash drive, you can transfer them to another projector of the
same model.
Note:
Make sure the USB flash drive contains only a single settings transfer from another projector of
the same model. The settings are contained in a file called
pjconfdata.bin
. If the drive contains other
files, the transfer may not complete correctly.
Do not adjust image settings on a projector until after you transfer settings to it. Otherwise, you may have
to repeat your adjustments.
1.
Turn off the projector and unplug the power cord from the projector's power inlet.
2.
Insert the flash drive into the
USB-A
port.
Note:
Connect the flash drive directly to the projector. Do not use a hub or your settings may not be
saved correctly.
3.
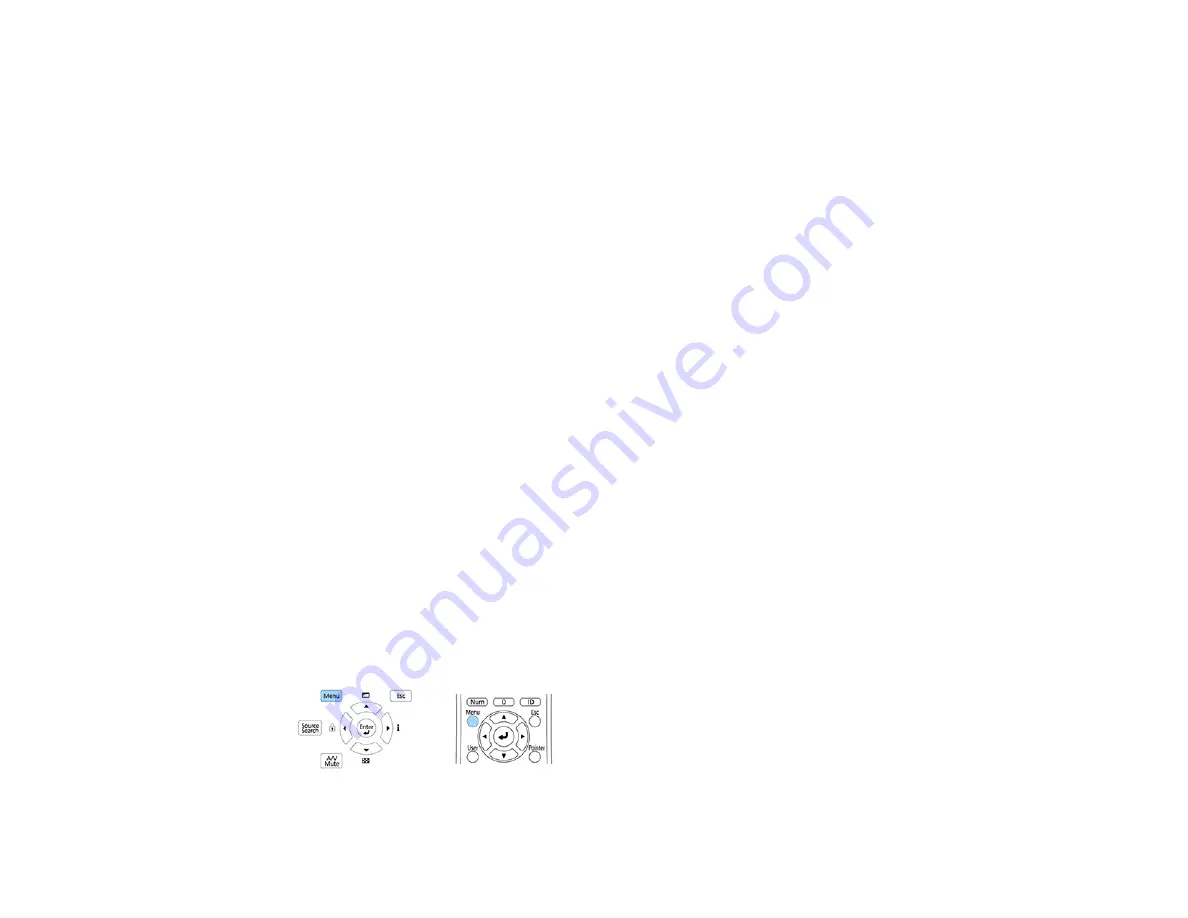
Press and hold the
Menu
button on the control panel or remote control as you connect the power
cord to the projector's power inlet.
Содержание EB-L520U
Страница 1: ...PowerLite EB L520U EB L530U EB L630U EB L630SU EB L635SU EB L730U EB L735U User s Guide ...
Страница 2: ......
Страница 26: ...26 Projector Parts Remote Control 1 Power button 2 HDMI button cycles through connected HDMI sources ...
Страница 29: ...29 Front Rear Front ceiling ...
Страница 82: ...82 2 Select the Management menu and press Enter 3 Set the Wireless LAN Power setting to On ...
Страница 262: ...262 Parent topic Adjusting the Menu Settings Related concepts Updating the Firmware ...
Страница 266: ...266 4 Loosen the screws and remove the air filter cover 5 Pull the air filter out of the projector ...


