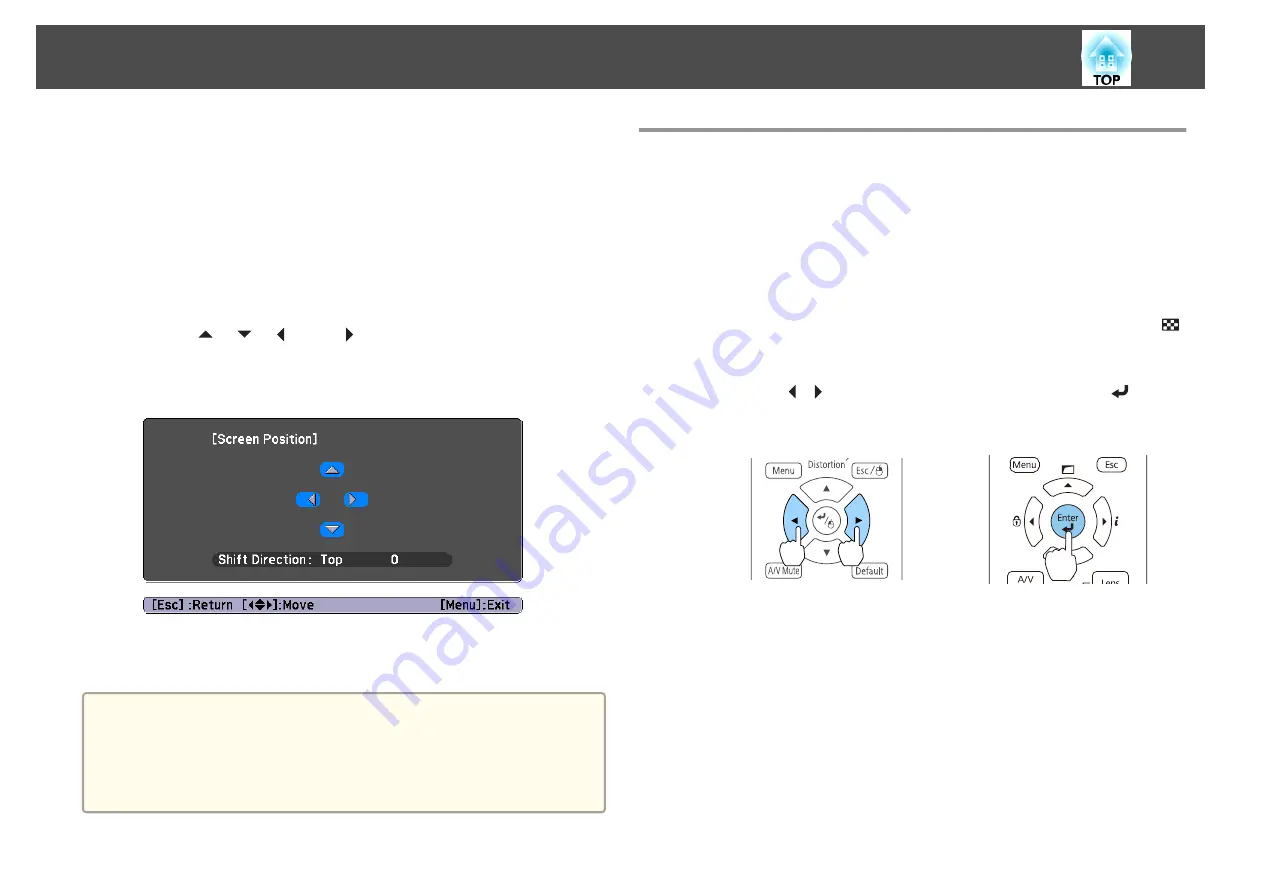
You can move the image to the left and right.
a
Press the [Menu] button while projecting.
s
"Configuration Menu Operations"
b
Select
Display
from
Extended
.
c
Select
Screen Position
from
Screen
.
d
Use the [
], [
], [
], and [
] buttons to adjust the position of
the image.
You can check the current display position by using the background
test pattern.
e
Press the [Menu] button to finish making settings.
a
The
Screen Position
cannot be adjusted in the following situations.
•
If you are using a WUXGA/WXGA projector and the
Screen Type
is set to
16:10
•
If you are using an XGA projector and the
Screen Type
is set to
4:3
Displaying the Test Pattern
A test pattern can be displayed to adjust the projection status without
connecting video equipment.
The shape of a test pattern is according to the setting of
Screen Type
. Set
Screen Type
first.
s
a
Press the [Test Pattern] button of the remote control or the [
]
button on the control panel while projecting.
b
Press the [
][
] buttons on the remote control or the [
] button
on the control panel to change the test pattern.
Using the remote control
Using the control panel
Installing the Projector
33
Содержание EB-L1050U
Страница 1: ...User s Guide ...
Страница 14: ...Introduction This chapter explains the names for each part ...
Страница 26: ...Preparing the Projector This chapter explains how to install the projector and connect projection sources ...
Страница 57: ...Basic Usage This chapter explains how to project and adjust images ...
Страница 135: ...Configuration Menu This chapter explains how to use the Configuration menu and its functions ...
Страница 172: ...Troubleshooting This chapter explains how to identify problems and what to do if a problem is found ...
Страница 207: ...Cleaning the Parts 207 ...
Страница 214: ...Appendix ...
Страница 282: ...This product is also designed for IT power distribution system with phase to phase voltage 230V Specifications 282 ...


