


f
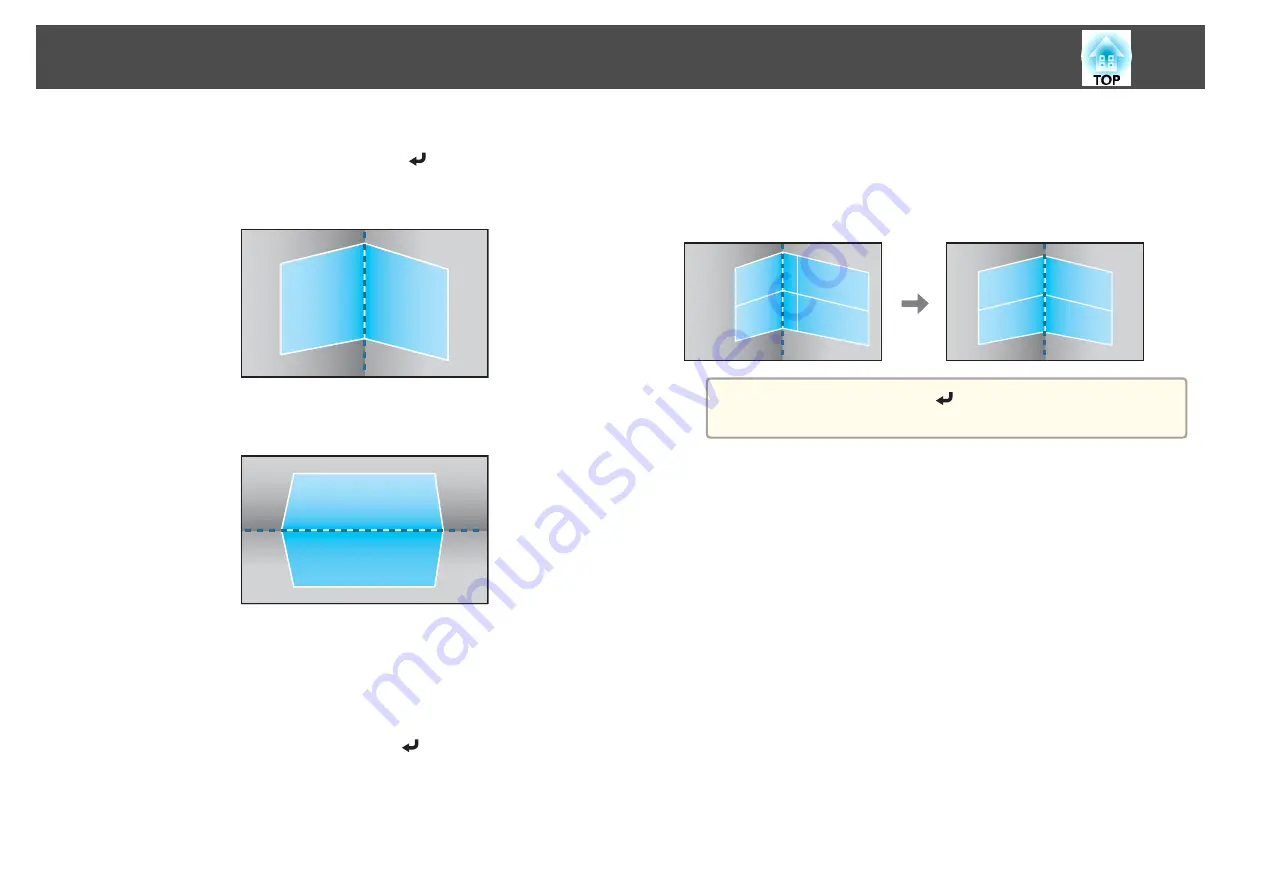
According to the projection area, select
Horizontal Corner
or
Vertical Corner
, and then press the [
] button.
When the surfaces line up horizontally:
Select
Horizontal Corner
.
When the surfaces line up vertically:
Select
Vertical Corner
.
From here on, steps are explained using
Horizontal Corner
as an
example.
g
Press the [Esc] button to display the screen from step 5. Select
Correct Shape
, and then press the [
] button.
h
Adjust the position of the projector and the lens shift so that the
line in the center of the screen matches the corner (the point
where the two surfaces meet).
s
"Adjusting the Position of the Projected Image (Lens Shift
a
Each time you press the [
] button, you can show or hide the
image and the grid.
Adjusting the Projected Images
72
Содержание EB-L1050U
Страница 1: ...User s Guide ...
Страница 14: ...Introduction This chapter explains the names for each part ...
Страница 26: ...Preparing the Projector This chapter explains how to install the projector and connect projection sources ...
Страница 57: ...Basic Usage This chapter explains how to project and adjust images ...
Страница 135: ...Configuration Menu This chapter explains how to use the Configuration menu and its functions ...
Страница 172: ...Troubleshooting This chapter explains how to identify problems and what to do if a problem is found ...
Страница 207: ...Cleaning the Parts 207 ...
Страница 214: ...Appendix ...
Страница 282: ...This product is also designed for IT power distribution system with phase to phase voltage 230V Specifications 282 ...