c
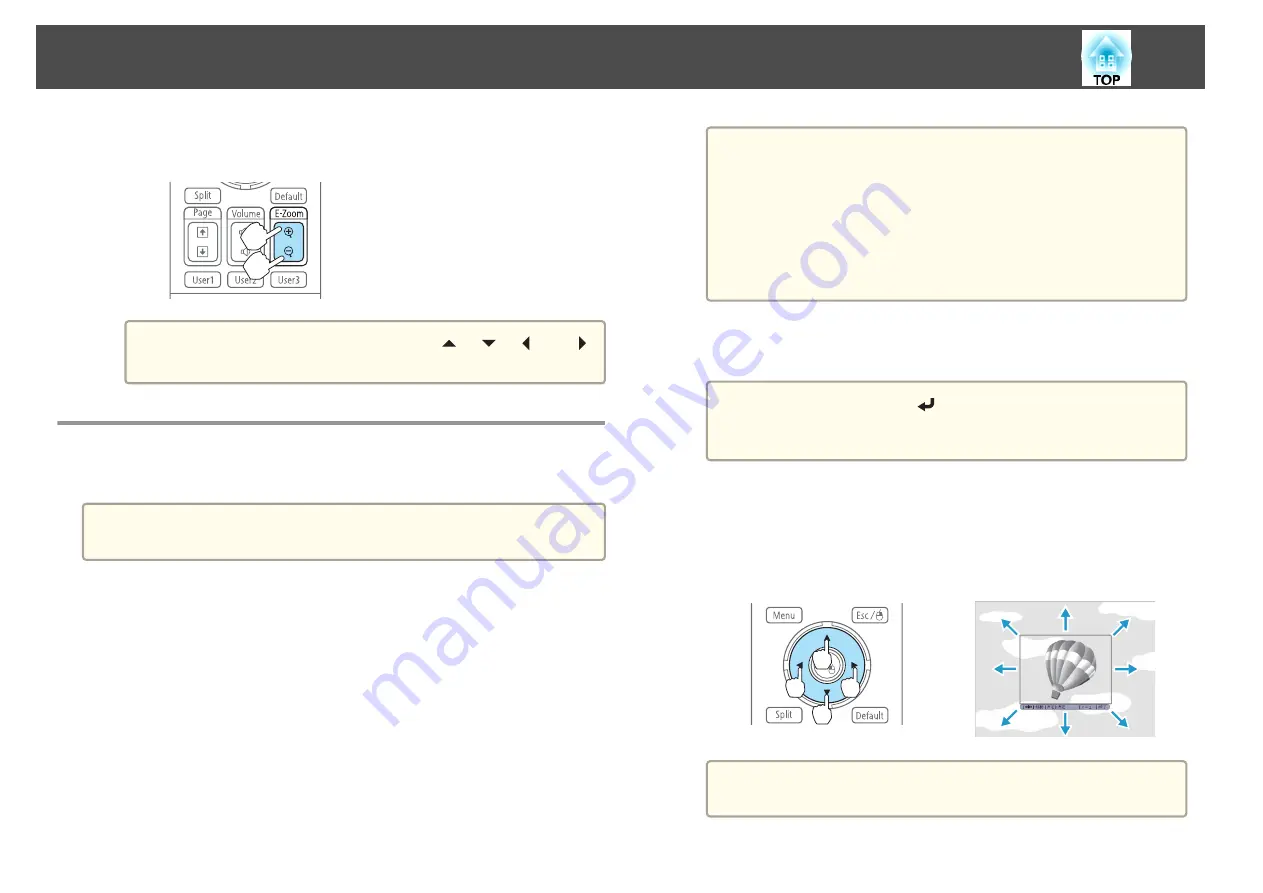
Enlarge.
Remote control
[
z
] button: Expands the area each time
it is pressed. You can expand quickly by
holding the button down.
[
x
] button: Reduces images that have
been enlarged.
[Esc] button: Cancels E-Zoom.
a
During enlarged projection, press the [
], [
], [
], or [
]
buttons to scroll the image.
Saving a User's Logo
You can save the image that is currently being projected as a User's Logo.
a
Once a User's Logo has been saved, the logo cannot be returned to the
factory default.
a
Project the image you want to save as the User's Logo, and then
press the [Menu] button.
s
"Using the Configuration Menu"
b
Select
User's Logo
from
Extended
.
a
•
When
User's Logo Protection
from
Password Protection
is
set to
On
, a message is displayed and the User's Logo cannot
be changed. You can make changes after setting
User's Logo
Protection
to
Off
.
s
"Managing Users (Password Protection)"
•
If
User's Logo
is selected when Geometric Correction, E-
Zoom or Aspect are being performed, the function currently
being performed is temporarily cancelled.
c
When the message "Choose this image as the User's Logo?" is
displayed, select
Yes
.
a
When you press the [
] button, the screen size may change
depending on the signal to match the actual resolution of the
image signal.
d
Move the box to select the part of the image to use as the User's
Logo.
You can perform the same operations from the projector's control
panel.
Remote control
a
You can save at 400x300 dots in size.
Projection Functions
58
Содержание EB-4550
Страница 1: ...User s Guide ...
Страница 7: ...Introduction This chapter explains the names for each part ...
Страница 17: ...Preparing the Projector This chapter explains how to install the projector and connect projection sources ...
Страница 36: ...Connecting Equipment 36 ...
Страница 37: ...Basic Usage This chapter explains how to project and adjust images ...
Страница 52: ...Useful Functions This chapter explains useful tips for giving presentations and the Security functions ...
Страница 70: ...Configuration Menu This chapter explains how to use the Configuration menu and its functions ...
Страница 93: ...Troubleshooting This chapter explains how to identify problems and what to do if a problem is found ...
Страница 124: ...j Return to step 4 and adjust each level k When you are done press the Menu button Image Maintenance 124 ...
Страница 125: ...Appendix ...
Страница 150: ...A Center of lens B Distance from center of lens to suspension bracket fixing point Units mm Appearance 150 ...


