


Installing the Wall mount
44
f
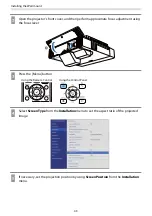
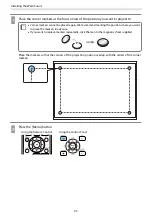
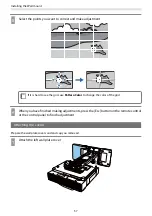
Change the aspect ratio if necessary
Project images from a connected device, and then press the [Aspect] button on the remote control.
Each time you press the button, you see the aspect name on the screen and the aspect ratio changes.
c
The aspect ratio does not change when no images are being projected from the connected
device.
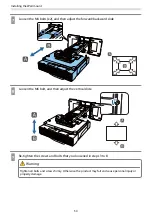
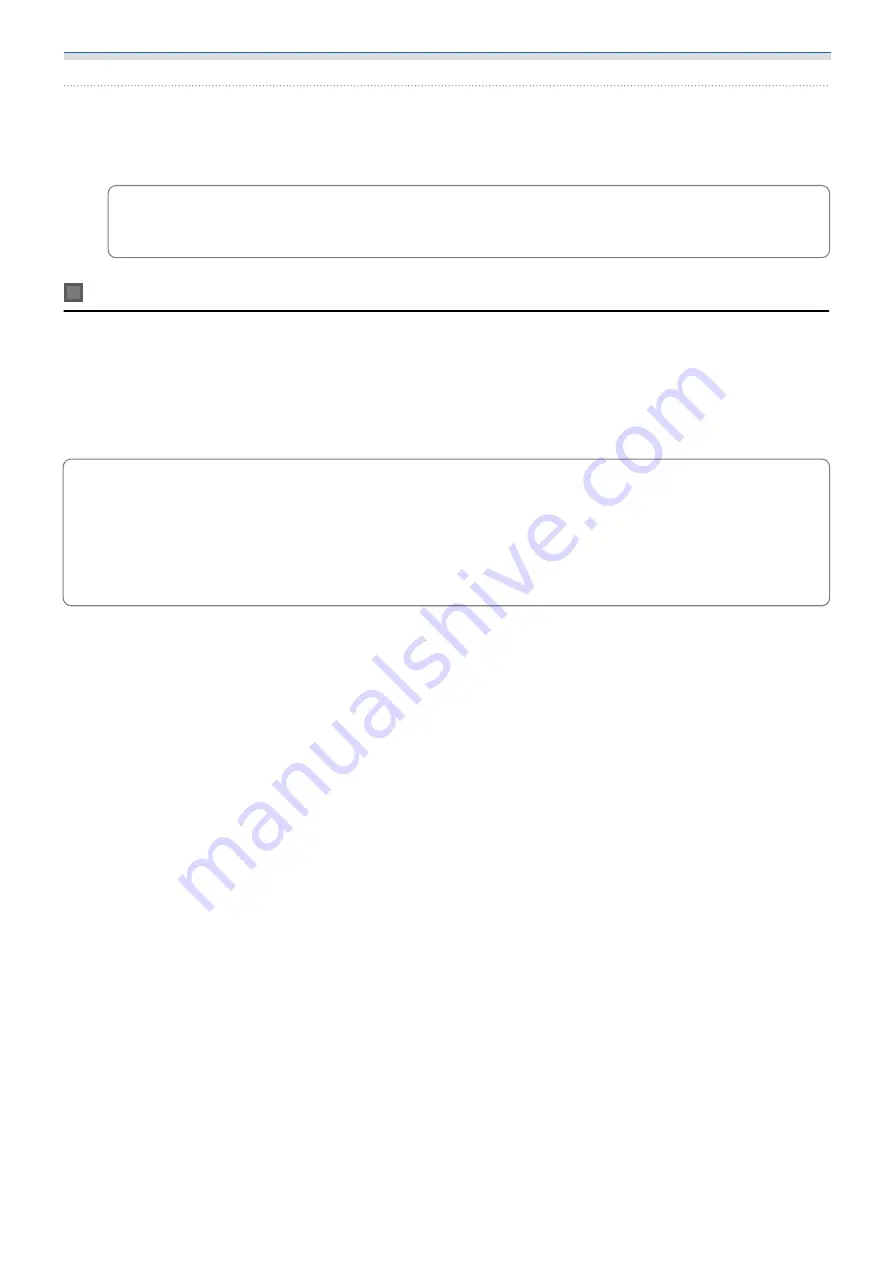
Auto Screen Adjustment
Attach corner markers to the four corners of the projection position to automatically adjust the position of
the image.
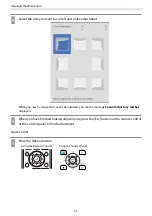
Auto Screen Adjustment works correctly under the following conditions.
Projection size: 110 inches or less
Projector direction: Within 3° up, down, left, or right
c
Auto Screen Adjustment may not work properly depending on the surface of the projected screen.
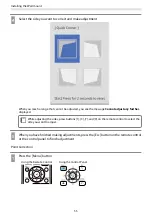
The following conditions are necessary to perform Auto Screen Adjustment.
A flat projection surface
No patterns, dirt, or obstacles on the projection surface
Before performing the Auto Screen Adjustment, set the Screen Type setting first. If you change the
Screen Type after performing Auto Screen Adjustment, the adjustments will be reset.
Содержание EB-1480Fi
Страница 1: ...Installation Guide ...
Страница 53: ...Installing the Wall mount 52 b Select Geometry Correction from the Installation menu c Select Arc Correction ...
Страница 55: ...Installing the Wall mount 54 b Select Geometry Correction from the Installation menu c Select Quick Corner ...
Страница 65: ...Installing the pen stand 64 b Attach the cover c Store the interactive pens ...
Страница 75: ...Installing the Touch Unit 74 Wavelength 932 to 952 nm ...
Страница 78: ...Installing the Touch Unit 77 Adjustment range 79 5 140 5 15 76 ...


