17
Adjusting the Projection Screen
Basic Operations
Correcting projector tilt
Correcting keystone distortion
(Keystone)
Displaying a test pattern
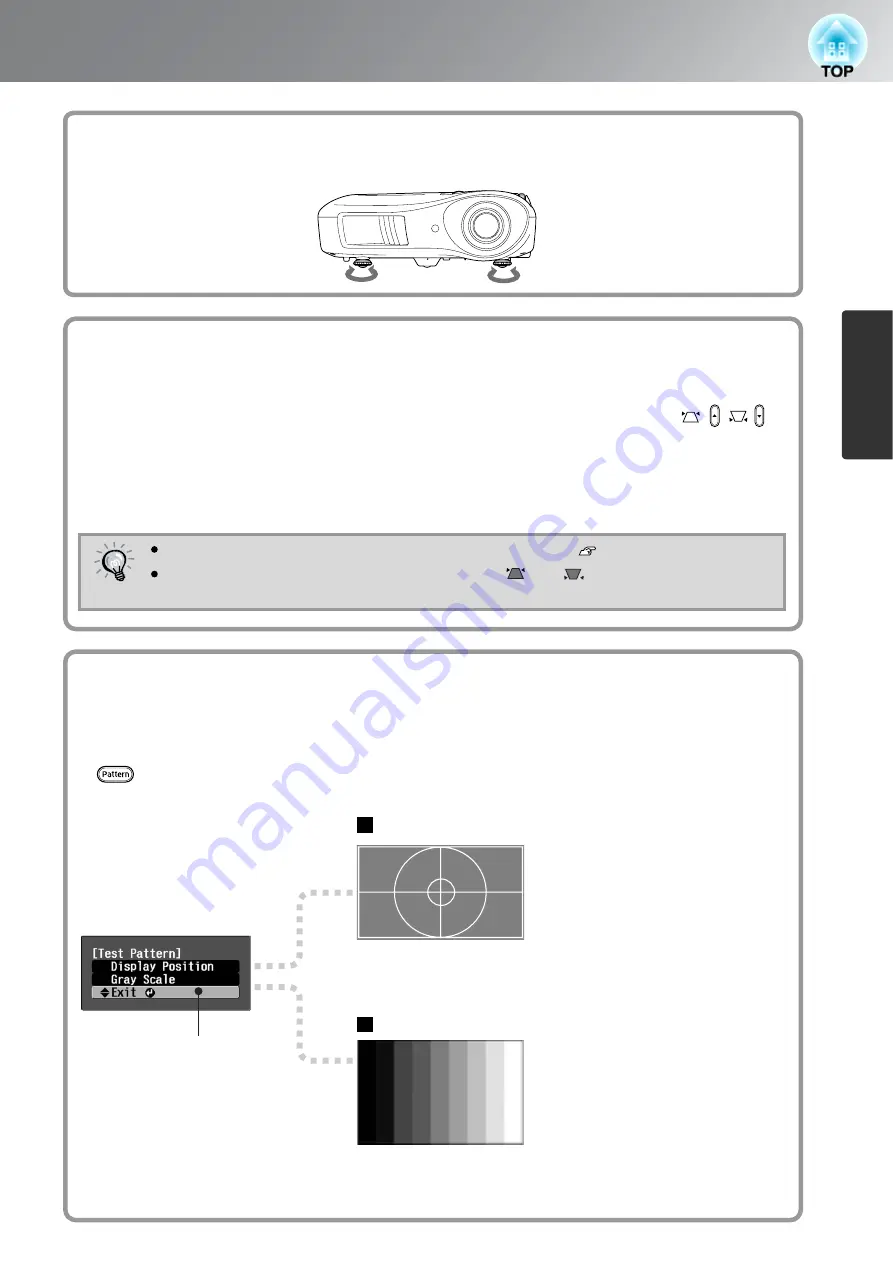
If the projected images are tilted horizontally, use the front adjustable feet to adjust the projector so that it is
horizontal.
Correcting projector tilt
Extend
Retract
Extend
Retract
Correcting keystone distortion (Keystone)
When you wish to adjust the projection above or below the range of lens shift adjustment set the projector at an
angle.
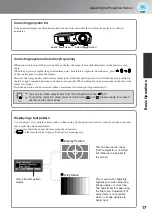
When the projector is angled, the projected image may distort into a trapezoid. In such cases, press ( ) ( )
on the control panel to adjust the images.
However, the image quality will decrease compared to if the lens shift function is used. When the lens is shifted to
the left or right, complete keystone correction is not possible. When making keystone corrections set the lens at the
centre left to right.
Keystone distortion can be corrected within a maximum vertical angle of approximately 15˚.
TIP
You can also make adjustments from the configuration menu. p.31
To reset the correction value, press and hold down with pressed down for at least 1
second on the control panel.
Displaying a test pattern
You can project a test pattern at times such as when setting up the projector in order to correct keystone correction
and to make line menu adjustments.
You can also adjust the zoom and focus using the test pattern.
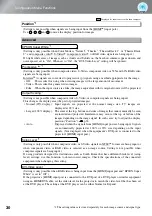
If on the remote control is pressed, the pattern menu appears.
Clears the test pattern
display
This can be used to check
that the projector is not tilted
but rather set up parallel to
the screen.
Display Position
Gray Scale
This is used when adjusting
brightness or when adjusting
image quality or colour tone.
The adjustment is made using
the line menu. Adjustment of
some items is not possible
when no image signals are
being input.


