31
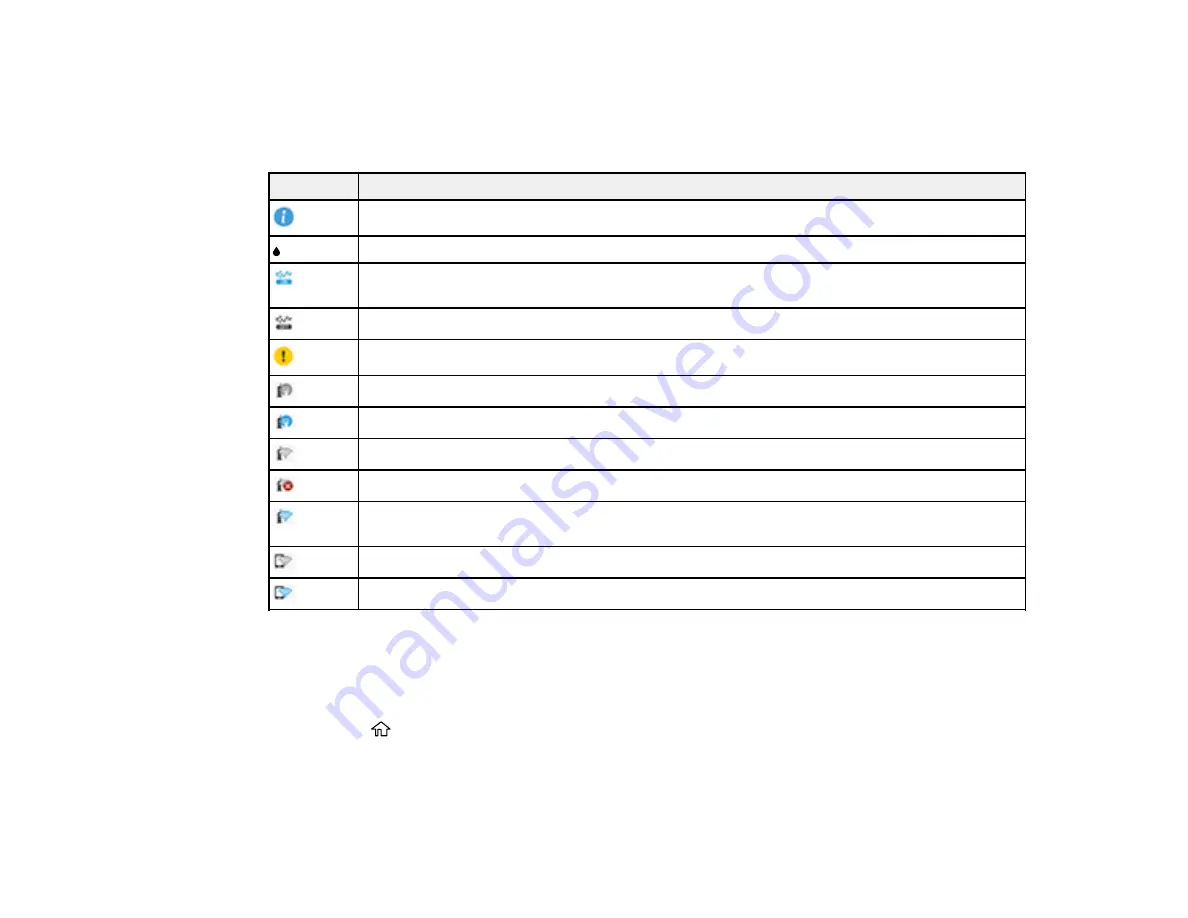
Status Icon Information
Your product displays status icons on the LCD screen for certain product status conditions. On the Home
screen, press the right arrow button to select
Wi-Fi
and press the
OK
button to view or change the
current network settings.
Icons
Description
Displays additional information or instructions.
Displays the Supply Status screen.
Quiet Mode is enabled. Noise is reduced during printing, but the print speed may be
reduced. Press this icon to change the settings.
Quiet Mode is disabled. Press this icon to change the settings.
There is a problem with the indicated setting. Select the icon to resolve the problem.
No Ethernet connection.
An Ethernet connection is established.
No Wi-Fi connection.
A Wi-Fi network error has occurred or the product is searching for a connection.
A Wi-Fi connection is established. The number of bars indicates the connection's signal
strength.
No Wi-Fi Direct connection.
A Wi-Fi Direct connection is established.
Parent topic:
Control Panel Buttons and Lights
Changing LCD Screen Language
You can change the language used on the LCD screen.
1.
Press the
home button, if necessary.
2.
Press the right arrow button to select
Settings
and press the
OK
button.
Содержание C11CG70201
Страница 1: ...WF C8190 User s Guide ...
Страница 2: ......
Страница 16: ...16 8 Attach the front cover to the stands 9 Remove the output tray from the product ...
Страница 21: ...21 5 Remove the output tray 6 Remove the paper cassette from the product ...
Страница 39: ...39 3 Optional cabinet 1 Rear paper feed edge guides 2 Paper support and extension ...
Страница 106: ...106 You see this window 3 Select the double sided printing options you want to use 4 Click OK to return to the Main tab ...
Страница 116: ...116 You see the maintenance options 4 Click the Extended Settings button ...
Страница 129: ...129 10 Select the Layout tab 11 Select the orientation of your document as the Orientation setting ...
Страница 194: ...194 4 Pull out paper cassette 1 5 Open rear cover 1 D1 ...
Страница 195: ...195 6 Pull out rear cover 2 D2 7 Remove the roller cover inside the product ...
Страница 200: ...200 4 Pull out the paper cassette ...
Страница 201: ...201 5 Open the rear cover E that matches with the paper cassette you removed ...


