264
Note:
The ink pads in the printer collect, distribute, and contain the ink that is not used on printed pages.
During the life of your product it may reach a condition where either satisfactory print quality cannot be
maintained or the ink pads have reached the end of their usable life. The Epson Status Monitor, your
LCD screen, or lights on the control panel will advise you when these parts need replacing. If this
happens during the standard warranty of the product, the exchange of the product or replacement of the
pads is covered under the standard warranty. If the product is out of warranty, the pads can be replaced
by any Epson authorized service provider. The waste ink pads are not a user-replaceable part.
Parent topic:
Related references
Paper Jam Problems Inside the Product
Paper Jam Problems in the Paper Cassette
Paper Jam Problems in the Duplexer (Rear Cover)
Where to Get Help
Paper Source Settings Options
Related tasks
Removing and Installing Ink Cartridges
Connecting a Telephone or Answering Machine
Related topics
Status Menu Error Codes
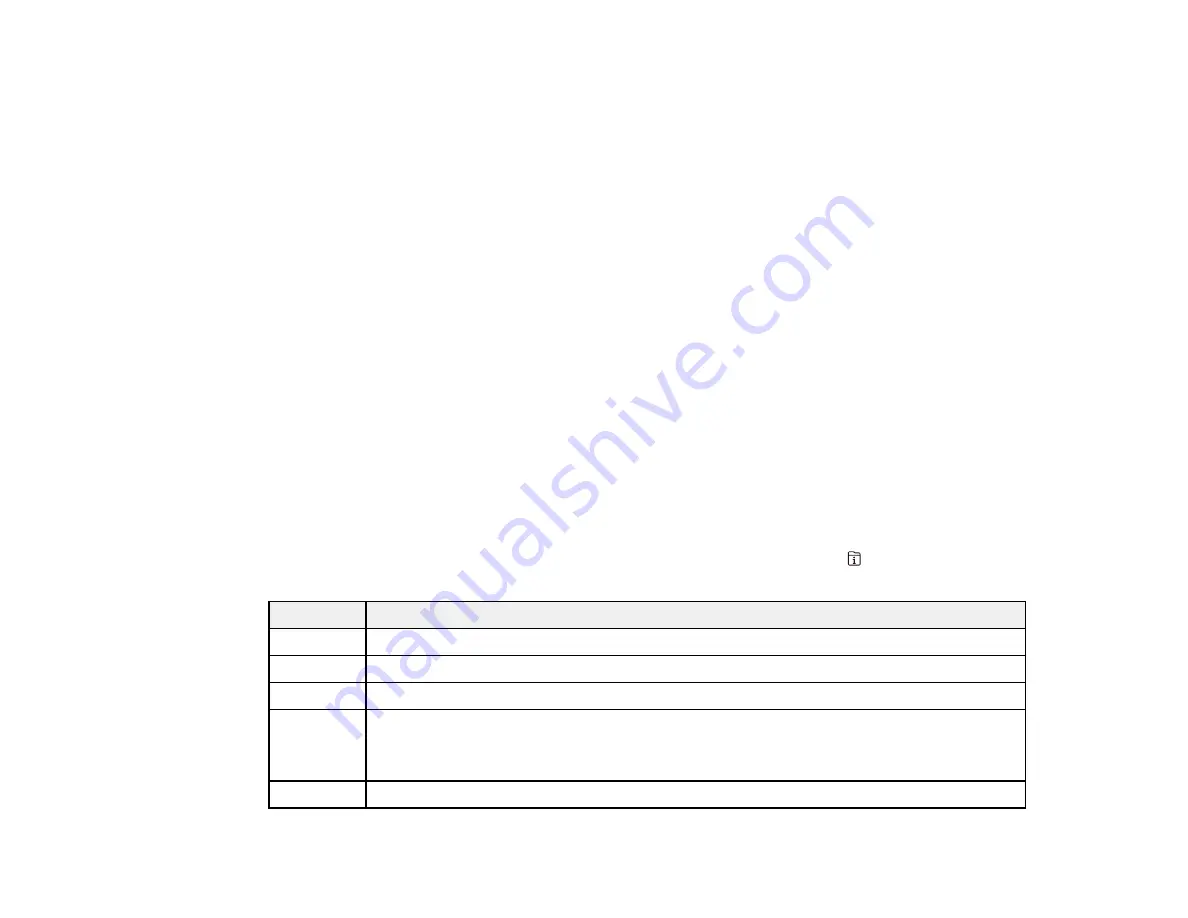
If a job does not complete successfully, you can check the error code. Press the
Job/Status
button to
locate the incomplete job. Select the job to display the error code and additional information.
Code
Condition/solution
001
The product was turned off by a power failure.
109
The received fax was already deleted.
110
The job was printed 1-sided because the loaded paper does not support 2-sided printing.
201
The product's memory is full.
You can send pages individually or print received faxes and then delete them to free up
memory space.
202
The line was disconnected by the recipient's fax machine. Wait a moment, then try again.
Содержание C11CG36201
Страница 1: ...WF 7710 WF 7720 User s Guide ...
Страница 2: ......
Страница 61: ...61 2 Pull out the paper cassette and remove the paper cassette cover 3 Slide the edge guides outward ...
Страница 67: ...67 3 Slide the edge guides outward 4 Slide the edge guide to your paper size ...
Страница 76: ...76 3 Open the rear paper feed slot and push it back 4 Slide out the edge guides ...
Страница 124: ...124 10 Select the Layout tab 11 Select the orientation of your document as the Orientation setting ...
Страница 151: ...151 You see an Epson Scan 2 window like this ...
Страница 153: ...153 You see an Epson Scan 2 window like this ...
Страница 155: ...155 1 Start Epson Scan 2 You see this window ...
Страница 166: ...166 DSL connection 1 Telephone wall jack 2 DSL filter 3 DSL modem ...
Страница 167: ...167 ISDN connection 1 ISDN wall jack 2 Terminal adapter or ISDN router ...
Страница 247: ...247 You see a window like this 5 Click Print ...
Страница 259: ...259 2 Lift up the scanner unit 3 Make sure the print head is in the home position on the right ...
Страница 285: ...285 Front 6 Open the duplexer ...
Страница 286: ...286 7 Carefully remove any jammed paper stuck inside 8 Reinstall the duplexer ...


