


249
3.
Select
Contacts
.
4.
Select the
Add Contact
icon.
5.
Select
Add Group
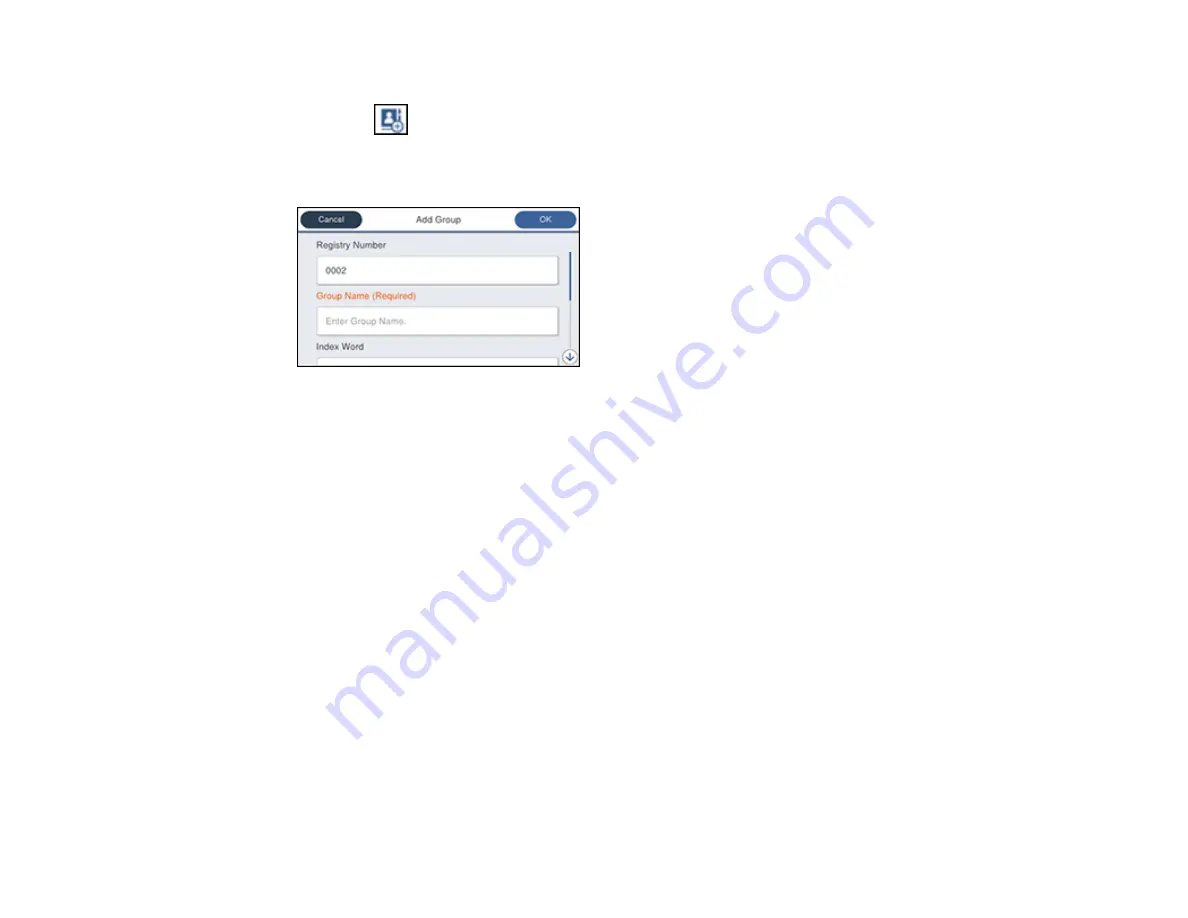
.
You see a screen like this:
6.
Select the registry number you want to use for the group you are adding.
7.
Select the
Group Name
field, use the displayed keyboard to enter the group name (up to 30
characters), and select
OK
.
8.
Select the
Index Word
field, use the displayed keyboard to enter a word to use when searching for a
group (up to 30 characters), and select
OK
. (This field is optional.)
9.
Select the
Contact(s) Added to the Group
field.
You see your contacts list.
10. Select each contact you want to include in your group.
A check mark appears next to each selected contact.
11. Select
Close
when complete.
12. Select
Assign to Frequent Use
to list the group on the
Recipient
tab.
13. Select
OK
to save the group.
Parent topic:
Setting Up Contacts Using the Product Control Panel
Editing or Deleting a Contact Group
You can edit an existing contact group to add or delete entries. You can also delete the entire contact
group.
Содержание C11CG04201
Страница 1: ...WF M5799 User s Guide ...
Страница 2: ......
Страница 111: ...111 You see this window 3 Select the double sided printing options you want to use 4 Click OK to return to the Main tab ...
Страница 132: ...132 10 Select the Layout tab 11 Select the orientation of your document as the Orientation setting ...
Страница 320: ...320 9 Uninstall the optional paper cassette if necessary ...
Страница 322: ...322 Related concepts Print Head Cleaning Print Quality Adjustment Related tasks Removing and Installing Ink Packs ...


