48
6
Select the direction you want your photo to print
(
for portrait,
for landscape facing right, or
for landscape facing left) as the Orientation.
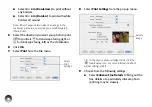
7
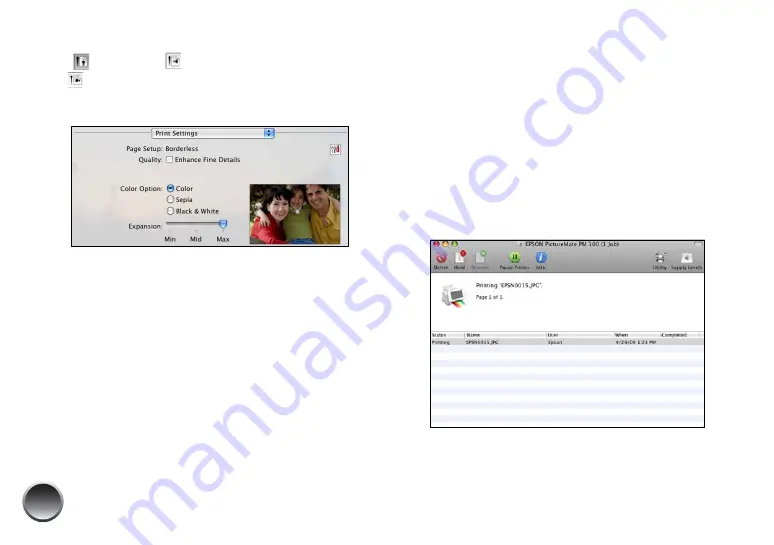
Select
Print Settings
from the pop-up menu.
8
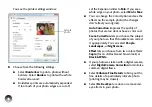
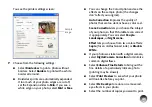
Choose from the following settings:
●
Select
Enhance Fine Details
to bring out the
fine details of a particularly intricate photo
(printing may be slower).
●
You can change the Color Option and see the
effects on the sample photo (the changes
don’t affect your original).
Sepia
changes the colors to brown for an old-
fashioned look.
Black & White
changes a color photo to
black-and-white.
●
Borderless prints are automatically expanded.
If too much of your photo edges are cut off,
set the Expansion slider to
Min
. If you see a
white edge on your photo, select
Mid
or
Max
.
9
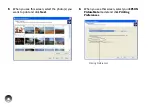
To reduce or remove red-eye effects, select
Extension Settings
from the pop-up menu and
choose
Fix Red-Eye
.
10
Click Print.
11
Click the PictureMate icon when it appears in the
dock.
Содержание C11CA54203 - PictureMate Show Digital Frame
Страница 1: ...User s Guide ...
Страница 3: ...3 Specifications 82 Notices 87 Index 65 ...
Страница 106: ...106 ...


