8
Getting Ready
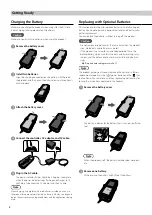
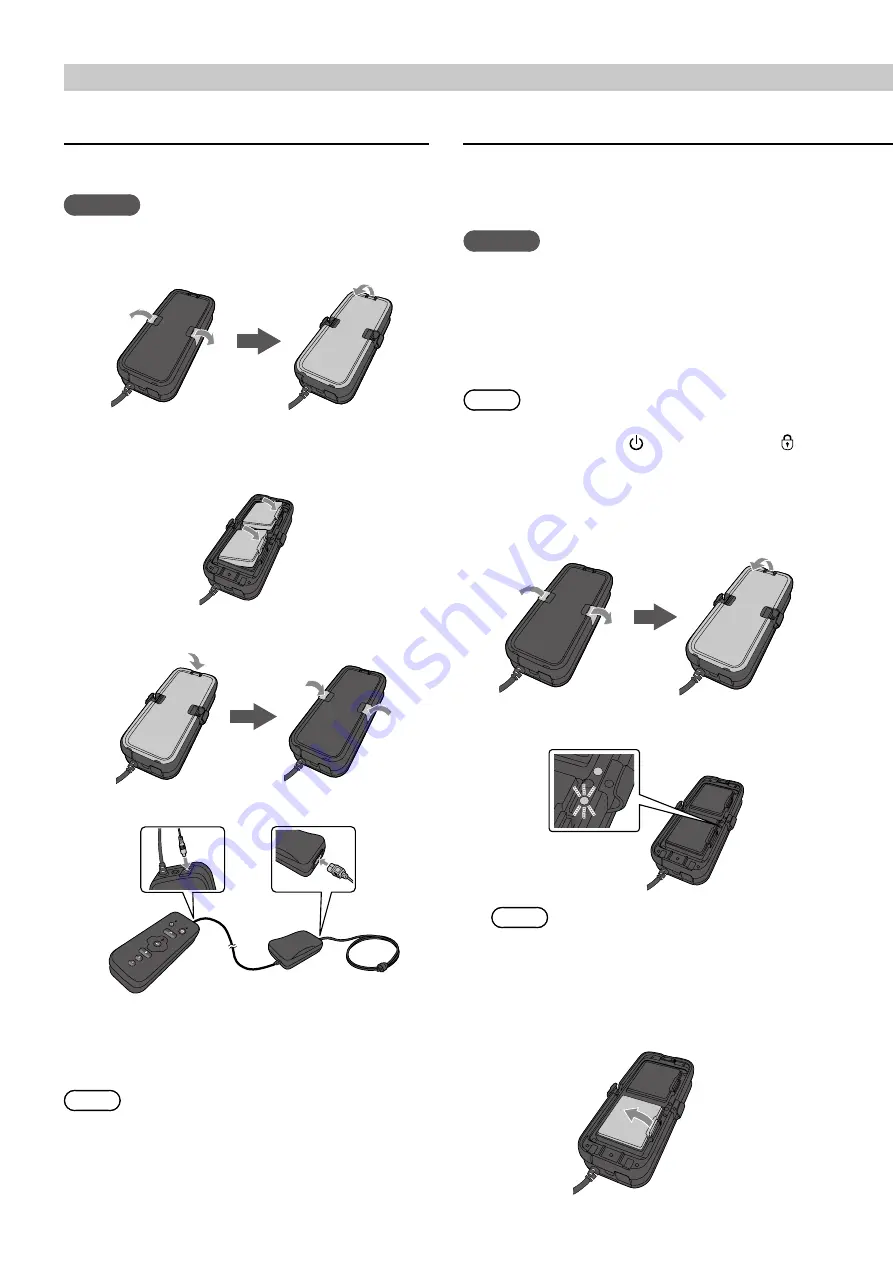
Charging the Battery
Make sure you charge the product when using it for the first time.
Initial charging takes approximately three hours.
Caution
Make sure you install two batteries when using the product.
Replacing with Optional Batteries
This section explains how to replace a battery with a fully charged
battery. You need to purchase optional batteries and a battery char-
ger for replacement.
You can replace the batteries without turning off the product.
Caution
• Do not remove two batteries at the same time when the product
is on. Stored data and settings may be lost.
• If the product is not used for an extended period of time, the
backup battery which maintains the date and time settings may
run out, and the date and time may be reset to their default set-
tings.
➡
“Date and time settings are reset” p. 13
Note
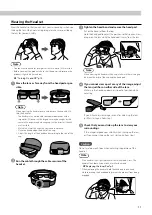
The product guides you through replacing the batteries in Battery
replacement mode. Press the [ ] power button and the [ ] key
lock button at the same time, and then replace the batteries by fol-
lowing the instructions displayed in the headset.
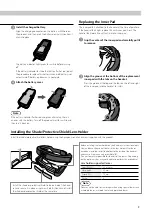
A
Remove the battery cover.
E
Plug in the AC cable.
The power indicator flashes light blue. Charging is complete
when the power indicator stops flashing and changes to lit
light blue. Disconnect the AC adapter and the AC cable.
Note
When charging is complete with two batteries installed, you can use
the product for approximately four hours. Battery life may vary depend-
ing on the environmental usage conditions and the applications being
used.
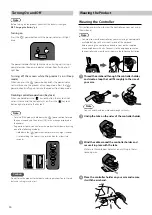
The battery indicator for the battery that is running low flashes
red.
B
Remove one battery.
While pressing the battery catch, lift out the battery.
B
Install two batteries.
Align the charging connectors on the battery with those on
the product, and then press the battery down until you hear it
click into place.
A
Remove the battery cover.
C
Attach the battery cover.
D
Connect the controller, AC adapter, and AC cable.
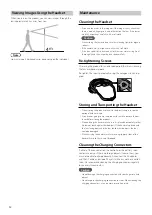
Note
When the product is off, the battery indicator does not oper-
ate.

