Using the Projector on a Network
99
10. When you’re done making these settings, press
Esc
. Choose
Complete
and press
Enter
, then choose
Yes
and press
Enter
to
save your settings.
Enabling WPA Security
1. Press
Menu
. Highlight
Network
and then press
Enter
.
2. Choose
Network Configuration
and press
Enter
.
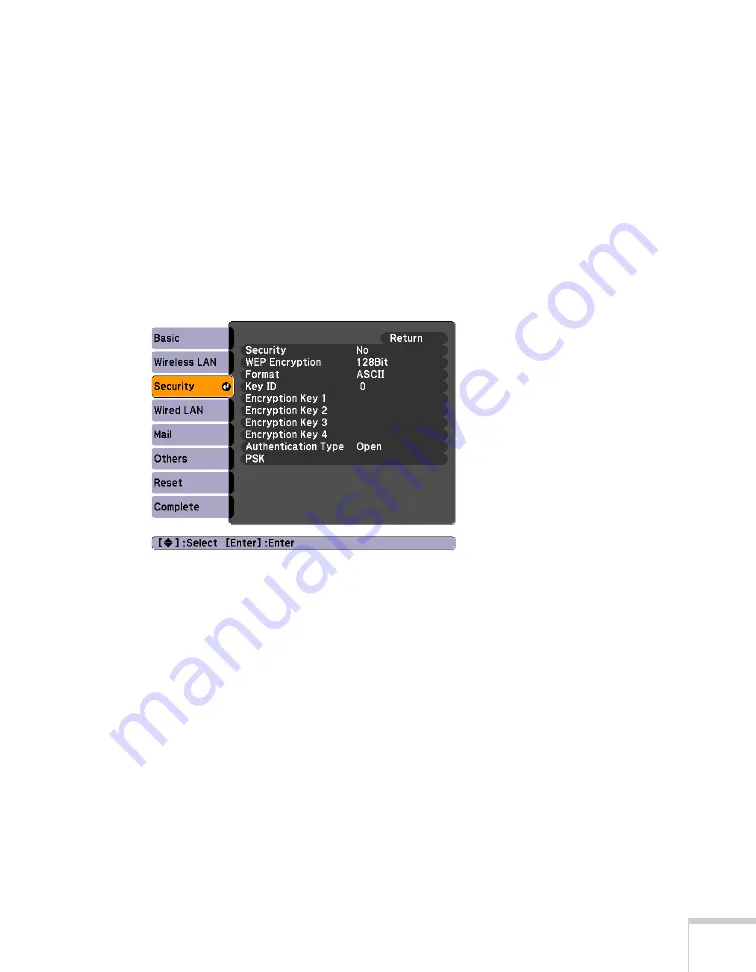
3. Highlight
Security
, then press
Enter
. You see the following
screen:
4. Press
Enter
to show the menu, then choose one of the following
and press
Enter
.
■
WPA-PSK (TKIP)
■
WPA-PSK (AES)
■
WPA2-PSK (TKIP)
■
WPA2-PSK (AES)
5. Press
Esc
to return to the previous screen.
6. Highlight the
PSK
(pre-shared key) and press
Enter
. Use the
arrow buttons to select individual letters; then press
Enter
to
input a character. To add a blank space or to navigate backward
and forward through the input text, highlight the arrows and
Содержание BrightLink 450Wi - Interactive Projector
Страница 1: ...BrightLink 450Wi Interactive Projector TM User sGuide ...
Страница 8: ...8 ...
Страница 22: ...22 Welcome ...
Страница 58: ...58 Using the Interactive Pens ...
Страница 108: ...108 Using the Projector on a Network ...
Страница 142: ...142 Solving Problems ...
Страница 148: ...148 Technical Specifications ...


