Windows 7
/
Windows Vista
/
Windows XP:
Click the start button, and then select
All Programs
or
Programs
>
EPSON
>
Epson Scan 2
>
Epson Scan 2
Utility
Mac OS X:
Select
Go
>
Applications
>
EPSON Software
>
Epson Scan 2 Utility
C
Select
Settings
from the
Scanner
drop-down list on the Epson Scan 2 Utility screen.
If Epson Scan 2 Utility screen is not displayed and
Scanner Settings
screen is displayed, go to the next step.
D
In the
Scanner Settings
screen, click
Add
.
If the
Add
button is disabled, click
Enable Editing
(Windows) or + button (Mac OS X), and then click
Add
button.
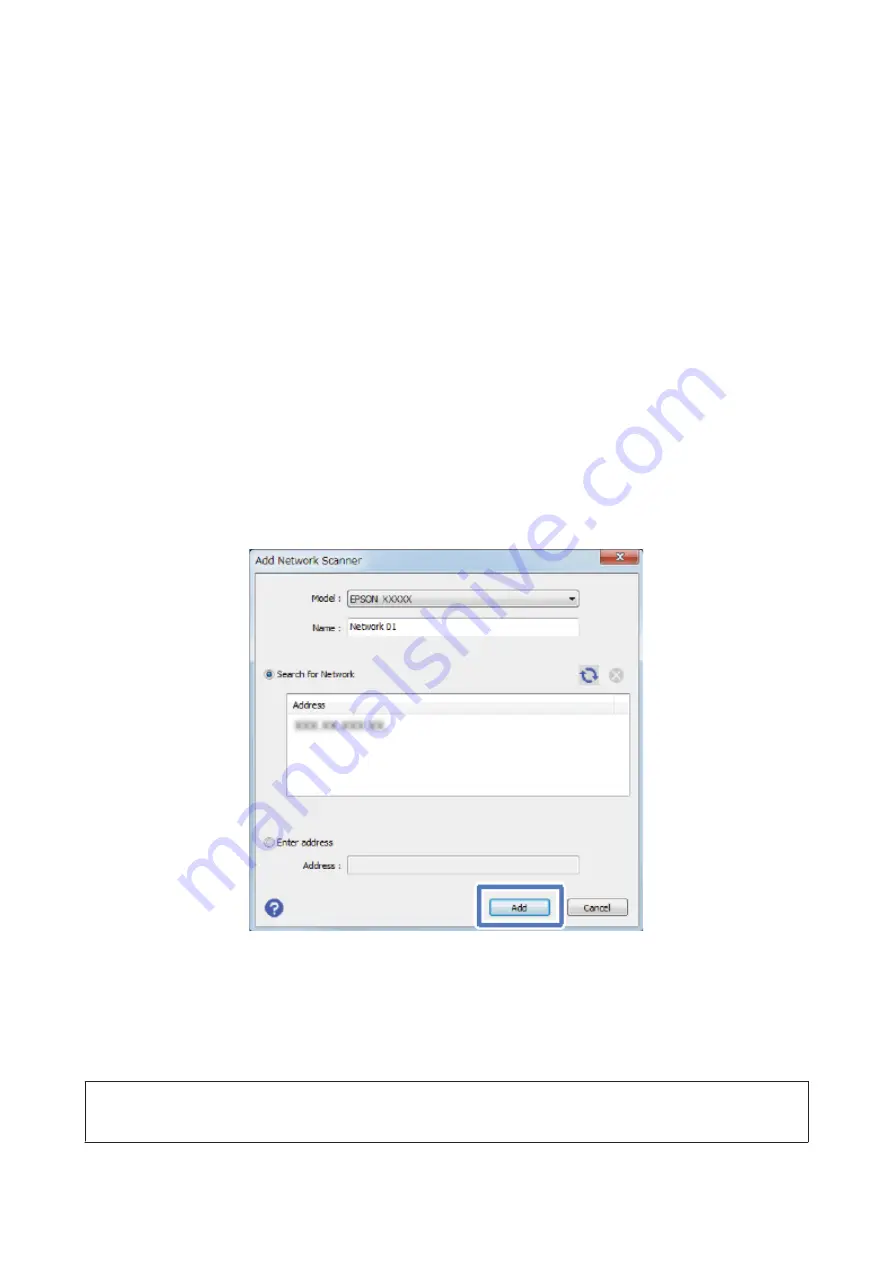
E
In the
Add Network Scanner
screen, select your scanner from the
Model
drop-down list.
F
Choose the Network Interface Panel's IP address under
Search for Network
, or select
Enter address
and type in
the address. Then click
Add
.
G
In the
Scanner Settings
screen, select your scanner, and then click
OK
.
Scanning Over a Network
Note:
You must set the IP address for your Network Interface Panel before you can scan using it.
Network Interface Panel User's Guide
Scanning an Image
18


