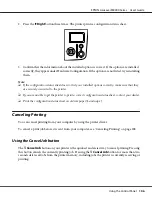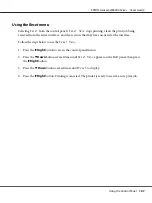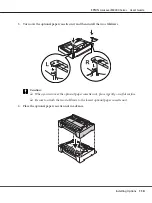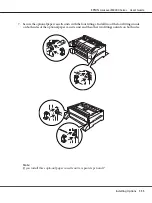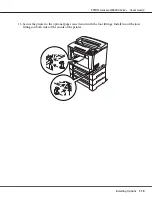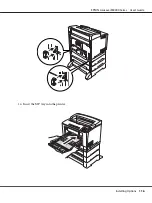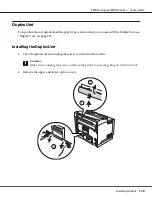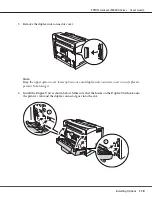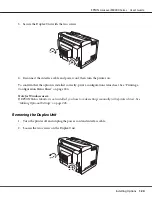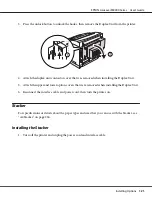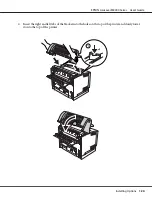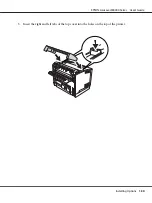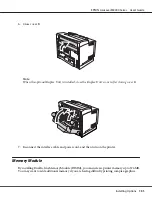
15. Close the MP tray.
16. Remove the protective materials from the optional paper cassettes.
17. Insert all paper cassettes.
18. Reconnect the interface cable and power cord, and then turn the printer on.
To confirm that the option is installed correctly, print a configuration status sheet. See “Printing a
Configuration Status Sheet” on page 184.
Note for Windows users:
If EPSON Status Monitor is not installed, you have to make settings manually in the printer driver.
Click the
Update the Printer Option Info Manually
button on the Optional Settings tab, and then click
Settings
. Then select
Cassette 2
,
Cassette 3
, and
Cassette 4
from the Optional Paper Sources list on
the Optional Settings dialog box based on the installed options and click
OK
.
Removing the optional paper cassette unit
Perform the installation procedure in reverse.
EPSON AcuLaser M8000 Series User's Guide
Installing Options
117
Содержание AcuLaser M8000 Series
Страница 1: ...User s Guide NPD3936 00 EN ...
Страница 116: ...14 Insert the MP tray into the printer EPSON AcuLaser M8000 Series User s Guide Installing Options 116 ...
Страница 123: ...3 Push up the tabs to remove the top cover EPSON AcuLaser M8000 Series User s Guide Installing Options 123 ...
Страница 125: ...5 Secure the Stacker with the two screws EPSON AcuLaser M8000 Series User s Guide Installing Options 125 ...
Страница 179: ...11 Close the MP tray 12 Reinsert the paper cassette EPSON AcuLaser M8000 Series User s Guide Troubleshooting 179 ...
Страница 180: ...13 Reinstall the imaging cartridge EPSON AcuLaser M8000 Series User s Guide Troubleshooting 180 ...


