Using Special Effects 4-7
Each Output checkbox corresponds to the point next to it on the
tone curve. When you click the checkbox for a specific point, you
can move that point, but it is not affected by the movement of
other points. If the box is not checked, the point moves
depending on the movement of the other points.
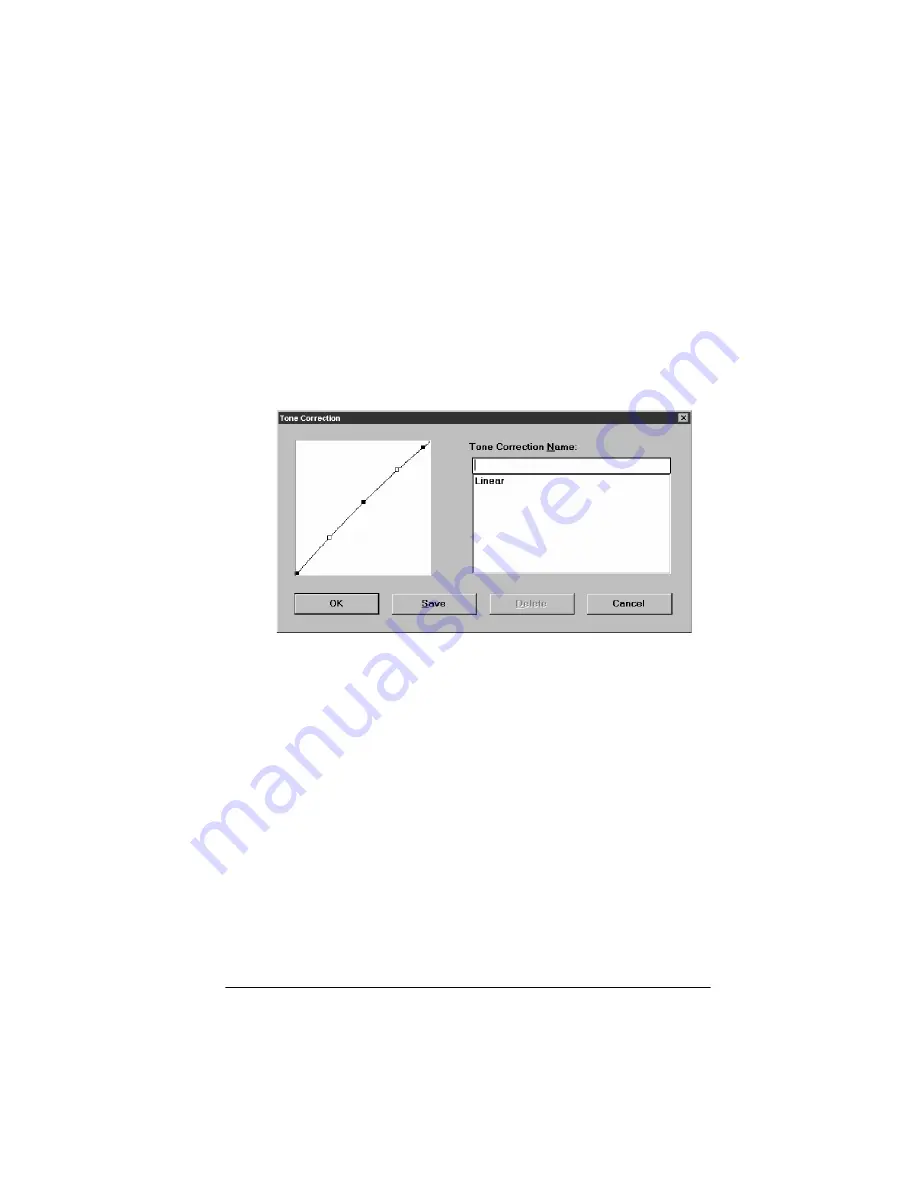
If you modify the tone correction setting, you can save it for
future use by choosing the Save button. You see the following
dialog box:
To save your tone correction setting, type the name you want to
assign to the setting in the Tone Correction Name field and click
Save. Then click
OK
. The name for your new setting is now
available in the pull-down menu.
You can also delete an existing setting by selecting it from the
Tone Correction Name field and clicking Delete. Then click
OK
to return to the Tone Correction dialog box.
You can reset any preview image you’ve modified by choosing
the Reset button below the Tone Correction icon on the
advanced screen.
Содержание ActionScanner II
Страница 1: ...i Printed on recycled paper with at least 10 post consumer content ...
Страница 6: ...vi ...
Страница 14: ...8 Introduction ...
Страница 20: ...1 6 Installing Your Software ...
Страница 50: ...3 22 Capturing Images From Within Applications ...
Страница 62: ...4 12 Using Special Effects ...
Страница 70: ...5 8 Using EPSON Scan II ...
Страница 90: ...A 4 Default Settings ...
Страница 124: ...10 Term Glossary ...


