1-4
Installing Your Software
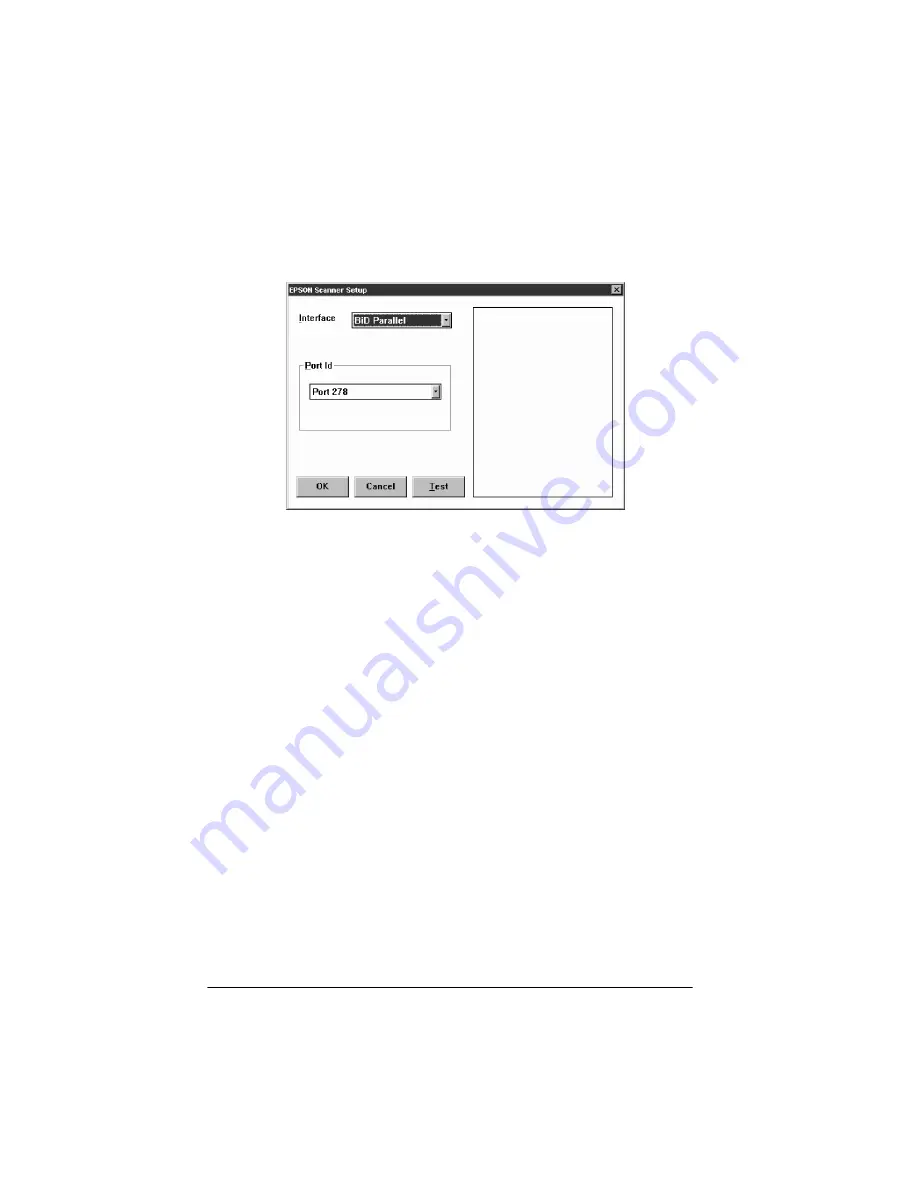
9. After a few moments, you see the EPSON Scanner Setup
dialog box.
From the Interface pull-down menu, choose SCSI if your
scanner is connected to a SCSI interface or
BiD Parallel
if it is
connected to a bidirectional parallel interface.
10. If necessary, select the port ID of the interface board from the
Port ID pull-down menu. Normally, you do not need to
change the default port ID setting. If the scanner is connected
to a SCSI interface, the port ID is selected automatically. If
the scanner is connected to a parallel interface, select the port
ID of the interface: port 378 is your computer’s built-in
parallel port (lpt1) and port 278 is the port on a bidirectional
parallel card installed in your computer (lpt2).
Note:
If you selected SCSI from the Interface menu and no SCSI ID
number appears, make sure no other SCSI device has the same ID
number as the scanner.
11. Now test your scanner. Turn the scanner on and raise the
cover. Place an image face down on the glass surface. Then
carefully close the cover.
Содержание ActionScanner II
Страница 1: ...i Printed on recycled paper with at least 10 post consumer content ...
Страница 6: ...vi ...
Страница 14: ...8 Introduction ...
Страница 20: ...1 6 Installing Your Software ...
Страница 50: ...3 22 Capturing Images From Within Applications ...
Страница 62: ...4 12 Using Special Effects ...
Страница 70: ...5 8 Using EPSON Scan II ...
Страница 90: ...A 4 Default Settings ...
Страница 124: ...10 Term Glossary ...


