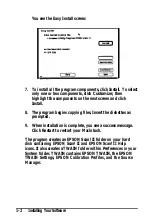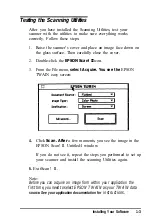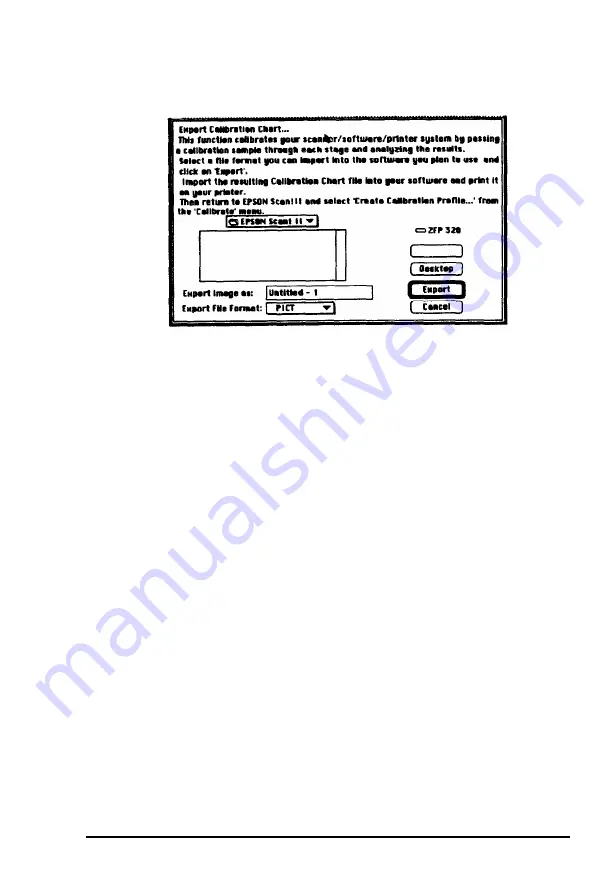
You see the following screen:
3.
4.
5.
6.
7.
8.
9.
From the
Export File Format
pull-down menu, select a
format your application software can open, such as
PICT.
In the
Export image as
field, type the name you want to use
for the calibration chart file, such as
COLOR1.
Click Export to create the calibration chart in the EPSON
Scan! II folder.
Exit EPSON Scan! II.
Start your image editing application.
Open the calibration chart file you just created in the EPSON
Scan! II folder.
The calibration chart appears in the application window. It
contains nine blocks of color gradations, some grayscale
gradations, and a black border on three sides.
Save the calibration chart file. You can use the same name
you assigned when you exported the chart, or you can
assign a new name.
Calibrating Your System
2-5
Содержание ActionScanner II Mac - ActionScanning System II
Страница 1: ......

